How to Microwave Soil To Kill Fungus Gnats (Soil Sterilization)
Welcome, green-thumbed readers, to a gardening revelation that’ll leave you marveling at the versatility of your humble microwave. We all adore our flourishing gardens, but pesky fungus gnats can put a real damper on our plant-loving spirits. Fear not, for we’ve got the ultimate solution that’s both eco-friendly and downright effective: soil sterilization through microwaving!
Picture this: no more fretting over those minuscule, infuriating bugs munching on your plant roots. With just a sprinkle of magic, well, microwave waves, you can bid farewell to those gnats for good. But wait, there’s more! This technique isn’t just a gnat-buster; it’s also a chemical-free, time-saving wonder that keeps your plants healthy and thriving.
So, dear gardeners, gather around as we take you on a journey to unveil the secrets of microwaving soil for gnat eradication, ensuring a flourishing garden paradise that’s pure and pest-free!
Understanding Fungus Gnats and their Impact on Plants
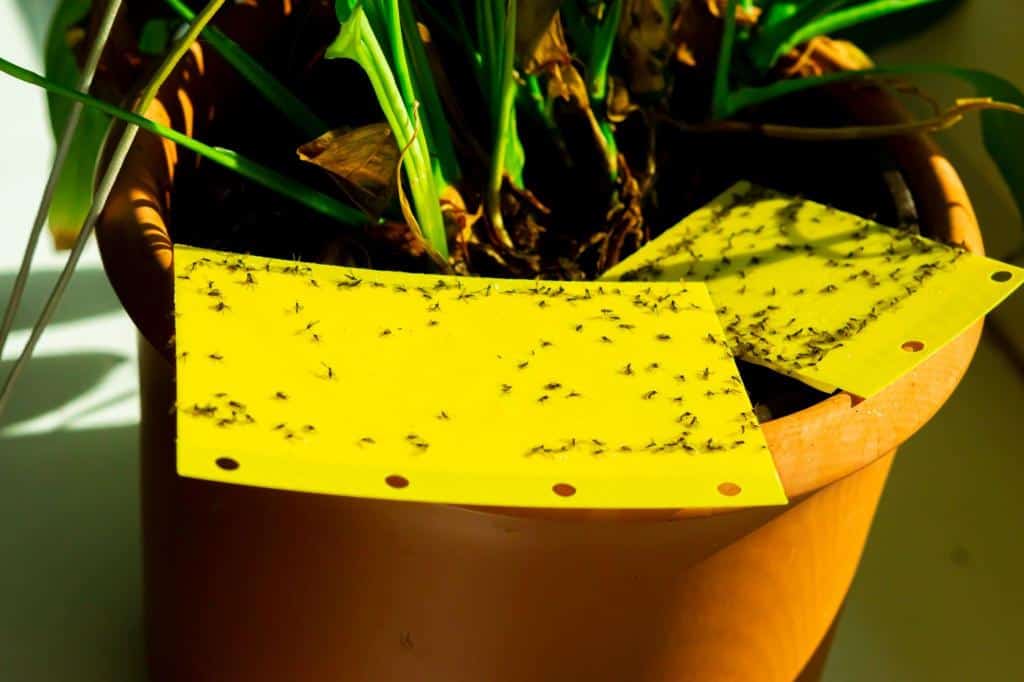
Fungus gnats, those tiny flying pests, may seem harmless, but they can be a real headache for plant enthusiasts. To tackle these bothersome insects effectively, it’s crucial to delve into their life cycle and comprehend the harm they can inflict on your green companions.
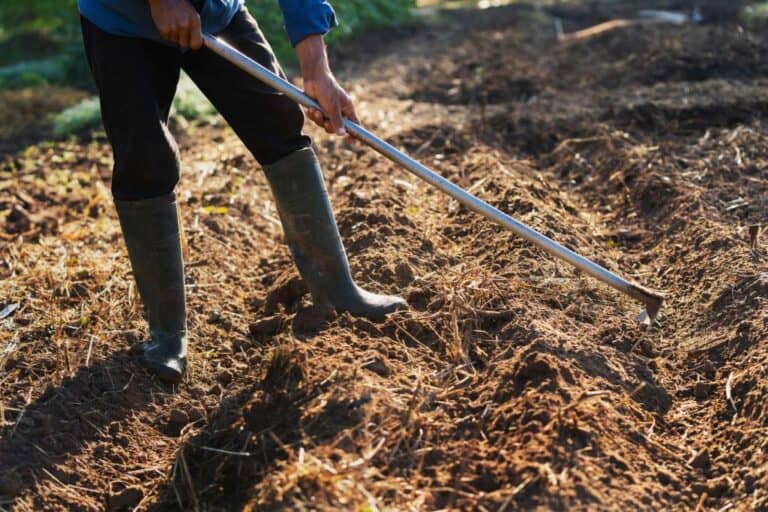
These tiny creatures thrive in moist, organic-rich soil, where they find an abundant food source in decaying matter. Sadly, the same conditions that nourish your plants become a magnet for fungus gnats, making them a frequent indoor gardening nuisance.
Fungus Gnat Life Cycle:
The life cycle consists of four stages: egg, larva, pupa, and adult. Adult fungus gnats lay their eggs in the soil, and upon hatching, the larvae start feeding on organic matter and plant roots. Larvae pupate in the soil, and eventually, adult gnats emerge and begin their flying escapades. This relentless cycle can continue for several weeks, causing stress for your plants and hindering their growth.
Impact on Plants:
Fungus gnat larvae can cause significant damage to your plants by feeding on their delicate root systems. This root damage can lead to stunted growth, reduced nutrient uptake, and increased susceptibility to other pests and diseases.
The adult gnats may feed on the plant’s foliage, leaving behind small, ragged holes. While adult gnats themselves do not harm plants directly, their presence can be a nuisance and detract from your gardening enjoyment.
Why Soil Sterilization Matters
Before we delve into the microwaving technique, it’s crucial to understand why soil sterilization is so essential. Fungus gnats thrive in moist organic matter, and potted plant soil provides them with the ideal breeding ground.
These pests lay their eggs in the soil, and their larvae feed on the organic materials present, including plant roots. Consequently, this can lead to stunted growth and a weakened root system, putting your plants at risk. By sterilizing the soil, you effectively eliminate any pathogens and pests, ensuring a healthier environment for your plants to flourish.
The Benefits of Microwaving Soil
Microwaving soil for sterilization comes with several advantages. First and foremost, it’s a chemical-free method, making it safe for both you and your plants. Unlike using chemical pesticides or fungicides, which may have harmful residues, microwaving is environmentally friendly and doesn’t pose any health risks. Additionally, it’s a quick and convenient process.
With just a few minutes in the microwave, you can treat a small batch of soil effectively. This method is especially handy for those who prefer organic gardening practices.
Microwave Soil Sterilization: Principles and Methodology
Soil sterilization is a powerful approach to eliminating fungus gnats and other harmful pathogens, and one efficient method is using a microwave. The concept revolves around subjecting the soil to microwave radiation, which effectively kills off unwanted pests.
This technique is becoming increasingly popular due to its convenience and safety compared to traditional chemical treatments. Now, let’s delve into the nitty-gritty of microwave soil sterilization.
How to Microwave Soil To Kill Fungus Gnats (Step-by-Step Guide)
Now, let’s get into the nitty-gritty of how to microwave your soil to eliminate those pesky fungus gnats. Here’s a step-by-step guide to help you through the process:
Materials You’ll Need
Before you start, gather the following materials:
- Microwave-safe containers: Choose containers that are suitable for use in the microwave, such as glass or ceramic bowls.
- Soil: Gather the soil that you intend to sterilize. This method is best suited for small batches of soil.
- Water: You’ll need water to moisten the soil before microwaving. Ensure the soil is damp, but not soaking wet.
- Microwave: Of course, you’ll need a microwave oven to carry out the sterilization process.
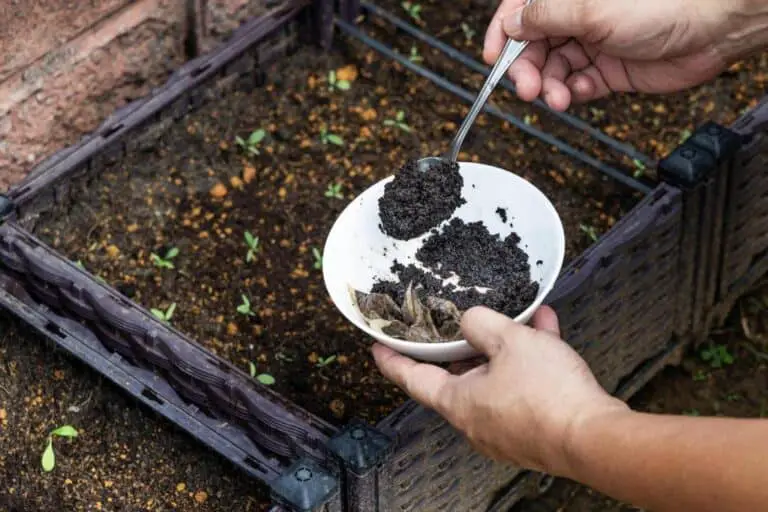
Step 1: Preparing the Soil
Start by filling your microwave-safe containers with the soil you want to treat. It’s best to work with small quantities, as large amounts may not heat evenly. Aim for a layer of soil that’s no more than 2 inches deep in each container.
Step 2: Moistening the Soil
Before microwaving, you’ll want to moisten the soil. Add water gradually and mix thoroughly until the soil reaches a damp consistency. Be cautious not to overwater, as excessively wet soil can lead to uneven heating and may damage your microwave.
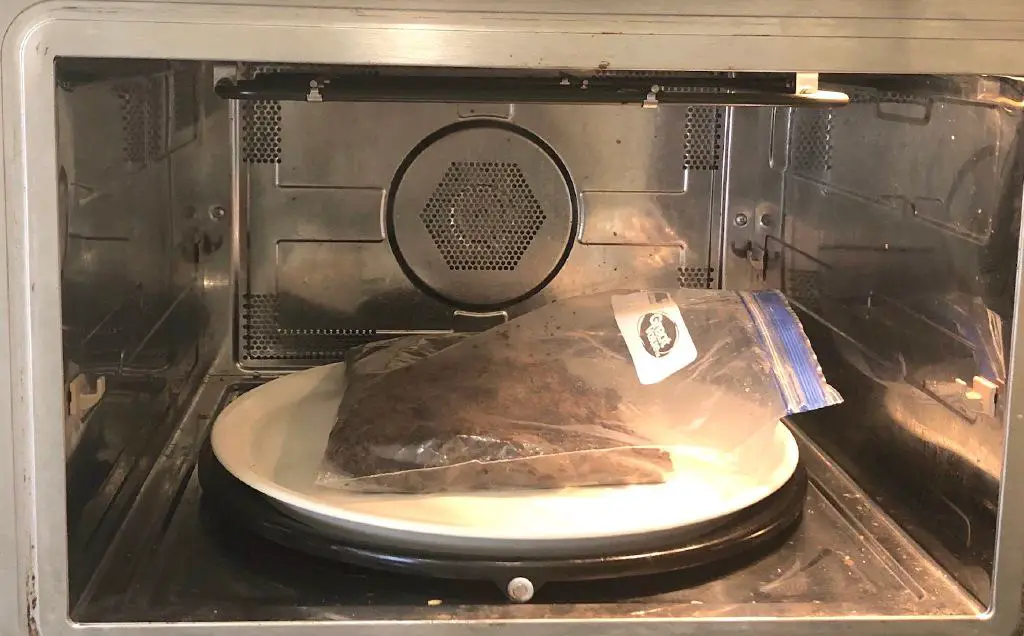
Step 3: Microwaving Process
Place the containers with the damp soil in the microwave. It’s essential to cover the containers loosely with microwave-safe lids or microwave-safe plastic wrap. This allows steam to escape during the process and prevents the containers from bursting.
| Container Size | Microwaving Time |
| Small (8 oz) | 1.5 – 2 minutes |
| Medium (16 oz) | 2.5 – 3 minutes |
| Large (32 oz) | 4 – 5 minutes |
Note: Microwaving times may vary depending on your microwave’s wattage.
Step 4: Cooling Period
Once microwaving is complete, carefully remove the containers from the microwave (they’ll be hot!) and let them cool for a few minutes. The soil needs time to reach room temperature before use.
Step 5: Ready for Planting
Congratulations! Your soil is now sterilized and ready to be used for planting. You can sow your seeds or transplant your seedlings without worrying about those troublesome fungus gnats wreaking havoc.
Alternative Soil Sterilization Methods
While microwave soil sterilization is a fantastic option, it’s always good to explore alternatives. Here’s an overview of some non-microwave soil sterilization techniques and their pros and cons:
| Method | Pros | Cons |
| Boiling | Effective and easy to do at home | Limited to small batches; may not penetrate deep into the soil |
| Oven Sterilization | Suitable for larger quantities of soil | Requires longer time and higher temperatures than microwave |
| Solarization | Eco-friendly and uses natural sunlight | Requires hot and sunny weather; not suitable for all climates |
| Steam Sterilization | Thoroughly kills pests and pathogens | Equipment may be expensive and cumbersome |
| Chemical Sterilization | Quick and efficient in commercial settings | Potential environmental and health risks |
Tips for Successful Microwave Soil Sterilization
- Always use microwave-safe containers, and avoid using metal or any material not suitable for microwaving.
- Work in small batches to ensure even heating and effective sterilization.
- Don’t rush the cooling process; let the soil cool down completely before planting.
- If you’re unsure about the moisture level, use a moisture meter to check before microwaving.
- Consider adding a layer of coarse sand or vermiculite on top of the soil after microwaving to create an additional barrier against gnats.
- Maintain proper plant hygiene and avoid overwatering to prevent future gnat infestations.
Best Practices for Preventing Fungus Gnat Infestations
While microwave soil sterilization helps eliminate fungus gnats, prevention is always better than cure. Follow these best practices to keep your plants gnat-free:
- Avoid overwatering your plants, as moist soil is an ideal breeding ground for fungus gnats.
- Ensure the soil and any amendments you use are free from pests and pathogens.
- Regularly clean your growing area, including containers, tools, and surrounding surfaces, to prevent gnat infestations.
- Introduce beneficial nematodes, predatory mites, or other natural enemies to keep fungus gnat populations in check.
Can I Microwave Garden Soil for Outdoor Plants?
Microwaving garden soil for outdoor plants might sound like a curious idea, and you’re not alone in wondering about its feasibility. While the concept is intriguing, it’s essential to consider the potential implications before zapping your soil in the microwave.
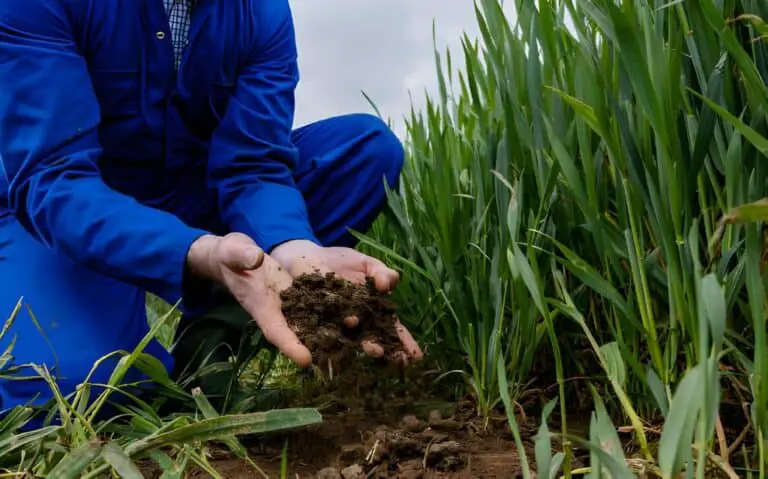
Soil Structure: Microwaving soil can alter its structure due to the heat’s effects on organic matter and minerals. This change could impact water retention and drainage, which are vital factors for plant health.
Microorganisms: Soil is home to a thriving ecosystem of microorganisms that contribute to its fertility and overall health. Microwaving could disrupt this delicate balance by affecting the microbial community, potentially harming the beneficial organisms that support plant growth.
Nutrient Levels: Microwaving soil might lead to a slight reduction in some nutrients due to the heat exposure. While the impact is generally minimal, it’s important to consider how this might influence the nutrient availability for your outdoor plants.
Before microwaving garden soil, weigh the potential pros and cons. If you’re aiming to eliminate pests or pathogens, consider alternative methods like solarization or composting. These techniques can address issues without compromising the soil structure and microorganism balance.
Always prioritize the long-term health of your outdoor plants by making informed decisions based on their specific needs and the potential outcomes of soil microwaving.
Conclusion
In conclusion, microwaving soil to eliminate fungus gnats offers an effective and natural solution to a common gardening woe. By using the microwave method, you can create an inhospitable environment for gnat larvae while maintaining the integrity of your potting mix.
Safe and Effective Technique: Microwaving soil at the appropriate temperature and duration is key. This technique allows you to target and eradicate gnat larvae without resorting to harmful chemicals.
Preventive Measure: Microwaving the potting mix serves as a preventive measure against fungal infestations. By eliminating the larvae present in the soil, you can halt the growth of gnat populations before they become a nuisance.
Natural Gnat Control: Utilizing microwaved potting medium aligns with eco-friendly gardening practices. It provides a non-toxic, natural solution for managing gnat populations, contributing to the overall health of your plants and the environment.
Comparison with Alternatives: When comparing the microwave method with other alternatives for gnat control, microwaving stands out as a safe, efficient, and chemical-free choice. It offers a targeted approach without disrupting the soil’s beneficial microbial community.
In the battle against fungus gnats, microwaving soil emerges as a practical and sustainable strategy. By adhering to safe temperature guidelines and adopting this natural method, you can maintain a thriving garden while bidding farewell to pesky gnat infestations.
FAQs on How to Microwave Soil To Kill Fungus Gnats (Soil Sterilization)
How long should I microwave soil to kill fungus gnats?
Microwave soil in small, microwave-safe containers for 1.5 to 5 minutes, depending on the container size and your microwave’s wattage. This duration ensures the soil reaches a temperature high enough to eliminate fungus gnats and their larvae while avoiding damage to the soil or microwave.
Can I reuse soil after microwaving it for fungus gnats?
Yes, after microwaving the soil to kill fungus gnats, you can reuse it for planting. Ensure the soil cools down completely before using it again. This sterilization method allows for a safe and effective way to eliminate pests and maintain healthy soil for your plants.
Are there any risks to microwaving soil for plants?
When done correctly, microwaving soil is generally safe and poses minimal risks. However, using improper containers or over-microwaving can cause uneven heating and damage the microwave or soil. Ensure you follow proper guidelines to avoid any potential risks during the soil sterilization process.
Can microwaving soil harm beneficial microorganisms?
Microwaving soil can potentially harm some beneficial microorganisms, as the high heat can affect the microbial balance. To preserve beneficial microbes, consider adding compost or other organic matter after microwaving to reintroduce them to the soil.
Does microwaving soil affect plant nutrients?
Microwaving soil may cause a slight reduction in some plant nutrients, but the impact is generally minimal. To maintain soil fertility, supplement with organic fertilizers or compost to replenish any nutrients that might have been affected during the microwaving process.
Is it safe to microwave different types of soil?
Microwaving is safe for various types of soil, including potting mix and garden soil. However, avoid microwaving soil containing metal or any materials not suitable for microwaving. Stick to microwave-safe containers and follow the recommended guidelines for the best and safest results.
What materials should I use for a microwave-safe container when sterilizing soil?
Use microwave-safe glass or ceramic containers. Avoid plastic containers as they may melt or release harmful chemicals during the process.
Are there any specific soil types or plant species that are sensitive to microwave sterilization?
Most common garden soil types and plant species can withstand microwave sterilization without adverse effects. However, delicate or heat-sensitive plants may suffer damage.
How often should I sterilize the soil to prevent fungus gnat infestations?
It’s best to sterilize the soil before planting new crops or when you suspect a fungus gnat infestation. Regular sterilization may disrupt the balance of beneficial microorganisms in the soil.
Are there any DIY alternatives to commercial soil sterilization equipment using a microwave?
Yes, some gardeners have improvised microwave soil sterilization setups using large glass containers and microwave-safe trays to sterilize larger quantities of soil.
Is it possible to overheat the soil during the microwave sterilization process?
Yes, overheating can occur if you use a high power setting or microwave the soil for too long. This can lead to soil damage and even fire hazards, so it’s crucial to monitor the process carefully.