How to Sterilize Soil in Raised Beds for Healthy Plant Growth
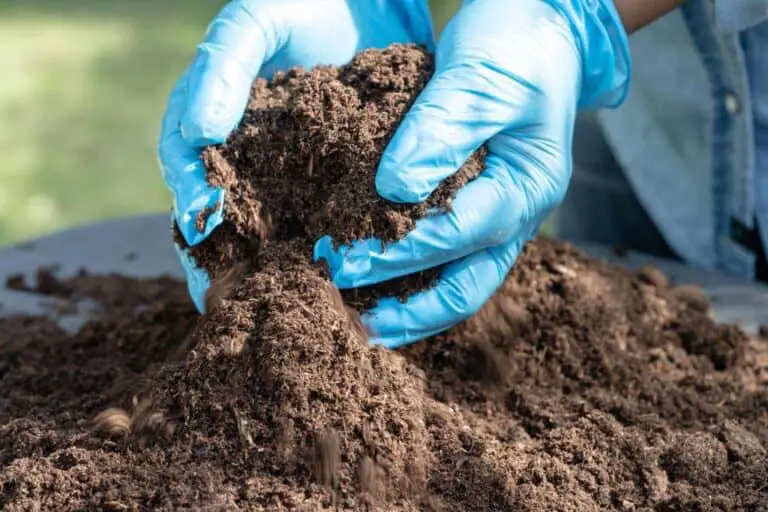
In the enchanting world of gardening, where seeds transform into lush havens of life, the secret to healthy plant growth lies beneath the surface – in the soil. Imagine your garden as a sanctuary where plants thrive, a paradise where they sway in the breeze and paint the air with fragrant hues. But like any masterpiece, it all starts with the canvas, and for plants, that canvas is the soil.
Enter the intriguing technique of sterilizing soil in raised beds. It’s like giving your plants the VIP treatment, ensuring that their foundation is as pristine as a freshly fallen snow. Just as we clean our living spaces for comfort, our green companions deserve a clean, disease-free environment to flourish.
In this journey, we’ll uncover the art and science of soil sterilization, revealing how it’s more than just a technique – it’s a pledge to nurture a vibrant, thriving garden. So, grab your gardening gloves and let’s delve into the magic of sterilized soil, where healthy plant growth becomes the masterpiece of your garden’s story.
Why and When to Sterilize Soil?
Before delving into the how, let’s briefly discuss the importance of soil sterilization. Soil is home to various microorganisms, many of which are beneficial for plant growth. However, some soil-borne pathogens and pests can harm your plants, leading to stunted growth or even plant death. By sterilizing the soil, you can reduce the number of harmful organisms and create a clean slate for your plants to thrive.
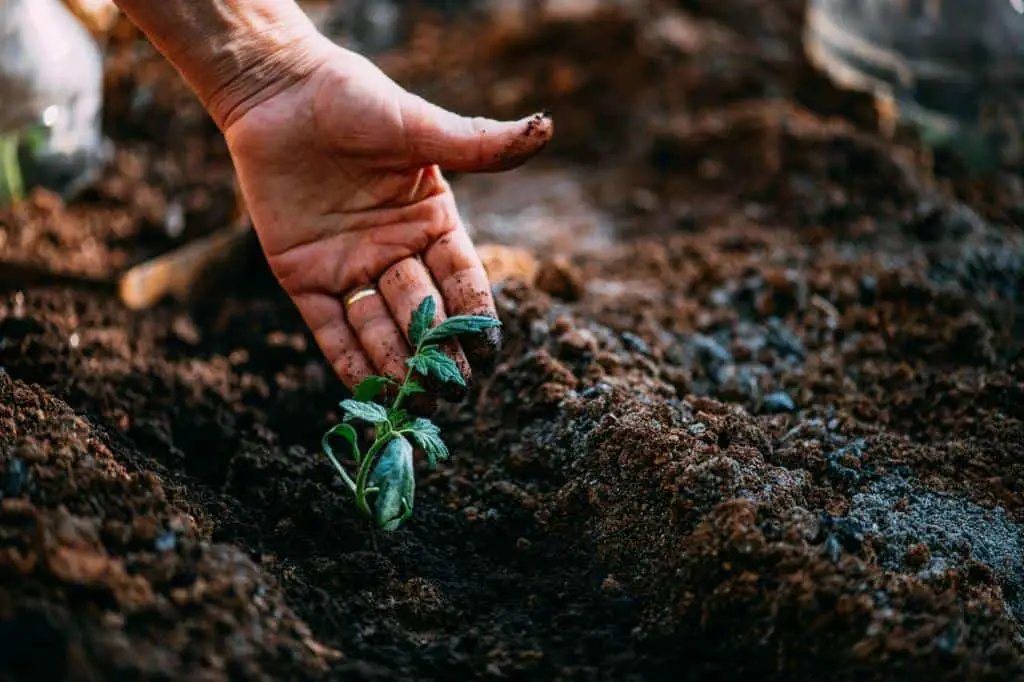
Sterilizing the soil is a crucial step, especially when you are starting a new garden or introducing new plants to your raised beds. It’s best to do this before planting season, as it may take some time for the soil to cool down and be ready for planting. If you’re transplanting existing plants, consider sterilizing the soil during the dormant season to minimize the shock to the plants.
Importance of Sterilizing Soil in Raised Beds
In the world of gardening, soil sterilization emerges as a potent ally in ensuring thriving plant growth. At first glance, the term might appear daunting, but in reality, it is a simple yet effective technique that works wonders for your green endeavors.
The process involves ridding the soil of harmful pathogens, pests, and weed seeds, ultimately paving the way for an optimal growing environment for your precious plants. Picture this: a garden free from unnecessary competition or threats, where your plants can flourish without hindrance.
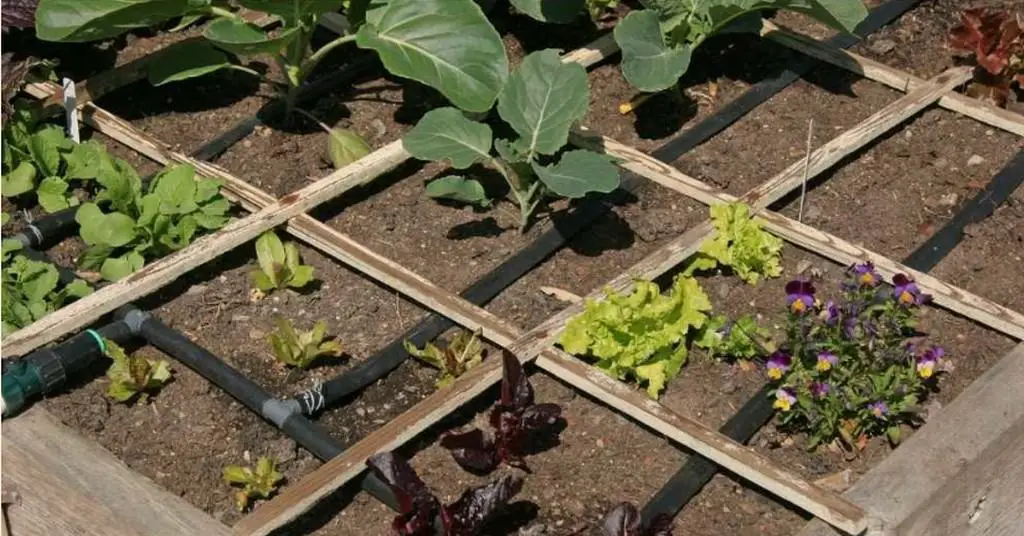
Now, let’s take a closer look at the concept of raised beds. These innovative gardening structures elevate the gardening experience to a whole new level—literally! Raised beds offer a plethora of benefits, such as improved drainage, reduced soil compaction, and enhanced aeration.
However, the magic truly unfolds when you sterilize the soil within these beds. By doing so, you amplify the advantages of raised beds. With a controlled and sanitized environment at their roots, your plants can direct their energy towards growth, rather than expanding it to battle relentless pests or diseases.
Preparing Raised Beds for Soil Sterilization
1. Bed Cleanup
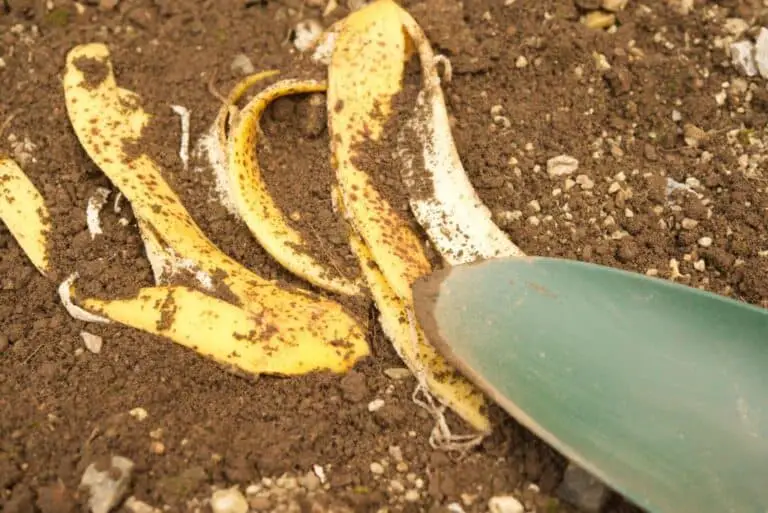
Before you begin the sterilization process, tidy up your raised beds. Remove any debris, weeds, or old plant material. This step sets the stage for effective soil treatment.
2. Leveling and Drainage
Ensure your raised beds are level and have proper drainage. This ensures an even distribution of sterilization agents and prevents water logging after the process.
3. Choosing the Right Method
Different materials, like wood or concrete, make up raised beds. The material can influence your choice of sterilization method. For instance, heat sterilization might work well for some materials, while others might be better suited for chemical sterilization.
How to Sterilize Soil in Raised Beds
There are several methods you can use to sterilize the soil in your raised beds. Each method has its advantages, so you can choose the one that suits your needs and resources.
1. Solarization
Solarization is a simple and eco-friendly method of soil sterilization. It utilizes the sun’s heat to kill pathogens and pests effectively. Here’s how you can do it:
- Clear the raised bed of any debris or large rocks.
- Moisten the soil evenly to a depth of about 12 inches.
- Cover the raised bed with a clear plastic tarp, ensuring it’s secure around the edges to trap the heat.
- Leave the tarp in place for 4 to 6 weeks during the hottest period of the year.
The sun’s heat trapped under the tarp will raise the temperature of the soil, effectively eliminating harmful organisms.
Solarization requires patience. Allow the covered soil to bask in the sun’s warmth for about 4 to 6 weeks during the hottest part of the year. This time frame ensures that harmful organisms, including pests and diseases, are eradicated. Consider factors like climate and local conditions when planning your solarization schedule for optimal results.
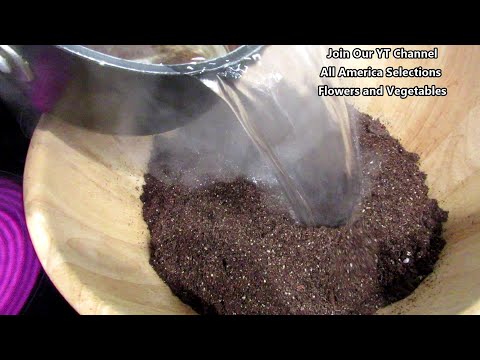
2. Steam Sterilization
Steam sterilization is a more controlled method that uses heat to kill pathogens and pests without damaging the soil structure. You can either purchase a soil steamer or make one yourself. Here’s how:
| Materials Needed |
| Large metal drum or barrel |
| Propane burner |
| Metal grate or wire mesh |
- Drill holes in the metal drum for ventilation.
- Place the metal grate or wire mesh inside the drum to hold the soil.
- Fill the drum with soil up to a depth of about 6 inches.
- Using the propane burner, heat the drum until the soil temperature reaches around 180°F (82°C).
- Maintain this temperature for 30 minutes, ensuring all parts of the soil are heated evenly.
- Let the soil cool down before using it in your raised beds.
3. Baking the Soil
Baking the soil is a convenient method for smaller quantities of soil. You can use your oven to sterilize the soil effectively. Here’s how:
- Preheat your oven to 180°F (82°C).
- Fill an oven-safe container with the soil up to a depth of about 4 inches.
- Place the container in the preheated oven and bake the soil for 30 minutes.
- Allow the soil to cool down before using it in your raised beds.
4. Chemical Sterilization
Chemical sterilization introduces specific substances to the soil to eliminate pathogens and pests. While effective, it’s important to handle chemicals with care. Choose appropriate chemicals, precisely measure them, and follow safety guidelines diligently. After the sterilization process, a waiting period allows the chemicals to break down before you can plant in the treated soil.
- Opt for chemicals designed for soil sterilization. Follow the manufacturer’s instructions and dosage recommendations carefully.
- Precision is key with chemicals. Accurately measure and apply the chemicals to your soil. Overdoing it can have adverse effects on your plants and the environment.
- After sterilization, exercise patience. Wait for the recommended period before planting in the treated soil. This ensures any remaining chemical residue breaks down, keeping your plants safe.
More: How to Microwave Soil To Kill Fungus Gnats (Soil Sterilization)
Comparing Soil Sterilization Methods
| Method | Pros | Cons |
| Heat Sterilization | Natural, chemical-free approach. | May alter soil structure and nutrient balance. |
| Chemical Sterilization | Highly effective against pathogens. | Risk of harming beneficial organisms. |
| Solarization | Environmentally friendly, energy-efficient. | Takes time and relies on climatic conditions. |
| Steam Sterilization | Efficient and reliable. | Requires specialized equipment. |
When choosing a sterilization method, consider factors such as effectiveness, environmental impact, and cost to make the best decision for your garden.
Read: Does Soil Solarization Kill Worms and Nematodes?
Is Soil Sterilization Essential for Gardening Success in Raised Beds?
Sterilizing soil in raised beds undoubtedly offers advantages, yet its necessity depends on various factors. A thriving garden doesn’t always demand regular sterilization. When you adopt practices like maintaining soil health, ensuring proper drainage, and practicing crop rotation, you may find that sterilization becomes an occasional rather than constant requirement.
Balancing Soil Health and Sterilization
The decision to sterilize hinges on your garden’s unique needs. If you’re embarking on a new gardening venture, soil sterilization can provide a clean slate for your plants to flourish without competition from pests and diseases. Similarly, if you’ve been grappling with persistent plant issues, sterilization could be the remedy you need.
Evaluating Your Garden’s Needs
Ultimately, the necessity of soil sterilization depends on your specific gardening goals and challenges. By combining effective practices for maintaining soil quality and considering sterilization when it aligns with your circumstances, you can strike the right balance between nurturing your plants and utilizing sterilization techniques. Remember, a healthy garden is the result of thoughtful care and a tailored approach.
How Often Should I Sterilize the Soil in Raised Beds?
The rhythm of soil sterilization dances to the beat of your gardening goals. If you’re treading on fresh gardening ground, consider a thorough sterilization before planting. This pristine start wipes the slate clean, banishing potential pests and pathogens that might have lurked beneath. Think of it as a grand opening for your garden, with a sterile stage set for when your plant starts to shine.
Yet, the symphony of sterilization doesn’t always require an annual encore. If your garden has been grappling with persistent pest invasions or recurring diseases, an annual sterilization routine could be the heroic intervention your plants need. By resetting the soil’s biological clock, you’re granting your garden a fighting chance to thrive unhindered.
However, every act has an intermission. Over-sterilizing can mute the beneficial microbial chorus that orchestrates soil health. Instead, harmonize your efforts by weaving sterilization into a broader strategy. Embrace companion planting, feed your soil with organic matter, and rotate your crops to achieve a harmonious melody of flourishing plants. Remember, the rhythm of soil sterilization finds its groove when choreographed with other nurturing practices.
Conclusion
Effective ways to sterilize soil in raised beds involve various methods that guarantee a healthy growing space for your plants. One approach is solarization, where you cover the moist soil with clear plastic during the hot summer months, effectively trapping heat and killing pathogens and weeds. Alternatively, steam sterilization utilizes steam from boiling water to eradicate pests and pathogens in the soil. Another method is chemical sterilization, where chemicals like methyl bromide are used with caution to treat the soil. Whichever method you choose, it’s crucial to follow the steps diligently to ensure the best results.
To start the soil sterilization process, begin by preparing the raised beds. Remove any existing plant debris, rocks, or weeds from the area. Then, thoroughly moisten the soil to improve heat conduction during solarization or steam sterilization. Cover the soil with the appropriate sterilization material, whether plastic or steam-generating equipment, and let it work its magic over the recommended period. During this time, maintain soil balance by testing the pH levels and adjusting nutrients accordingly.
Equipping yourself with the right tools and equipment is essential for successful soil sterilization in raised beds. For solarization, you’ll need clear plastic sheets or mulch, while steam sterilization requires access to steam-generating equipment. When using chemicals, carefully follow the manufacturer’s instructions and safety guidelines. By embracing these effective sterilization methods, carefully following the steps, and learning from experienced gardeners, your raised beds will become a flourishing haven for your plants to grow and thrive in abundance. Happy gardening!
FAQs on Importance of Sterile Soil in Raised Bed Gardening
How often should I sterilize the soil in raised beds?
The frequency of soil sterilization depends on your specific gardening needs. For new garden beds or when introducing new plants, sterilize the soil before planting to ensure a clean slate. If you’re dealing with recurring pest or disease issues, sterilizing annually can help maintain a healthy environment.
Are there natural alternatives to chemical soil sterilization?
Yes, there are natural alternatives to chemical soil sterilization. Solarization, which uses the sun’s heat to kill pathogens and pests, is an eco-friendly option. Additionally, moist heat can pasteurize soil without the use of chemicals. Employing organic matter and compost can also enhance soil health and suppress harmful organisms naturally.
Can I sterilize soil using household items?
Yes, you can sterilize soil using household items. Baking soil in the oven at 180°F (82°C) for 30 minutes is a convenient method for smaller quantities. However, for larger garden beds, consider other techniques like solarization or steam sterilization. A large metal drum, propane burner, and metal grate can be used to create a DIY soil steamer. You can also sterilize soil using household bleach.
Is soil sterilization necessary for all types of plants?
Soil sterilization is not always necessary for all types of plants. Some hardy plants may thrive in regular garden soil without the need for sterilization. However, for disease-prone plants or when facing persistent pest issues, sterilizing the soil can greatly benefit the overall plant health and increase gardening success.
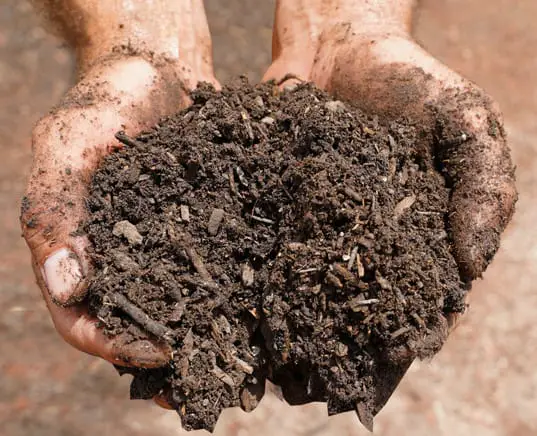
Can I reuse soil from previous crops after sterilization?
Yes, you can reuse soil from previous crops after sterilization. Once the soil is properly sterilized and cooled down, it becomes safe for reuse. However, mix it with fresh compost or organic matter to replenish nutrients and beneficial microorganisms for healthier plant growth.
What are the potential risks of chemical soil sterilization?
Chemical soil sterilization can effectively kill pathogens and pests, but it also has potential risks. Some chemicals may persist in the soil, affecting beneficial organisms and disrupting the natural ecosystem. Moreover, excessive use of chemical sterilizers can lead to soil degradation and environmental pollution.
How long does it take for soil to cool down after heat sterilization?
After heat sterilization, the soil may take several hours to cool down completely. The cooling time depends on factors like the soil’s initial temperature, ambient temperature, and the depth of the soil in the container. Avoid using hot soil immediately to prevent plant damage.
Are there any specific soil types where solarization is less effective?
Solarization is generally effective in most soil types, especially in regions with intense sunlight and high temperatures. However, in areas with extended periods of cloudy or cool weather, solarization may be less efficient. Additionally, heavily compacted or clayey soils may not achieve optimal results due to reduced heat penetration.