What Are the Advantages and Disadvantages of Soil Solarization?
In the ever-evolving world of agriculture and gardening, innovation is often the key to unlocking nature’s bountiful potential. Amidst the search for sustainable practices that nurture the earth without compromising its health, a fascinating technique has emerged – soil solarization. It’s a captivating dance between science and sunshine, where the sun itself takes the lead in nurturing the soil.
Soil solarization isn’t your typical garden hack or chemical-laden quick fix. Instead, it’s a gentle yet powerful process that harnesses the sun’s warm embrace to eliminate pesky pests, control diseases, and tame those unruly weeds. It’s as if the sun whispers to the soil, coaxing it into a state of perfect harmony.
But every enchanting tale has its twists, and soil solarization is no exception. As with any innovation, there are both shimmering advantages and darker shadows lurking beneath the surface. So, let’s embark on an enlightening journey through the sun-dappled world of soil solarization, where we’ll uncover the magic it bestows upon our beloved earth – along with the trade-offs we must consider.
Introduction to Soil Solarization
Soil solarization is a powerful and eco-friendly technique used in agriculture and gardening to control pests, weeds, and pathogens in the soil. It harnesses the sun’s energy to heat the soil, thereby creating unfavorable conditions for unwanted organisms. Let’s delve into the definition, historical background, and working principles of this innovative practice.
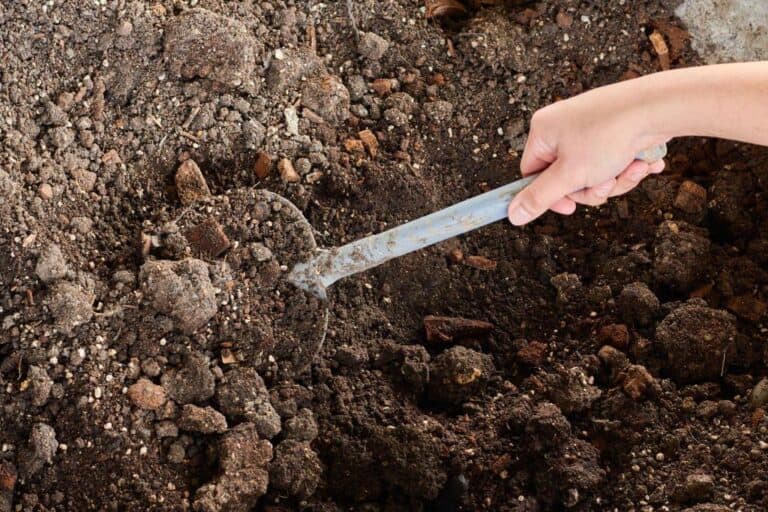
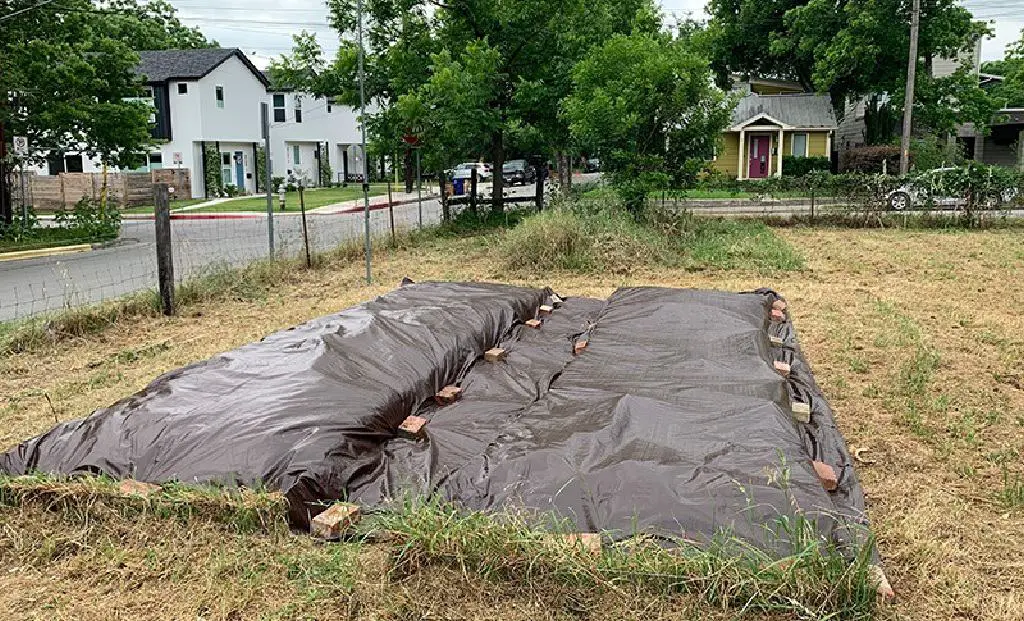
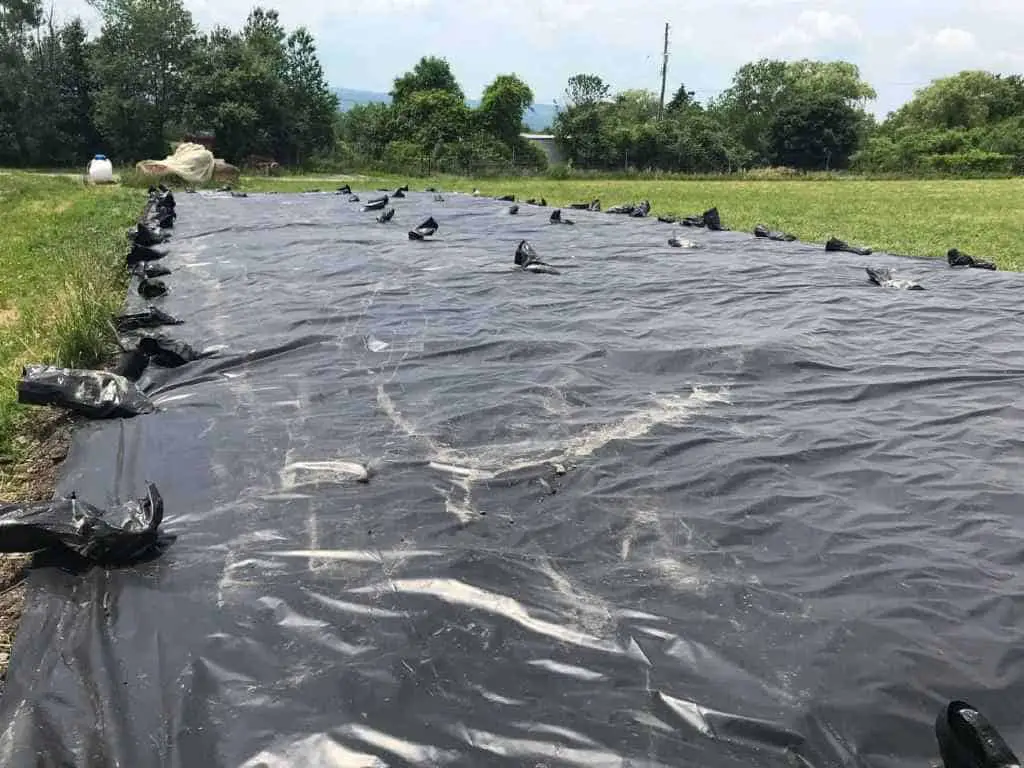
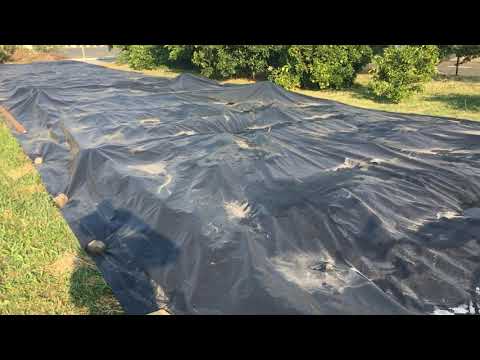
Soil solarization involves covering the moistened soil with clear plastic sheeting. The trapped solar radiation heats up the soil, raising its temperature to levels that can effectively kill or suppress harmful organisms and improve overall soil health.
The concept of soil solarization dates back to the early 20th century. It was initially developed as a pest control technique in Mediterranean regions and later gained popularity worldwide due to its non-chemical and environment-friendly approach.
The clear plastic absorbs the sun’s energy during the solarization process, creating a greenhouse effect. The trapped heat raises the soil temperature, reaching up to 125°F (52°C) in the top layers. This high temperature is maintained for several weeks, effectively combating soil-borne pests and pathogens.
Advantages of Soil Solarization
Soil solarization offers a myriad of benefits for crop cultivation and gardening. Let’s explore some of the key advantages:
1. Weed Control
Soil solarization is highly effective in eliminating both common and hard-to-control weeds. The high temperatures disrupt weed growth cycles, reducing weed populations significantly.
2. Pest Management
By reducing soil-borne pathogens and pests, soil solarization acts as a natural and sustainable pest control method, minimizing the need for chemical interventions.
3. Enhanced Nutrient Availability
The solarization process enhances nutrient release and availability in the soil, making essential elements more accessible to plants and promoting healthy growth.
4. Improved Seed Germination
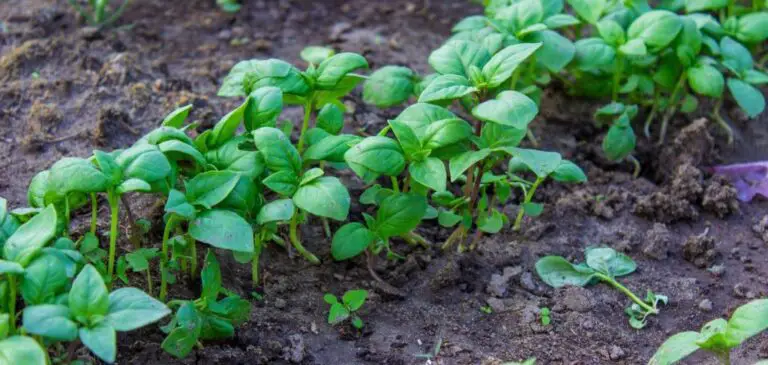
Soil solarization creates an optimal environment for seed germination and early plant growth, promoting stronger and healthier seedlings.
5. Eliminate Germs and Diseases
Harmful microorganisms and soil-borne diseases are effectively eliminated during the solarization process, leading to healthier and disease-resistant soil.
6. Increased Water Retention
Soil solarization enhances the soil’s water-holding capacity, reducing water loss through evaporation and enhancing water availability for plants.
7. Extended Growing Season
By warming the soil, soil solarization extends the planting and growing seasons, enabling farmers and gardeners to cultivate crops for longer periods.
Disadvantages of Soil Solarization
While soil solarization is an effective technique, it does have some limitations and drawbacks:
1. Climate Dependency
The climate has an impact on the effectiveness of soil solarization. Regions with consistently cloudy or cool weather may not achieve the desired soil temperatures for effective solarization.
2. Time-Consuming Process
Soil solarization typically requires several weeks to be effective. It demands patience and proper planning, which might not be suitable for time-sensitive planting schedules.
3. Limited Depth of Penetration
The top few inches of soil are where soil solarization generates the most heat. Deeper soil layers might not experience the same level of temperature increase, limiting the control of certain pests and pathogens.
4. Risk of Overheating
While soil solarization targets harmful organisms, excessive temperatures could also harm beneficial soil organisms and microorganisms essential for soil health.
5. Variable Results
The success of soil solarization may vary depending on factors like soil type, initial pest and pathogen populations, and the quality of the plastic used.
6. Residual Chemicals
Some plastics used for soil solarization might contain additives or chemicals that can leach into the soil, raising concerns about environmental impact and potential contamination.
7. Environmental Impact
The use of plastic sheeting for solarization raises environmental concerns related to waste generation and plastic disposal, which might not align with sustainable practices.
Steps to Implement Soil Solarization
You already know some advantages and disadvantages of soil solarization. Now that it’s time to implement soil solarization effectively, follow these essential steps:
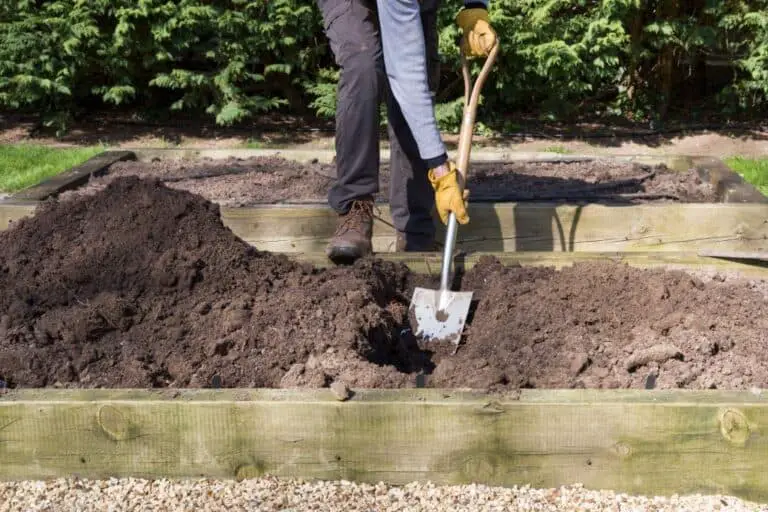
Step 1. Preparing the Soil
Start by clearing the area of debris and removing existing weeds to create a clean environment for solarization.
Step 2. Moistening the Soil
Before covering with plastic, ensure the soil is adequately moist, as dry soil may not conduct heat as effectively.
Step 3. Laying the Plastic
Cover the prepared soil with clear plastic sheeting, ensuring it is tightly secured and covers the entire area.
Step 4. Securing the Plastic
Properly secure the edges of the plastic to prevent it from shifting or flying away during windy conditions.
Step 5. Solarization Period
Allow the soil to solarize for the recommended duration, typically 4 to 6 weeks during the hottest months of the year.
Step 6. Removing the Plastic
After the solarization period, remove the plastic and prepare the soil for planting or further treatment as needed.
Step 7. Post-Solarization Practices
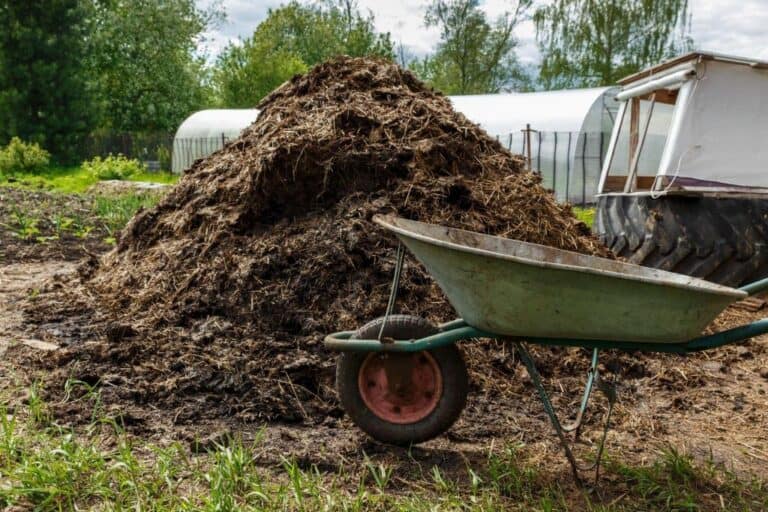
Implement additional soil management practices, such as adding organic compost after soil solarization application, to maximize the benefits of soil solarization.
What Types of Plastic Are Suitable for Soil Solarization?
When it comes to soil solarization, choosing the right type of plastic is crucial for successful implementation. Not all plastics are created equal, and some are more effective at trapping and retaining heat than others. To ensure you get the best results, let’s explore the types of plastic that are suitable for soil solarization.
- Clear Polyethylene Plastic
Clear polyethylene plastic is the most commonly used material for soil solarization. It allows sunlight to pass through and creates a greenhouse effect, effectively raising the soil temperature. Look for a plastic with a thickness of 1 to 4 mils for optimal heat retention.
- Transparent Polyethylene Plastic
Similar to clear polyethylene, transparent polyethylene also allows sunlight to penetrate the soil. This type of plastic is widely available and can be used for soil solarization with excellent results.
- Low-density Polyethylene (LDPE) Plastic
Low-density polyethylene is a popular choice for its flexibility and durability. It comes in various thicknesses, and a 4 to 6 mil LDPE plastic can provide sufficient heat retention for soil solarization.
- Ultraviolet (UV) Stabilized Plastic
UV-stabilized plastic is treated to withstand prolonged exposure to sunlight without deteriorating. This ensures that the plastic remains effective for the entire solarization period.
When selecting the plastic for your soil solarization project, avoid using recycled plastics or black plastic for soil solarization. They do not allow enough sunlight to penetrate and raise the soil temperature adequately.
Secure the plastic tightly to the ground to prevent air pockets and maximize heat transfer. With the right plastic and proper installation, you’ll create the perfect environment for soil solarization to work its magic and enhance your gardening success.
Best Practices and Tips for Successful Soil Solarization
For optimal results, consider the following best practices and tips:
- Choosing the Right Location: Select areas with full sun exposure for the most effective solarization process.
- Selecting the Appropriate Time: Plan soil solarization during the hottest months of the year, when the sun’s energy is at its peak.
- Soil Preparation: Remove large debris, rocks, and dense vegetation before initiating the solarization process.
- Plastic Selection: Opt for high-quality, UV-resistant plastic sheeting to ensure optimal heat retention.
- Monitoring the Process: Regularly monitor soil temperature and moisture levels during the solarization period to ensure effectiveness.
- Complementary Techniques: Consider integrating soil solarization with other soil management practices, such as crop rotation and cover cropping.
- Rotating Crops: Incorporate soil solarization into a well-planned crop rotation scheme to maximize its benefits.
Comparing Soil Solarization to Other Soil Treatment Methods
To better understand the advantages and disadvantages of soil solarization, let’s compare it to other common soil treatment methods:
| Treatment Method | Advantages | Disadvantages |
| Chemical Pesticides | Effective and rapid pest control | Harmful to humans, beneficial organisms, and the environment<br>Chemical residues may remain in the soil and crops |
| Mechanical Tilling | Can improve soil structure | Soil erosion risk<br>Destroys beneficial soil organisms<br>High fuel consumption and soil compaction |
| Cover Crops | Improves soil fertility and structure | Time-consuming<br>May compete with cash crops for nutrients and water<br>Some cover crops can become invasive |
| Compost and Mulching | Enhances soil organic matter and moisture retention | Slower pest control and weed suppression<br>May attract pests initially<br>Quality of compost varies widely |
Conclusion
In conclusion, understanding the advantages and disadvantages of soil solarization is crucial for making informed decisions about agricultural practices. This age-old method of soil disinfection offers several undeniable benefits, making it an attractive option for farmers and gardeners alike.
The pros of soil solarization include its eco-friendly nature, as it does not involve the use of harmful chemical sterilizing agents. Moreover, it efficiently eliminates pests, pathogens, and weed seeds, contributing to improved soil sterility in agriculture. The ability to control soil-borne diseases and enhance plant growth are clear advantages that cannot be ignored.
However, it’s essential to acknowledge the potential drawbacks of soil solarization. Its reliance on heat-based methods can impact the ecosystem, leading to unintended consequences for beneficial soil microorganisms. Additionally, the process requires careful planning and patience, as it may take several weeks to achieve the desired results.
When considering soil solarization, it’s vital to weigh the benefits against the potential negative impacts. Farmers and gardeners must strike a balance between soil sterility and preserving the overall health of the ecosystem. Adopting integrated pest management practices and rotating soil sterilization methods can help mitigate some of the disadvantages.
In the ever-evolving world of agriculture, understanding the pros and cons of soil disinfection methods empowers us to make responsible choices for sustainable and fruitful farming practices. By embracing soil solarization alongside other complementary techniques, we can unlock the full potential of our soils, fostering a resilient and thriving environment for future generations.
FAQs on Pros and Cons of Soil Disinfection and Sterilization
How long does soil solarization take to be effective?
The effectiveness of soil solarization depends on factors like climate and soil type. In hot summer months, it typically takes 4 to 6 weeks for the process to be effective in controlling pests, diseases, and weeds. Cooler climates or heavier soils may require longer exposure to achieve the desired results.
Can soil solarization be done in any climate?
Soil solarization is most effective in warm and sunny climates with temperatures consistently reaching 80°F (27°C) or higher. While it can still work in cooler regions, the process may take longer, and efficacy could be reduced.
Is soil solarization safe for organic farming?
Yes, soil solarization is a safe and eco-friendly method, making it compatible with organic farming for improving soil quality. It avoids the use of synthetic chemicals, promoting a healthier environment and preserving soil fertility.
Does soil solarization work for all types of soil?
Soil solarization can be effective on a wide range of soil types. However, its efficacy may vary depending on factors such as soil moisture content, organic matter, and depth. Sandy soils respond better to solarization than heavy clay soils.
Can I use soil solarization in my backyard garden?
Absolutely! Soil solarization can be applied in small-scale settings, including backyard gardens. It offers an eco-friendly and practical alternative to chemical treatments, promoting healthier plants and reducing weed growth.
How often should I repeat soil solarization in the same area?
For optimal results, it’s recommended to rotate soil solarization with other pest control methods to prevent pest resistance. Ideally, you can repeat the process every few years or whenever pest, weed, or disease pressure becomes significant.
Is soil solarization an eco-friendly technique?
Yes, soil solarization is considered eco-friendly as it avoids the use of harmful chemicals and reduces the impact on the environment. It relies on the sun’s energy and promotes soil health, making it a sustainable and responsible choice for farmers and gardeners.
Can soil solarization completely eliminate pests and diseases?
While soil solarization is effective in reducing pest and disease populations, it may not completely eradicate all organisms. Some pests and diseases may persist in the deeper soil layers or reinfest the area after a while.
Can I grow crops immediately after soil solarization?
After soil solarization, it’s best to wait a few weeks before planting to allow the soil to cool and beneficial microbial populations to recover. This ensures that excessive heat won’t harm newly planted crops.
Are there any alternatives to soil solarization for pest control?
Yes, several alternatives to soil solarization exist, including crop rotation, cover cropping, biological pest control, and integrated pest management (IPM) strategies. Combining different methods can enhance pest control efficacy.
Can soil solarization be used for large-scale agricultural operations?
While soil solarization is feasible for smaller areas, implementing it on a large scale may be challenging due to the cost and logistics of covering extensive fields. Large-scale operations may opt for other pest control techniques that better suit their needs.
How does soil solarization impact beneficial soil organisms?
While soil solarization can harm some beneficial soil organisms, they often recover after the soil cools down. It’s essential to strike a balance between pest control and preserving a healthy soil ecosystem by adopting integrated pest management practices.