How To Sterilize Soil in the Sun With Black Plastic (Soil Solarization)
Basking in the warmth of the sun, your garden beckons, ready to embrace a new planting season. But before you sow the seeds of success, there’s a crucial step that seasoned gardeners swear by: soil sterilization.
Picture this: a simple, eco-friendly method that rids your soil of lurking pests, pesky weeds, and harmful pathogens, paving the way for a flourishing paradise of greenery.
Enter the sun and its trusted ally, black plastic. Together, they form a dynamic duo, transforming your patch of earth into a thriving haven for your beloved plants. In this guide, we’ll take you on a journey through the art of soil sterilization with black plastic, revealing the secrets that will elevate your gardening game to a whole new level.
Why Sterilize Soil?
Before we dive into the how-to, let’s briefly explore the advantages of sterilizing soil. Healthy soil is the foundation for robust plant growth, but it’s not uncommon for soil to harbor unwanted pests and diseases. By sterilizing the soil, you can:
- Eliminate Harmful Pathogens: Soil can host various harmful bacteria, fungi, and nematodes that can damage or kill your plants. Sterilization ensures these threats are neutralized.
- Prevent Weed Growth: Weeds are notorious for competing with your plants for nutrients and water. Sterilizing the soil reduces weed populations, giving your plants a better chance to thrive.
- Boost Plant Health: By removing pests and pathogens, your plants can focus on growing and developing strong root systems, leading to healthier, more productive crops.
- Prepare for New Plantings: If you’re planning to start a new gardening season or replant in containers, sterilizing the soil creates a clean slate for your upcoming endeavors.
Understanding Soil Sterilization
When it comes to gardening and agriculture, soil sterilization plays a vital role in ensuring healthy plant growth and preventing the spread of diseases. Soil sterilization refers to the process of eliminating harmful pathogens, pests, and weeds from the soil to create an optimal environment for plants to thrive.
One effective method to sterilize soil is soil solarization with black plastic. This method utilizes the power of the sun in combination with black plastic to achieve sterilization. This process not only protects your plants but also promotes soil health in the long run. However, it’s essential to be aware of both the advantages and drawbacks of using black plastic for solarization.
The applications of sterilized soil are vast, spanning both gardening and farming. It’s an ideal medium for starting seeds, ensuring that young seedlings have a clean and healthy environment in which to establish their roots.
In agriculture, solarized soil can be employed in greenhouse production, nurseries, and even crop rotation practices to break pest and disease cycles effectively.
Why Use Black Plastic for Soil Solarization?
Black plastic boasts an incredible ability to absorb sunlight with finesse. As it blankets the moist soil, its dark color works by absorbing and trapping the sun’s rays to create an oven-like effect.
Black plastic may be more suitable in cooler or cloudier areas where clear plastic may not trap enough heat. In warmer areas with ample sunlight, clear plastic is generally more effective for solarization.
By creating a barrier that prevents water from escaping, it ensures that the covered soil remains consistently moist. This moisture-rich environment amplifies the sterilization process and nurtures the soil organisms that play vital roles in maintaining soil health.
Solarization with black plastic is highly effective in reducing soil-borne pests, diseases, and weed populations. While it significantly decreases their numbers, it may not completely eliminate every single one.
However, when executed correctly, this natural method proves to be a potent and eco-friendly means of creating a healthier environment for your plants.
Preparing for Soil Sterilization and Materials You’ll Need
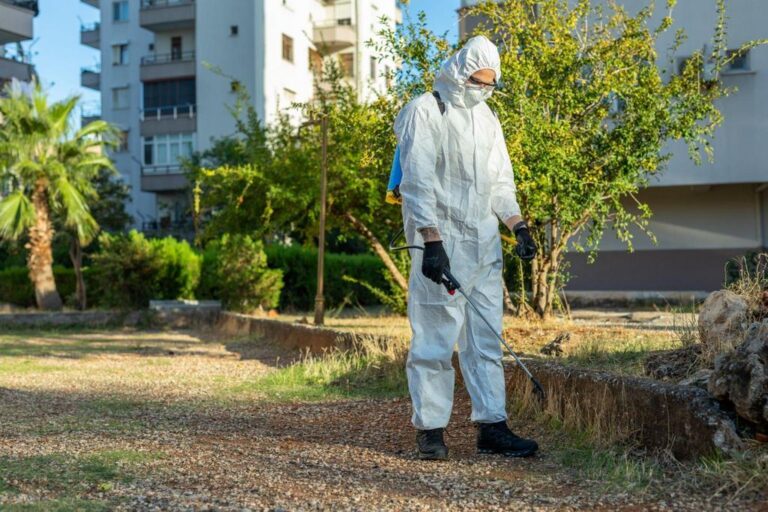
To begin the soil sterilization process, carefully select the appropriate location for solarization. Ideally, choose an area with maximum sunlight exposure throughout the day.
Before applying the black plastic, ensure that the soil is well-prepared. Remove any weeds, debris, or unwanted vegetation, and level the soil surface for even coverage.
Before you begin, gather the following materials:
- Black Plastic Sheets: These will serve as the heat-absorbing barrier to effectively raise the soil temperature.
- Clear Plastic Sheets (Optional): If you want to speed up the process, clear plastic can be used to trap additional heat. This is an optional step.
- Garden Tiller or Spade: For loosening and preparing the soil before sterilization.
- Watering Can or Hose: To moisten the soil adequately before covering it with plastic.
- Rocks or Bricks: These will be used to secure the plastic sheets in place.
- Thermometer: To monitor the temperature inside the covered soil.
How To Sterilize Soil in the Sun With Black Plastic (Step-by-Step Guide)
- Select a sunny spot in your garden where the soil receives direct sunlight throughout the day. The more sunlight, the better the sterilization process.
- Use a garden tiller or a spade to loosen the soil to a depth of about 6-8 inches. Raking the soil smooth will ensure even heat distribution.
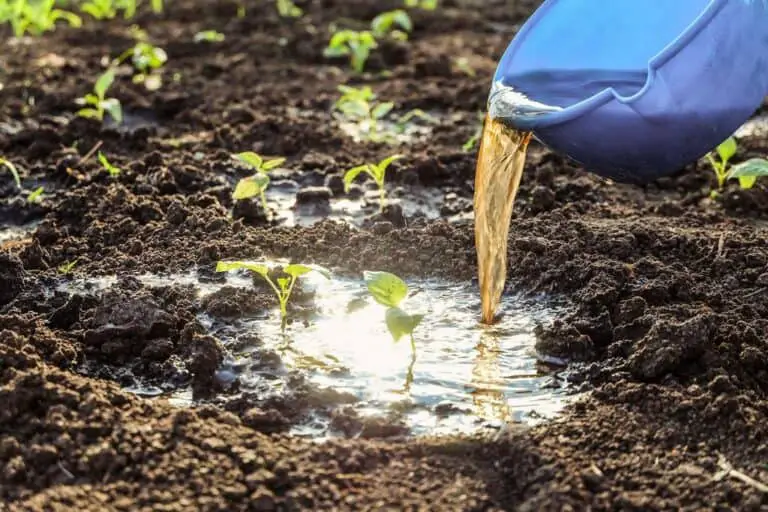
- Moisten the soil before covering it with plastic. Use a watering can or hose to add enough water so that the soil is damp but not soaking wet. Moist soil conducts heat better and helps with the sterilization process.
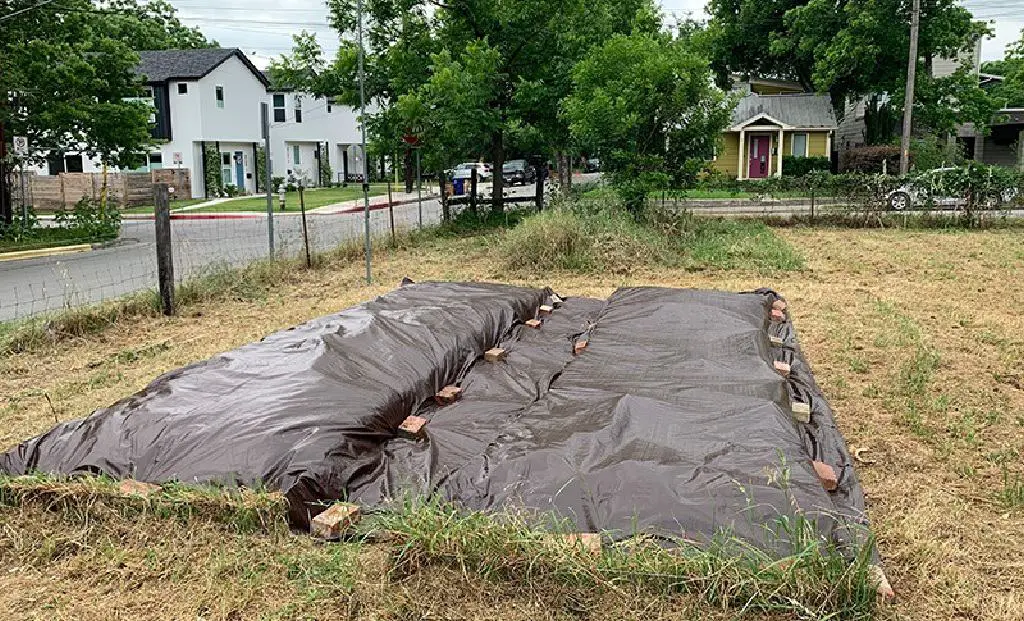
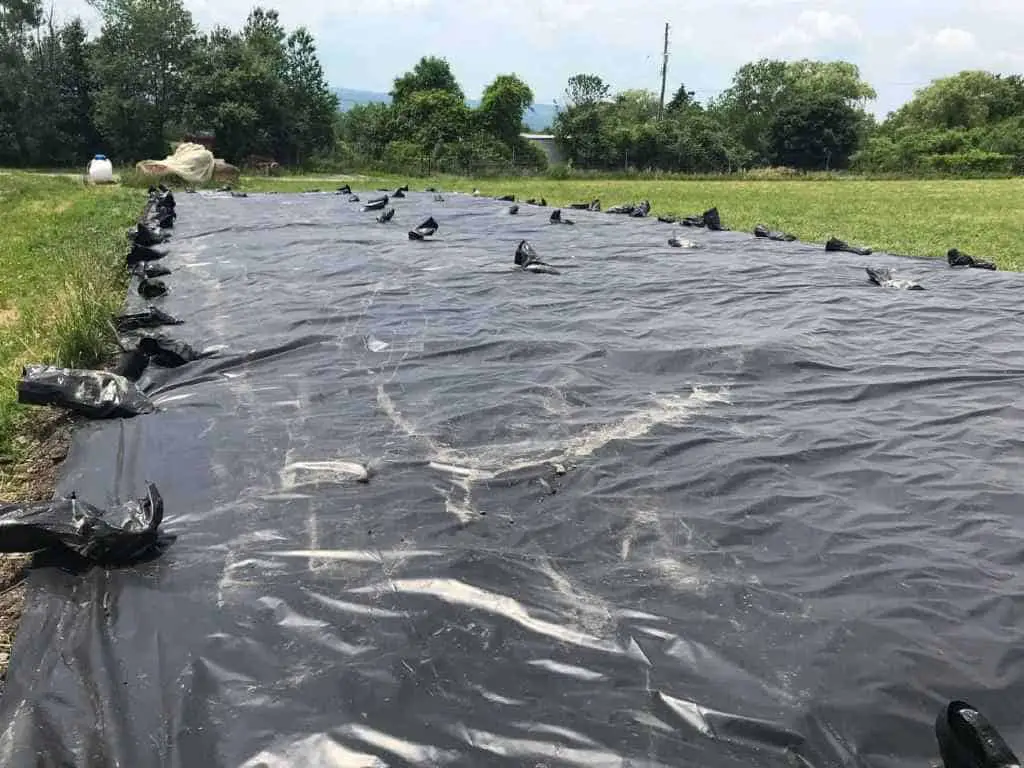
- Cover the Soil with Black Plastic: Lay the black plastic sheets over the damp soil, ensuring the entire area is covered. Bury the edges of the plastic slightly into the soil to secure it in place.
- Optional Step: Clear Plastic Covering: For an added boost of heat, you can place clear plastic sheets over the black plastic. The clear plastic will trap the sun’s heat, raising the temperature even further. However, ensure the clear plastic doesn’t touch the soil directly to prevent burning.
- To ensure effective sterilization, keep an eye on the temperature inside the covered soil. Insert a thermometer about 2–3 inches into the soil. The ideal temperature for sterilization is around 180–200 °F (82–93 °C).
- The time needed for sterilization can vary depending on your location, sunlight intensity, and weather conditions. In hot climates, it might take 4-6 weeks, while in cooler climates, it could take 6–8 weeks.
- Once the soil has been adequately heated and sterilized, carefully remove the plastic sheets. Remember to protect yourself from the hot plastic, especially if you used clear plastic, which can be much hotter.
- After removing the plastic, let the soil cool down for a few days before planting. The sterilization process can also inadvertently kill beneficial microorganisms, so giving the soil time to recover is essential.
The Difference Between Clear Plastic and Tarping With Black Plastic
Solarization with clear plastic and tarping with black plastic are both useful weed management practices for high-value horticultural crops. The main difference between the two methods is the way they trap heat.
Clear plastic allows UV and sunlight to germinate any weed seedlings under the topsoil, so they grow and then die off from the heat. Clear plastic traps heat better than black plastic. Black plastic absorbs and reflects part of the heat, rather than trapping it.
However, in cooler or colder areas, black plastic may be more effective than clear plastic. The black plastic absorbs solar energy during tarping, with some heat transferring down into the soil and some losing back up into the surrounding air. Applying a double layer of clear plastic, or clear on top of black, can further increase temperatures and effectiveness
Solarization Period and Monitoring
The duration of solarization is crucial to achieving effective sterilization. The soil should be covered with black plastic for at least 4 to 6 weeks during the hottest part of the year. Throughout this period, it’s essential to monitor the temperature and soil moisture regularly. You can use a soil thermometer to ensure that the temperature reaches a sufficiently high level to destroy harmful organisms.
In addition to the temperature, keep an eye on the moisture content of the soil. The plastic covering will trap moisture, creating a greenhouse-like effect, which is necessary for sterilization. However, if the soil becomes excessively dry, consider watering it lightly to maintain the right conditions.
Uncovering and Post-Solarization Care
After the solarization period, timing is essential for uncovering the soil. It’s best to remove the black plastic covering during the cooler part of the day to avoid scorching plants with sudden exposure to intense sunlight. Slowly peel back the plastic, being cautious not to disturb the soil surface. Once the soil is uncovered, take the necessary measures to maintain the sterilization results.
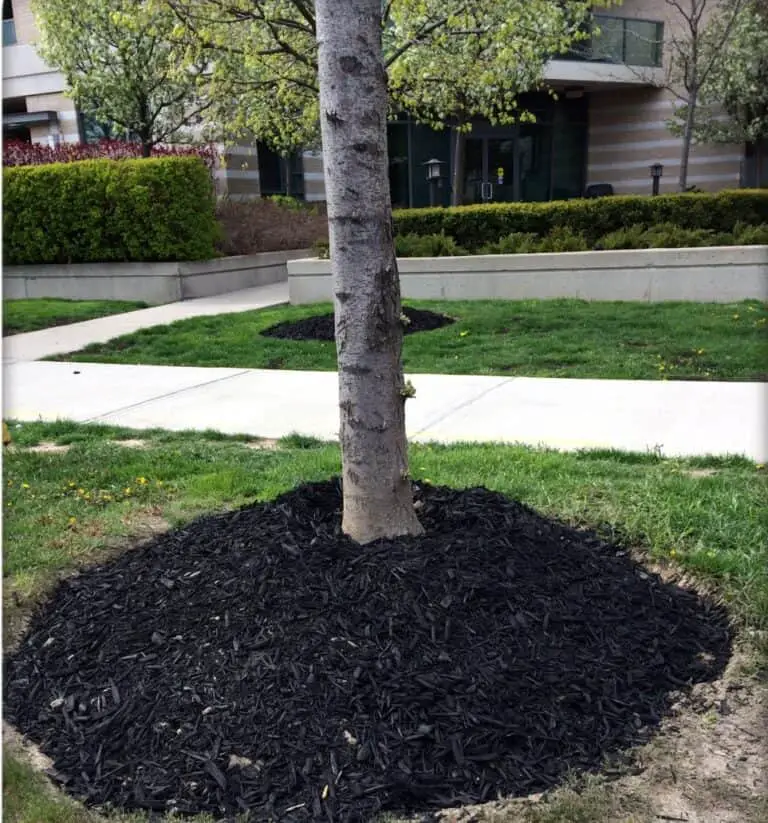
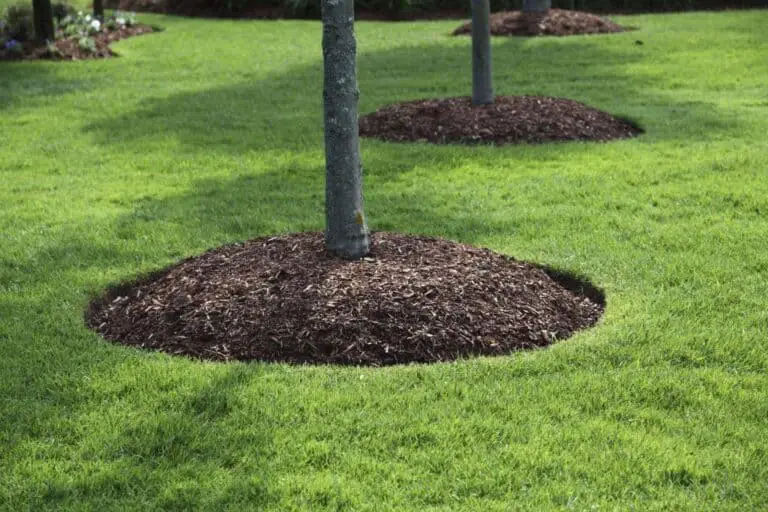
One critical aspect of post-solarization care is preventing recontamination. Avoid walking on the sterilized soil, as footsteps can introduce pathogens and weed seeds. Additionally, consider using mulch or organic matter to cover the soil, which helps retain heat and maintain a sterile environment.
Type and Thickness of Black Plastic for Soil Solarization
Choosing the right black plastic for soil solarization is crucial to get the best results. Let’s dive into the factors you should consider to make an informed decision.
Type of Black Plastic:
There are different types of black plastic materials available, each with its unique properties. Some common types include high-density polyethylene (HDPE), low-density polyethylene (LDPE), and polyvinyl chloride (PVC). HDPE is known for its durability and resistance to tears, making it a popular choice for solarization. LDPE, on the other hand, is more flexible, making it easier to handle and install. PVC is not recommended for soil solarization due to its potential to release harmful chemicals when exposed to high temperatures.
Thickness:
The thickness of the black plastic significantly impacts its performance. Thicker plastic can retain more heat, creating a more efficient solarization process. It also ensures the plastic’s durability, reducing the risk of tears or punctures during installation. Generally, plastic with a thickness of 1.5 to 4 mils is ideal for solarization.
Tips and Troubleshooting for Sterilizing Soil in the Sun With Black Plastic
To make your soil sterilization journey smoother and more effective, consider these additional tips:
- Check the weather forecast: Aim for a period with consistent sunny days for faster and more efficient soil sterilization.
- Avoid windy days: Wind can lift the plastic sheets and interfere with the sterilization process. Choose calm days for covering the soil.
- Don’t rush: The sterilization process takes time, but it’s worth the effort. Be patient, and you’ll be rewarded with healthy, disease-free soil.
- Another common mistake is inadequate coverage of the soil with black plastic, leaving gaps that compromise the sterilization process. Carefully secure the edges of the plastic with stakes or weights to create a sealed environment.
- Test the soil afterward: Once the soil has cooled down, consider testing it to ensure it’s at the desired pH level and contains essential nutrients for your plants.
- Rotate your crops: After sterilization, take the opportunity to rotate your crops to prevent the buildup of specific pests and diseases in the soil.
Will Black Plastic Solarization Affect Soil Nutrients and Fertility?
As the sun’s heat embraces the covered soil, a temporary reduction in some beneficial microorganisms may occur. These tiny soil allies, essential for fostering a thriving ecosystem, may take a brief intermission during the heat show. However, fear not, for with proper care and time for the soil to recover, the impact is generally minimal, akin to a mere interlude in the grand symphony of gardening.
Let us venture into a table that highlights the intricacies of black plastic solarization’s impact on soil nutrients and fertility:
| Aspect | Impact |
| Soil Nutrients | Slightly reduced due to heat exposure. |
| Beneficial Microorganisms | Temporary reduction during solarization. |
| Overall Soil Fertility | Generally maintains fertility with proper recovery time. |
Comparing Black Plastic Solarization with Other Methods
When it comes to combating weeds and pests in the garden, various methods vie for attention, each offering its own unique set of benefits and limitations. One such contender is black plastic soil solarization, a natural and environmentally friendly technique that utilizes the sun’s heat to thwart unwanted invaders.
Black Plastic Soil Solarization is simple in concept yet effective in execution. By covering moist soil with black plastic, the sun’s rays are trapped beneath, creating a natural oven that raises the temperature within the soil.
Over several weeks, this process bakes away harmful pathogens, nematodes, and weed seeds, providing a clean slate for planting. Additionally, this method enhances the soil structure and nutrient availability, promoting overall soil health.
However, it is essential to consider other alternatives. Comparing Black Plastic Soil Solarization with other methods, we find a landscape of choices catering to diverse gardening needs. Let’s delve into the strengths and weaknesses of each approach in the table below:
| Method | Pros | Cons |
| Black Plastic Soil Solarization | Natural and environmentally friendly.Enhances soil structure and nutrient availability. | Slower process, takes several weeks to sterilize the soil.Best suited for outdoor gardens. |
| Chemical Soil Sterilization | Rapid and effective sterilization.Ideal for large-scale agriculture. | Potential environmental impact and risks to beneficial soil organisms.Not recommended for home gardeners. |
| Steam Sterilization | Efficient and thorough sterilization.Suitable for large quantities of soil. | Requires specialized equipment, impractical for home gardeners. |
| Oven Sterilization | Effective for smaller batches of soil. | Time-consuming and energy-intensive.Not practical for large gardens. |
Environmental Impact and Sustainable Practices
As gardeners and farmers, it’s crucial to consider the environmental impact of soil sterilization methods. Solarization with black plastic can be considered a sustainable approach as it reduces reliance on chemical pesticides and herbicides. Additionally, black plastic can be reused for multiple sterilization cycles, further minimizing waste.
To further enhance sustainability, implement practices such as composting after soil solarization, crop rotation, and using cover crops to enrich the soil naturally. These practices contribute to the overall health and biodiversity of the soil ecosystem.
By adopting solarization with black plastic and integrating sustainable practices, gardeners and farmers can promote a healthy and thriving environment for their plants while minimizing their ecological footprint.
Conclusion
Soil sterilization with black plastic is a proven method to create a healthy and disease-free environment for your plants. By understanding the importance of soil sterilization, preparing the soil properly, and following the step-by-step process for solarization, you can achieve successful results.
The key to success lies in selecting the right type and thickness of black plastic, which aids in retaining heat and boosting the effectiveness of the sterilization process. Securing the edges of the plastic prevents any heat from escaping, maximizing the temperature requirements for efficient soil sterilization.
Regular monitoring of temperature and soil moisture is essential during the solarization period to ensure optimal sterilization. With these techniques, you can enjoy a thriving garden or successful crop production without worrying about soil-borne pests and diseases.
Embracing this natural approach not only reduces the need for chemical treatments but also promotes eco-friendly gardening practices. With a ninth-grade reading level, anyone can utilize this technique to revitalize their planting areas and set the stage for flourishing vegetation. Happy gardening!
FAQs on Solar Heat Treatment for Eliminating Pests and Diseases From the Soil With Black Plastic
What is the best time of year to sterilize soil with black plastic?
The best time for soil sterilization with black plastic is during the hottest and sunniest months of the year. Aim for a period with consistent sunny days, typically in late spring or summer. The intense heat and prolonged sunlight ensure effective sterilization of the soil, making it an ideal time to prepare for your gardening endeavors.
How long does it take for soil sterilization with black plastic to be effective?
The time required for soil sterilization with black plastic can vary depending on factors like location, climate, and sunlight intensity. In hot climates, it may take approximately 4 to 6 weeks, while in cooler regions, it could extend to 6 to 8 weeks. Monitoring the temperature inside the covered soil is essential, and patience will be rewarded with clean, pathogen-free soil.
Can I reuse black plastic for multiple soil sterilization cycles?
While black plastic can withstand multiple uses, it is essential to inspect it carefully for signs of wear and tear after each cycle. Ensure there are no holes or damage that could compromise its effectiveness. Reusing black plastic can be a cost-effective measure, but maintaining its integrity is crucial for successful sterilization.
Can I use clear plastic instead of black plastic for soil sterilization?
Yes, you can use clear plastic instead of black plastic for soil sterilization. Clear plastic traps additional heat and can speed up the process, complementing the effectiveness of black plastic. However, it’s crucial to be cautious as the clear plastic can become much hotter, and direct contact with the soil should be avoided to prevent damage.
Is solarization with black plastic safe for organic gardening?
Yes, solarization with black plastic can be safe for organic gardening. It is a chemical-free method that utilizes the sun’s heat to sterilize the soil, making it compatible with organic practices. Organic gardeners can employ this technique to create a healthy and pest-free environment for their crops without compromising their organic principles.
Can I use black plastic solarization on all types of soil?
Black plastic solarization is generally effective in various types of soil, including clay, sandy, and loamy soil. However, it is essential to prepare the soil properly before covering it with plastic. Loosening the soil and removing debris ensures even heat distribution and improves the sterilization process.
How deep should I bury the black plastic in the soil during solarization?
When using black plastic for soil solarization, bury the edges of the plastic sheet slightly into the soil to secure it in place and prevent heat from escaping. A depth of about 2–3 inches is usually sufficient for adequate anchoring.
Is solarization with black plastic effective for large agricultural fields?
While solarization with black plastic can be effective for small-scale gardening and raised beds, it might be challenging to apply this method practically to large agricultural fields. The logistics of covering extensive areas with plastic and ensuring proper temperature maintenance could be prohibitive. In such cases, farmers might opt for alternative soil sterilization methods more suited for large-scale operations.