Leveling Your Yard With Sand and Topsoil the Easy Way
Your yard is more than just a patch of green; it’s your personal oasis, a space for relaxation, play, and entertaining guests. But what happens when the land beneath your feet is as uneven as a rollercoaster ride? Uneven terrain can quickly turn your outdoor haven into a headache, making mowing a Herculean task, and sending water pooling in all the wrong places.
But fret not! We’ve got the easy, DIY solution that will bring your yard back to life: leveling with sand and topsoil. In this comprehensive guide, we’ll hold your hand through each step of the process, from assessing your uneven terrain to achieving a perfectly flat, inviting space that will make your neighbors green with envy.
Get ready to bid farewell to tripping hazards and poor drainage, and say hello to a yard that’s a joy to behold and a breeze to maintain. Leveling your yard has never been this simple. In this comprehensive guide, we will walk you through the process step by step, ensuring that your landscaping project becomes a breeze. Let’s dive in!
Why Level Your Yard?
Before we dive into the how-to, let’s explore the why. Why should you invest time and effort into leveling your yard? Leveling your yard isn’t just about achieving a polished look; it’s about creating a functional, safe, and resilient outdoor area.
It provides basic support for landscaping projects, improves water management, and ultimately enhances the overall quality of your outdoor living space.
Here are some compelling reasons:
- Improved Aesthetics: A level yard looks visually appealing. It provides a clean canvas for landscaping, allowing you to create a beautiful outdoor space.
- Better Drainage: Level ground promotes proper drainage, preventing water from pooling in low spots and causing issues like erosion and mud puddles.
- Easier Maintenance: Mowing a level lawn is easier and more efficient. No more battling with uneven terrain and scalping your grass.
- Safety: Uneven terrain can be a safety hazard, especially for children and elderly family members. Leveling your yard reduces the risk of trips and falls.
- Enhanced Usability: A flat yard is versatile. It’s an ideal surface for outdoor activities, from playing sports to setting up a picnic area or patio.
In short, leveling your yard is the foundation for a safe, functional, and visually appealing outdoor space.
Assessing Your Yard for Leveling Needs
Before you dive into the leveling process, it’s crucial to accurately assess your yard’s current condition. This assessment will help you determine the extent of leveling required and guide your actions effectively.
Step-by-Step Yard Assessment:
- Walk the Terrain: Start by walking around your yard. Take note of any noticeable slopes, bumps, or areas with poor drainage.
- Use a String Level: A string level is a handy tool for measuring the slope of your yard. Attach it to stakes placed at various points to identify uneven areas.
- Check for Low Spots: Look for depressions where water tends to collect. These areas might need additional fill material.
- Test Drainage: After a rain, observe how water flows across your yard. Identify areas where water accumulates, indicating poor drainage.
Tools and Materials You’ll Need for Leveling Your Yard
Before you get started, gather the necessary tools and materials. Here’s a list to help you prepare:
| Tools and Materials | Description |
| Shovel | For digging and moving soil. |
| Rake | To spread and level the soil. |
| Wheelbarrow | For transporting sand and topsoil. |
| Landscape fabric | Optional, but useful for weed control. |
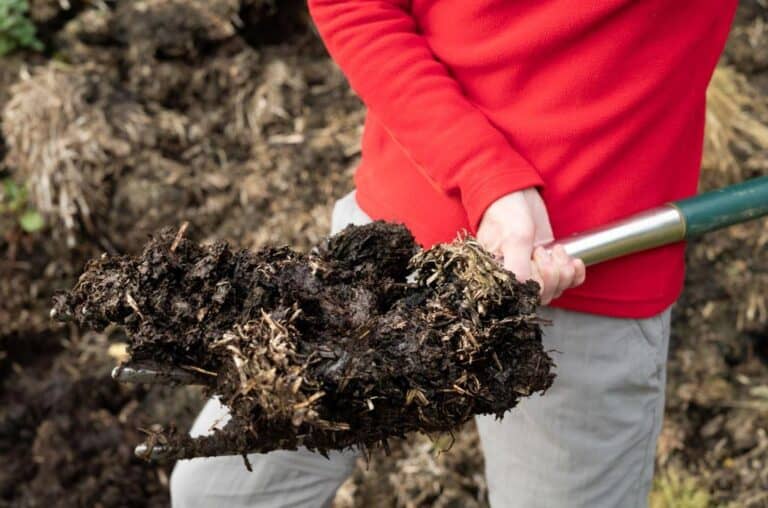
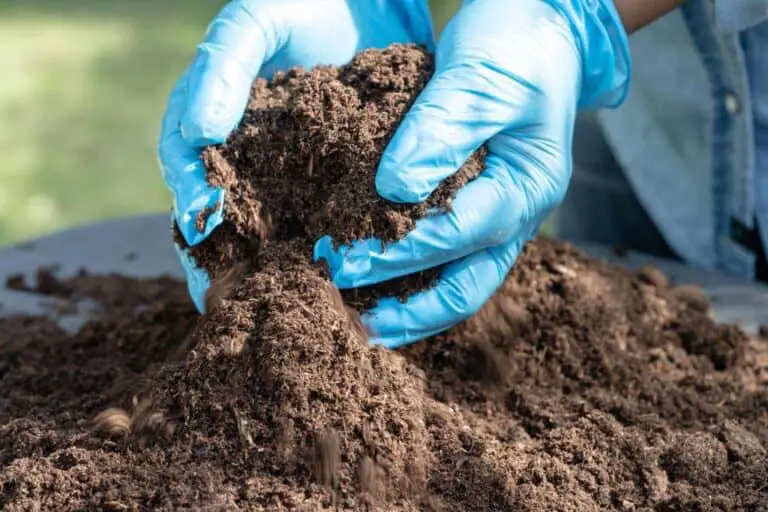
| Topsoil | Quality fertile topsoil enriched with nutrient organic matter. |
| Sand | Coarse sand, often referred to as leveling sand. |
| Lawn roller (optional) | To pack down the soil and create a smooth surface. |
| Lawn seed or sod (optional) | If you need to reseed or lay new sod after leveling. |
Removing Debris and Vegetation
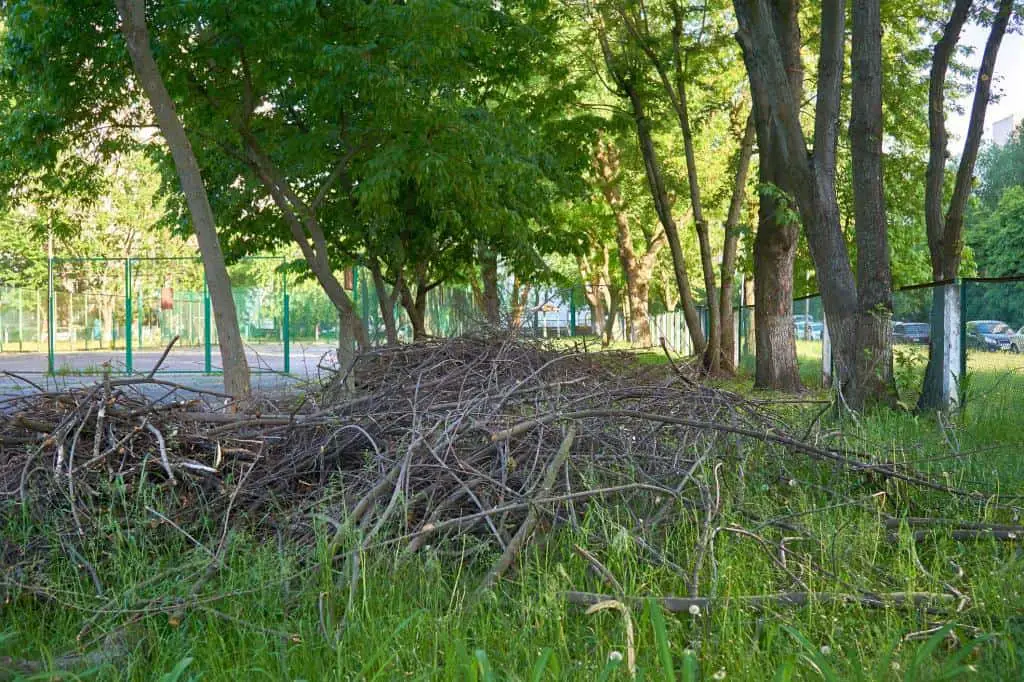
Before you start adding sand and topsoil, you must clear your yard of any debris and vegetation. This step is essential to creating a clean and even surface for the leveling process.
Clearing Debris
- Gather Yard Waste: Begin by collecting fallen branches, leaves, and other debris. Use a garden or leaf rake to make this task easier.
- Remove Weeds: Eliminate any weeds or unwanted vegetation from your yard. You can use a shovel or weed-removal tools for this purpose.
Related: Why Is Topsoil Removed Before Construction? Topsoil Excavation
Responsible Disposal
Proper disposal of yard waste is crucial for both environmental and aesthetic reasons:
- Composting: Consider composting organic debris to create nutrient-rich compost for your garden.
- Recycling: Check local recycling programs for options to recycle yard waste.
- Municipal Pickup: Some areas offer yard waste pickup services. Research your local guidelines.
By clearing your yard effectively and disposing of waste responsibly, you’ll set the stage for a successful leveling project.
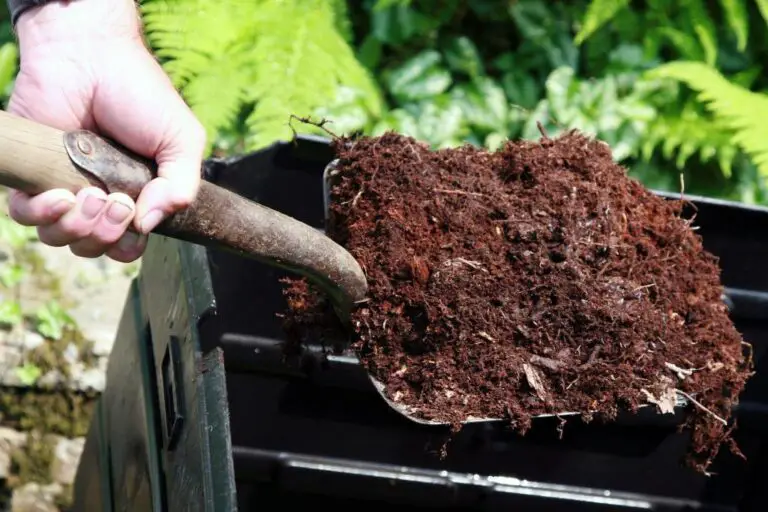
Choosing the Right Type of Sand and Topsoil
Selecting the appropriate sand and topsoil for your yard leveling project is a critical decision. The choice depends on your soil type and the desired outcome.
Types of Sand
There are several types of sand to choose from, each with its own unique properties:
- Play Sand: Fine and clean, ideal for leveling small areas and creating a smooth surface.
- Masonry Sand: Coarser than play sand, suitable for larger leveling projects and improved drainage.
- Fill Sand: Used for filling larger holes and depressions. It compacts well.
Types of Topsoil
Topsoil is equally important for nurturing your lawn and plants:
- Garden Mix Topsoil: It contains organic matter and nutrients, making it ideal for gardens and flowerbeds.
- Screened Topsoil: It is Free from rocks and debris, excellent for lawn leveling and seeding.
- Compost-enriched Topsoil: Boosts soil fertility, perfect for revitalizing tired or nutrient-depleted lawns.
Choosing the Right Materials
To select the right sand and topsoil for your project, consider the following factors:
- Soil Type: Know your soil type, as this will influence your choice of topsoil and sand.
- Project Size: Larger projects may require more substantial quantities of materials.
- Budget: Evaluate your budget and choose materials that strike a balance between quality and cost.
With the right materials in hand, you’re well on your way to achieving a beautifully leveled yard.
| Read: What is Hardpan Soil? |
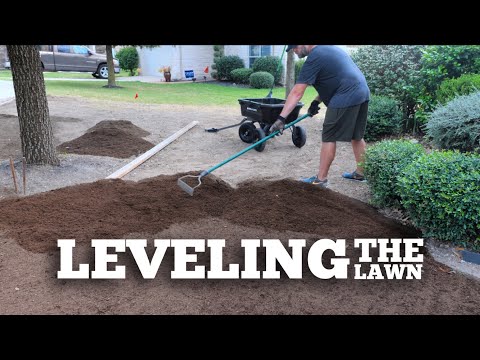
Spreading Sand for Yard Leveling
Spreading sand is a pivotal step in achieving a smooth and level yard surface. This process ensures that your yard is not just aesthetically pleasing but also functional and safe.
Steps for Spreading Sand
Here’s a detailed breakdown of how to spread sand evenly across your yard:
- Start in One Corner: Begin in one corner of your yard and work your way towards the opposite corner. This systematic approach ensures even coverage.
- Use a Shovel or Spreader: Employ a shovel or a mechanical spreader to evenly distribute the sand. A spreader can help you achieve a uniform thickness.
- Maintain Consistency: Keep a consistent layer of sand throughout the yard, typically around 1 to 2 inches thick. Use a rake to smooth and level the sand as you go.
- Check for Highs and Lows: Periodically assess the yard’s surface with a string level or a long, straight board. Adjust the sand thickness as needed to eliminate high and low spots.
- Fill Low Spots: If you encounter low spots during this process, add extra sand to bring them to the desired level. Tamp the sand down lightly as you go.
- Overlap Each Pass: When using a mechanical spreader, overlap each pass slightly to ensure thorough coverage.
Techniques for a Smooth and Level Surface
Achieving a smooth and level surface is not just about spreading sand; it’s also about finesse and technique. Here are some tips to help you achieve that perfect yard:
- Feather Edges: Feather the edges of the sand layer to create a gradual transition to the existing ground level. This prevents abrupt changes that may lead to tripping hazards.
- Use a Leveling Tool: A landscaping rake or a drag mat is a valuable tool for achieving an even surface. Run it over the sand to smooth out any imperfections.
- Work in Small Sections: Divide your yard into manageable sections and tackle them one at a time. This ensures that you have better control over the leveling process.
- Double-Check Slopes: Pay extra attention to slopes and ensure that they are level. Proper grading is essential for effective water drainage.
By following these steps and techniques, you’ll be well on your way to a beautifully leveled yard that’s ready for the next phase.
Applying Topsoil for Yard Enhancement
Now that your yard is leveled with a layer of sand, it’s time to take it a step further by applying topsoil. This isn’t just about aesthetics; it’s about nurturing a healthy, thriving outdoor space.
Proper Application of Topsoil
Here’s how to apply topsoil effectively to enhance your yard:
- Spread a Uniform Layer: Similar to spreading sand, start in one corner and work your way across the yard. Maintain a consistent layer of topsoil, typically around 2 inches thick.
- Use a Rake: A landscape rake is an excellent tool for evenly distributing topsoil. It helps you achieve an even and smooth surface.
- Smooth and Level: Just like with the sand, ensure that the topsoil layer is smooth and level. Feather the edges to blend with the existing ground seamlessly.
- Fertilize as Needed: Depending on your soil’s nutrient content, you may want to consider adding fertilizer to the topsoil. This will provide essential nutrients for your plants and grass.
Compacting and Tamping the Yard
To ensure the stability and longevity of your leveled yard, compacting and tamping are crucial steps. This process prevents settling and creates a solid foundation for your landscaping.
The Compact and Tamp Process
Follow these steps to compact and tamp your yard effectively:
- Choose the Right Equipment: You’ll need a vibratory plate compactor, which can be rented from a local equipment rental store.
- Starting Point: Begin at one corner of your yard and work your way across in a systematic pattern. Overlap each pass slightly.
- Pass Over the Yard: Slowly guide the compactor over the entire yard surface. Ensure that the machine’s weight is evenly distributed.
- Multiple Passes: For optimal compaction, make multiple passes over the entire area. This compacts the sand and topsoil layers together.
- Check for Evenness: Periodically check the surface with a string level or a long board to ensure it remains level.
- Tamp the Edges: Don’t forget to tamp the edges of your yard to create a stable perimeter.
Equipment Needed
For compacting and tamping, you’ll require the following equipment:
- Vibratory plate compactor
Proper compaction ensures that your yard remains level and stable, even in adverse weather conditions.
Seeding and Sodding for a Finished Look
Now that your yard is leveled, enriched with topsoil, and compacted, it’s time to give it the finishing touch with lush grass. You have two primary options: seeding or sodding.
Seeding Your Yard
Seeding is a cost-effective way to establish a beautiful lawn. Here’s how to do it:
- Select the Right Seed: Choose grass seed that’s suitable for your climate and soil type. Consider factors like sunlight and foot traffic.
- Prepare the Soil: Rake the topsoil lightly to create a smooth, seed-friendly surface.
- Seed Uniformly: Use a mechanical spreader or broadcast the seed evenly by hand. Follow the recommended seeding rate on the seed packaging.
- Cover and Water: Lightly rake the seed into the topsoil, so it makes good contact. Cover the area with straw or mulch to retain moisture. Water gently and consistently.
- Maintenance: Keep the soil consistently moist until the grass reaches the desired height. Gradually reduce watering as the grass matures.
Sodding Your Yard
Sodding provides instant gratification with an instantly green lawn. Here’s how to do it:
- Select Quality Sod: Choose high-quality sod from a reputable supplier. Check for freshness and healthy roots.
- Prepare the Soil: Like with seeding, rake the topsoil lightly to create a smooth surface.
- Lay the Sod: Start at one edge of your yard and lay the first row of sod, ensuring it’s snug against the edge. Stagger the joints in subsequent rows, similar to bricklaying.
- Trim Excess: Use a sharp knife or sod cutter to trim any excess sod along edges, garden beds, or pathways.
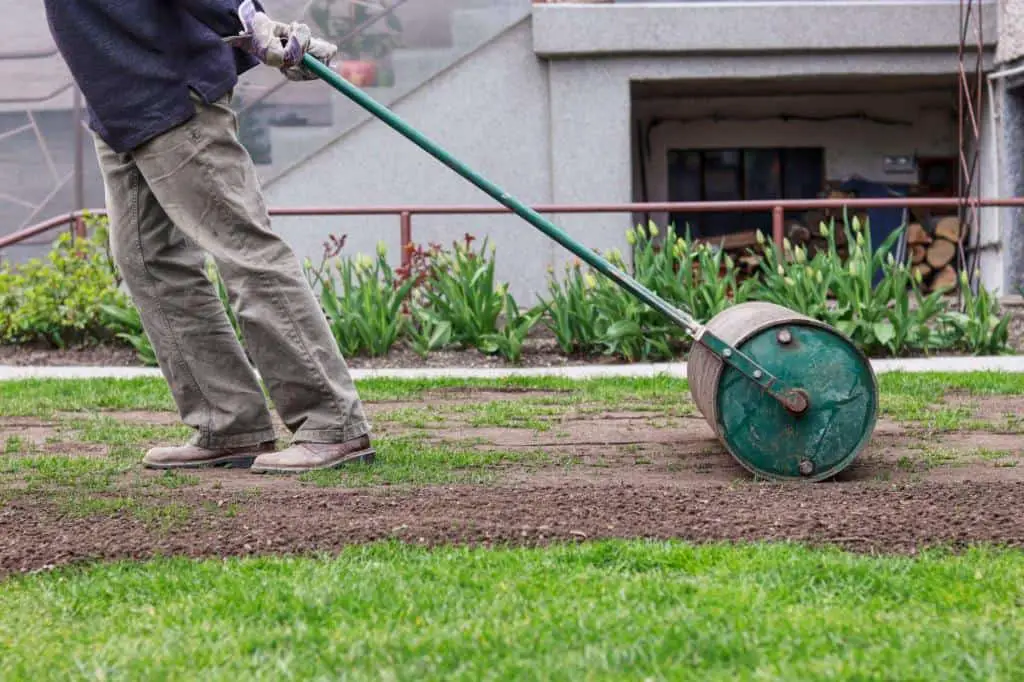
- Water and Roll: After sodding a section, water it thoroughly to help it settle. Use a lawn roller to ensure good soil-to-sod contact.
- Maintenance: Keep the sod consistently moist for the first few weeks to aid root establishment. Gradually reduce watering as the grass takes root.
Making Your Choice
Deciding between seeding and sodding depends on your budget, time frame, and preference for instant results. Seeding is cost-effective but requires more patience, while sodding provides an instant, green lawn.
Cost Estimation for Leveling a Standard-Sized Residential Yard
When it comes to leveling a standard-sized residential yard, it’s essential to understand the potential cost factors involved. The overall expense can vary significantly, typically falling within the range of $500 to $2,000 or even higher, depending on various key considerations.
Firstly, the size of your yard plays a pivotal role in determining the cost. A smaller yard will naturally require less work, materials, and time, leading to a lower price tag. Conversely, larger yards with more extensive leveling requirements may push the cost toward the higher end of the spectrum.
Materials used also influence the budget. Basic leveling projects may involve simple tools and soil, which can keep costs relatively low. However, if your yard requires additional features like retaining walls, drainage systems, or landscaping elements, these can significantly increase the overall expense.
Finally, labor costs are another significant component. Labor charges can fluctuate depending on your location and the expertise of the professionals you hire. More complex projects that demand specialized skills or equipment may incur higher labor costs.
Maintaining Your Leveled Yard
Your yard leveling project is nearing completion, but the work doesn’t end here. Proper maintenance is key to ensuring that your yard remains level and healthy throughout the seasons.
The Importance of Ongoing Maintenance
Maintaining your level yard offers several advantages:
- Preserves Leveling: Regular maintenance helps prevent your yard from reverting to its previous uneven state.
- Healthy Lawn: Proper care promotes healthy grass and plants, enhancing the overall appearance of your yard.
- Prevents Weeds: Regular mowing and weeding help keep your yard free of unsightly weeds.
- Enhances Aesthetics: Well-maintained yards are visually appealing and inviting spaces for relaxation and recreation.
Tips for Yard Maintenance
Follow these maintenance tips to keep your leveled yard in top shape:
- Mow Regularly: Maintain the grass at the recommended height for your grass type. Avoid cutting more than one-third of the grass blade’s length in a single mowing.
- Water Wisely: Water deeply and infrequently rather than shallow, frequent watering. Early morning is the best time to water to prevent diseases.
- Fertilize as Needed: Use a soil test to determine nutrient deficiencies and fertilize accordingly.
- Weed Control: Keep an eye out for weeds and address them promptly to prevent them from spreading, like pulling weeds.
- Aerate and Dethatch: Periodically aerate your lawn to improve soil aeration and reduce compaction. Dethatch if necessary.
- Monitor for Pests and Diseases: Keep an eye out for signs of pest infestations or lawn diseases. Address these issues promptly.
- Seasonal Clean-Up: Perform seasonal clean-up tasks such as removing fallen leaves and debris.
By following these maintenance guidelines, you can ensure that your leveled yard remains a source of pride and enjoyment.
Step-by-Step Guide to Leveling Your Yard
1. Assess Your Yard
Start by assessing the current state of your yard. Identify high and low spots, as well as any areas with poor drainage. This assessment will help you plan your leveling strategy.
2. Clear the Area
Remove any debris, rocks, or existing vegetation from the area you intend to level. You want a clean slate to work with.
3. Add Topsoil
If your yard has low spots, fill them in with topsoil. Spread a layer of topsoil evenly across the area, targeting the low spots. Use a rake to smooth and level the soil. For larger areas, consider using a lawn roller to pack down the topsoil and create a solid foundation.
4. Distribute Sand
To achieve a perfectly level surface, apply a layer of coarse sand over the topsoil. Spread it evenly and use a board or piece of lumber to drag it across the sand, leveling it as you go. This process will help you identify any remaining weak spots.
5. Check for Levelness
Using a level or a long, straight board, check the slope of your yard. Ensure that it slopes away from your house to prevent water from pooling near the foundation. Make adjustments by adding or removing sand as needed until you achieve the desired levelness.
6. Water and Settle
Water the leveled area lightly to help the soil and sand settle. Allow it to sit for a day or two, then check for any depressions that may have formed. Fill these depressions with additional sand, level them, and water again.
7. Consider Lawn Seed or Sod
If your yard has significant low spots, you may need to reseed or lay new sod to establish a lush, even lawn. Follow the manufacturer’s instructions for planting grass seed or installing sod.
8. Maintain Your Level Yard
Regular maintenance is key to keeping your yard level and beautiful. Mow your lawn at the recommended height, and periodically check for any signs of settling or unevenness. Address issues promptly to maintain a smooth, level surface.
Tips and Tricks
Here are some additional tips to ensure your yard-leveling project goes smoothly:
- Choose the Right Materials: Use high-quality topsoil and coarse sand to achieve the best results.
- Take Your Time: Rushing the process can lead to an uneven yard. Take your time to get it right.
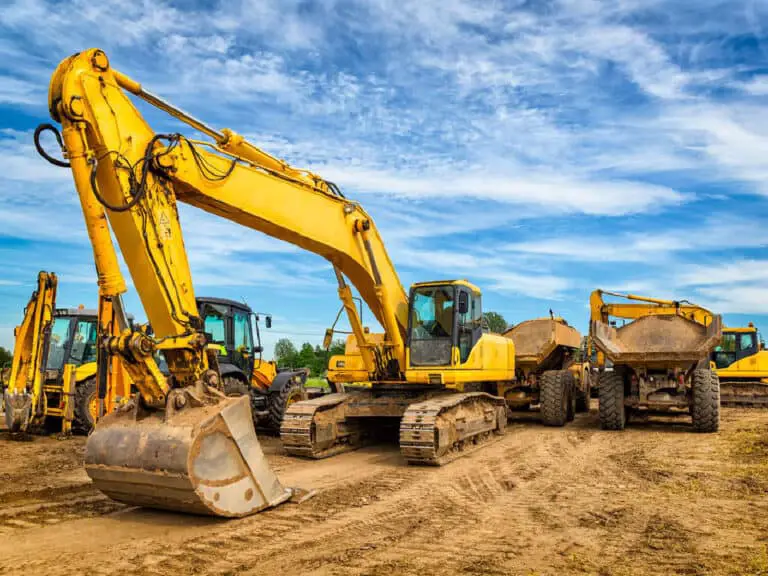
- Rent Equipment: If you have a large yard or complex terrain, consider renting heavy equipment like a skid steer or a mini-excavator for more efficient leveling.
- Consult a Professional: If you’re unsure about the process or have a particularly challenging yard, consulting a landscaping professional can save you time and effort.
Conclusion
Leveling your yard with sand and topsoil doesn’t have to be a daunting task. With the right tools, materials, and a bit of patience, you can transform your uneven yard into a beautiful, functional outdoor space. Whether you’re looking to improve drainage, enhance aesthetics, or simply make yard maintenance easier, the rewards of a level yard are well worth the effort. So, roll up your sleeves and get ready to enjoy your leveled oasis!
FAQs on Leveling Your Yard With Sand and Topsoil
How much sand and topsoil do I need to level my yard?
The amount of sand and topsoil needed to level your yard depends on its size and the depth of leveling required. As a general rule of thumb, you may need around 1-2 cubic yards of each material per 1,000 square feet for a moderate leveling job.
Can I level my yard with just sand or do I need topsoil too?
While you can use just sand for leveling, it’s often recommended to use a combination of sand and topsoil. Sand helps with initial leveling, while topsoil provides essential nutrients for healthy grass growth.
What are the common mistakes to avoid when leveling a yard with sand and topsoil?
Common mistakes to avoid include not properly assessing the yard’s slope, not compacting the soil properly, and not using quality materials. Overlooking drainage issues and neglecting post-leveling care can also lead to problems.
Are there any alternatives to using sand and topsoil for yard leveling?
Alternatives to sand and topsoil include using specialized leveling mixtures or soil conditioners, but their suitability depends on your specific yard and needs.
Is leveling a yard with sand and topsoil suitable for all types of soil?
Sand and topsoil leveling is generally suitable for various soil types, but it’s essential to assess your soil’s specific characteristics for optimal results.
Can I level my yard by myself, or should I hire a professional?
You can level your yard yourself with the right tools and guidance, but for complex or large projects, hiring a professional landscaper may be a wise choice.
Is your yard plagued by uneven terrain, making it a less-than-ideal space for outdoor activities?
Uneven ground can lead to issues like poor drainage, difficulty mowing, and even potential tripping hazards. Fortunately, there’s a straightforward solution: leveling your yard with sand and topsoil. In this guide, we’ll walk you through the process step by step, so you can transform your bumpy, uneven yard into a smooth, inviting oasis.