How to Compost Without a Composter: Organic Waste Decomposition
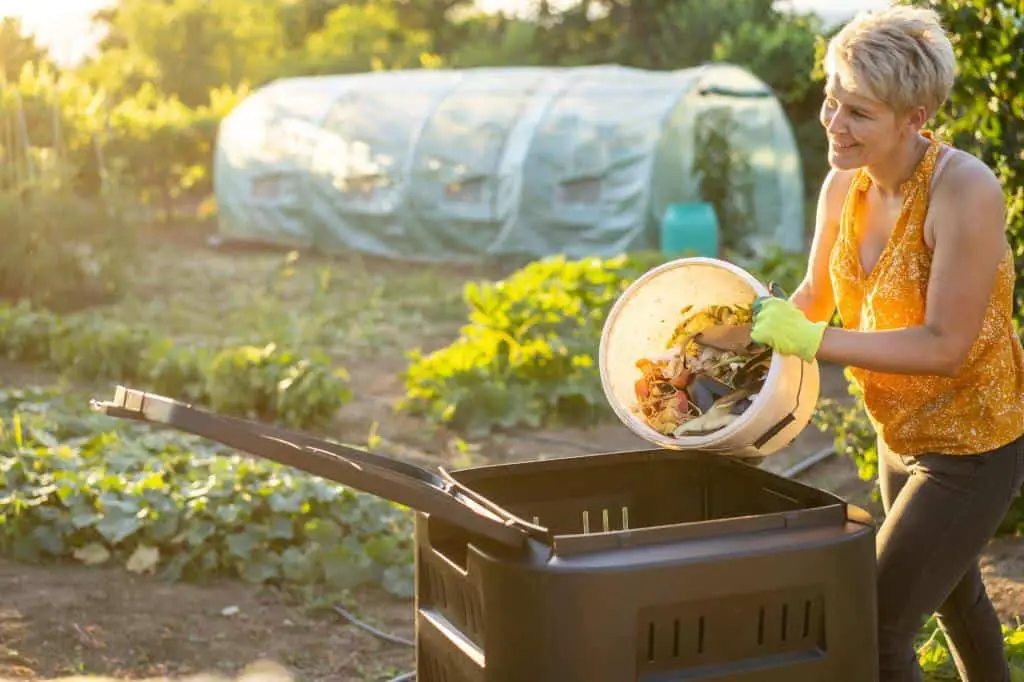
Composting is a fantastic way to turn kitchen scraps and yard waste into nutrient-rich soil for your plants. Many enthusiasts invest in compost bins or tumblers. However, you can still compost without a dedicated composter.
Typically, when people think about composting, they envision large bins or tumblers in their backyards or spacious gardens. However, these options aren’t practical for everyone. The good news is that you can successfully compost without depending on those conventional methods.
So whether you have minimal outdoor space or just prefer an unconventional approach towards sustainability – read on! We’re about to delve into the world of composting. You won’t need a traditional composter. This method promises satisfying results while staying within your means.
In this guide, we’ll explore the easiest method to compost without the need for any specialized equipment like a composter.
The Basics of Composting
Before we dive into the no-composter method, let’s briefly touch on the fundamentals of composting. Composting involves creating a balanced environment. Microorganisms break down organic matter into valuable compost. The key components for successful composting include:
- Greens: Nitrogen-rich materials like kitchen scraps (fruit and vegetable peels, coffee grounds) that provide protein for microorganisms.
- Browns: Carbon-rich materials such as dry leaves, straw, or shredded newspaper that act as an energy source for microorganisms.
- Water: Adequate moisture is crucial for the microbial activity that breaks down the organic matter.
- Aeration: Turning or mixing the compost helps introduce oxygen, aiding the decomposition process.
Why Do You Need Composting Without a Composter?
You can compost without a traditional composter. It can be rewarding, even in a small apartment. However, there are a few important considerations to keep in mind when composting without a composter.
Space Limitations
If you’re working with a small balcony or indoor space, it’s essential to choose the right composting method that fits your available area. One of the most space-efficient options is vermicomposting, which uses worms to break down organic materials. A worm bin can easily fit under your sink or on a balcony. It produces nutrient-rich castings (worm poop) that make excellent fertilizer for plants.
Another option for small spaces is bokashi composting.Bokashi is an anaerobic fermentation process. Kitchen scraps are mixed with beneficial microorganisms. Then, they are sealed inside an airtight container. This method doesn’t require much space and allows you to compost all kinds of food waste, including meat and dairy products.
Odor Control
Concerns about odor may deter some from attempting composting without a dedicated composter. However, there are simple ways to control odors even in the absence of specialized equipment. If using vermicompost or bokashi methods indoors, ensure proper ventilation by placing exhaust fans near the bins. Open windows periodically to allow fresh air circulation.
To minimize smells from outdoor composting piles or bins placed on balconies, consider layering brown carbon-rich material like dried leaves or shredded newspaper between each addition of green nitrogen-rich food scraps. The carbon helps absorb odors and balance moisture levels within the pile.
Pest Prevention
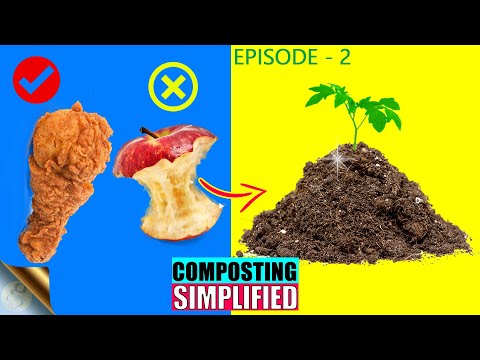
A common concern when composting without a traditional composter is attracting unwanted pests like rodents or flies.To discourage critters from feasting on your compost pile, avoid adding any animal-based products. These include meat scraps, dairy, and oily food waste. This will help prevent strong odors that could attract pests.
To further safeguard against pests, make sure your compost bin is securely covered. If using an open pile for outdoor composting, consider using wire mesh or fencing to create a barrier. This will deter larger animals from accessing the organic matter.
Environmental Impact
By diverting kitchen and yard waste from landfills, you actively participate in minimizing the environmental impact of organic materials. The absence of a composter aligns with a low-carbon lifestyle, emphasizing simplicity in waste management.
Cost-Effective
Composting without a composter saves you money on specialized equipment. You don’t need to buy pricey bins or tumblers, putting more money back in your pocket. Anyone can start composting without financial barriers. This promotes inclusivity and encourages a broader community to adopt this eco-friendly practice.
Materials That Can Be Used for Composting
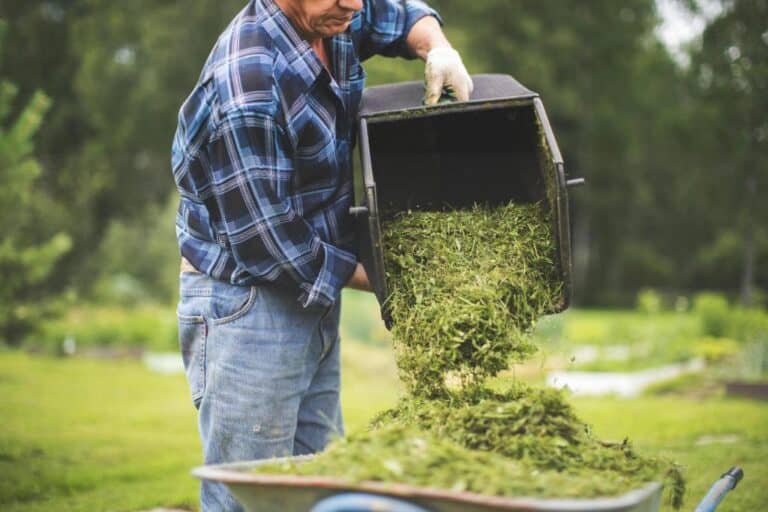
Composting is a natural process. It involves breaking down organic materials into nutrient-rich soil. To start composting without a composter, you’ll need some key ingredients.
- Kitchen Scraps: Fruit peels, vegetable scraps, and coffee grounds are excellent additions. They provide valuable nitrogen-rich material, essential for accelerating the decomposition process.
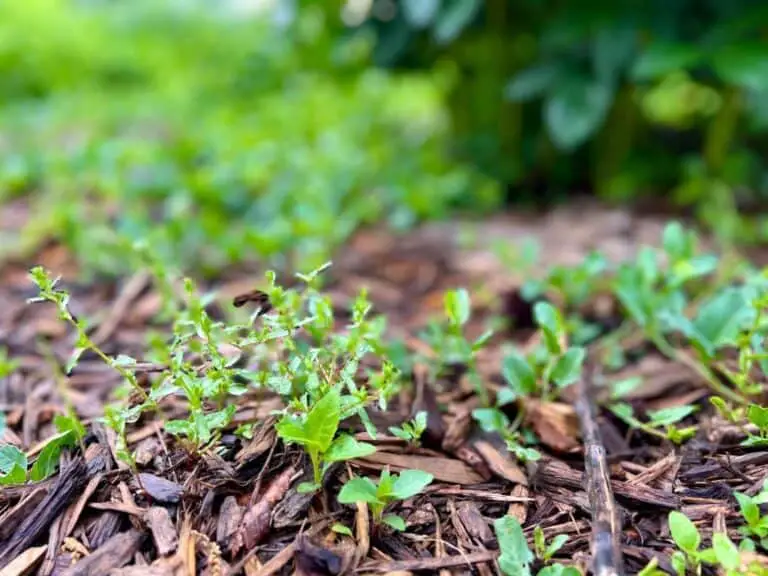
- Garden Waste: Leaves and grass clippings contribute carbon-rich material, acting as a structural component in your compost. Composting grass clippinggs helps maintain a balanced compost pile.
- Eggshells: Crushed eggshells add calcium to the mix, promoting healthy microbial activity and contributing to the overall richness of the compost.
- Shredded Newspaper or Cardboard: These materials introduce additional carbon, aiding in moisture retention and ensuring proper aeration in the compost pile.
By incorporating diverse materials, you create a well-balanced compost. This compost supports a thriving ecosystem of microorganisms. As a result, you get nutrient-dense soil for your plants. Embrace the variety, and let nature work its magic in your composting journey.
How to Compost Without a Composter
Option 1: Indoor vermicomposting
Vermicomposting utilizes worms to break down organic matter into rich compost called worm castings or worm poop! The first step in indoor vermicomposting is setting up an indoor worm bin.
Start by selecting an appropriate container with a lid, such as a plastic bin or wooden box, and ensuring it has drainage holes at the bottom. Fill the container with bedding materials. Use shredded newspaper or cardboard. Moisten them with water.
Next, introduce your worms to their new home! Red wriggler worms are ideal for vermicomposting as they have voracious appetites and thrive in confined spaces. Place them on top of the bedding material and cover them loosely with more damp bedding.
To succeed at indoor vermicomposting, keep the bin in a cool, dark place (around 55-77°F). Avoid overfeeding your worms by adding too much food at once. Slowly increase food amounts as they multiply. Keep moisture levels consistent by lightly misting whenever necessary.
Option 2: Outdoor pit compost heap method
If you have access to even a small outdoor space, you can utilize this method of composting without needing a traditional composter setup.Start by selecting an appropriate location for your outdoor pit compost heap. Choose an area that receives partial shade but still gets some sunlight during the day.
Prepare the area by clearing it of any debris or large rocks. It’s also a good idea to place some wire mesh or chicken wire on the bottom to deter pests from digging under the heap.
To begin layering and maintaining your compost, alternate between adding layers of kitchen scraps and garden waste, making sure to mix them up for even distribution. As you add new material, lightly water each layer to ensure proper moisture levels are maintained.
Monitor the process by occasionally mixing the pile with a pitchfork or shovel. This helps aerate the heap and speeds up decomposition. To keep odor under control and aid in decomposition further, consider covering your pit compost heap with cardboard or straw.
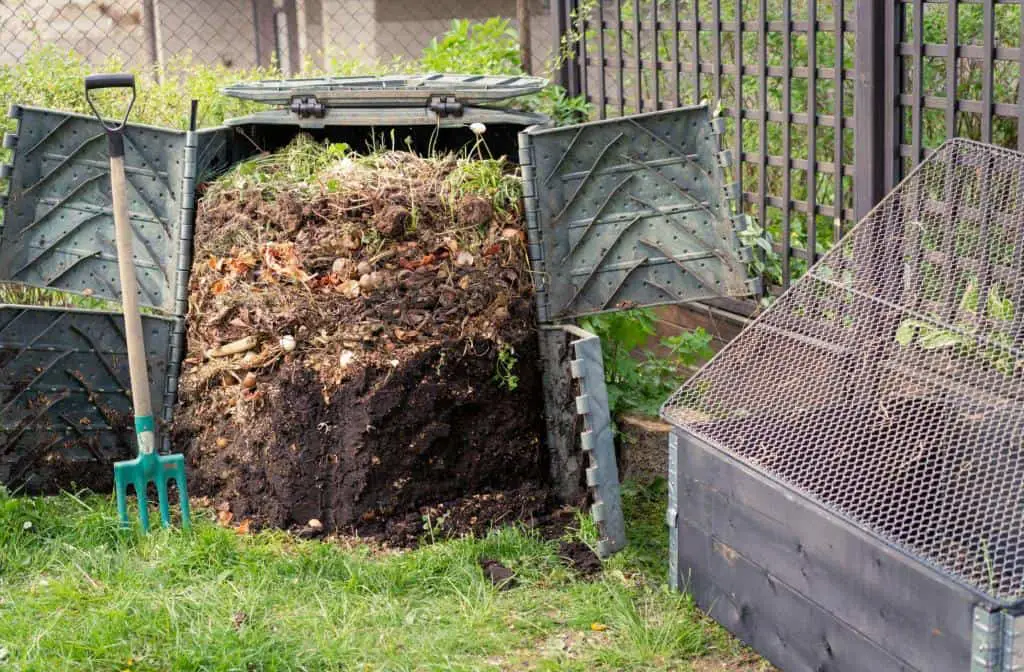
Option 3: DIY compost bin:
If you’re looking for a more controlled method but still want to avoid investing in a traditional composter, creating your own DIY compost bin is an excellent solution. Choose an appropriate container, such as a large plastic storage tub, a trash can (with ventilation holes), wooden pallets secured together into a square shape, or even repurposed wooden cabinets.
Ensure there are enough aeration holes throughout your chosen container for proper airflow. These holes allow oxygen to enter your compost pile, which is essential for decomposition.
Layer organic matter within your DIY bin. Aim for roughly equal amounts of carbon-rich materials, like leaves, and nitrogen-rich materials, like fruit peels. Water each layer lightly so that it remains damp but not wet; aim for about as moist as wrung-out sponge consistency.
Turning the pile every couple of weeks using a pitchfork will help incorporate fresh air into your homemade composter mixture. It will also promote even microbial activity throughout, resulting in quicker decomposition times. Regularly monitor moisture levels to ensure they stay consistent. Add water to dry piles as needed.
Some Issue with Composting and How to Solve Them
1: Smelly Compost
Bad smells in compost usually mean it is too wet or does not have enough air flow. Add more browns and turn the pile to improve airflow.
If your compost pile starts emitting bad odors like rotting eggs or ammonia-like smells, it may indicate an imbalance in its composition. To remedy this issue, mix in some dry carbon-rich material like dried leaves or newspaper clippings and make sure there is enough air circulation by turning more frequently.
2: Slow Decomposition
If your compost is taking longer to decompose, check the balance of greens and browns. Adjust the ratio, and ensure the pile stays adequately moist.
Regularly turning your compost pile is essential for ensuring proper decomposition. By mixing the organic materials, you expose them to oxygen, which helps speed up the breakdown process. Use a pitchfork or shovel to turn the pile every week or so, making sure to mix the outer layers with the inner core.
3: Attracting Unwanted Guests
Pests can sometimes find their way into your compost bin due to food waste attractants. If you notice flies or other insects lingering around your compost heap, simply cover it with a layer of dry leaves or straw. This will deter them from seeking out food sources within it.
To deter pests, avoid adding meat, dairy, or oily foods to your compost. If pests persist, consider covering your compost with a layer of brown.
4: Excessive Moisture
Too much moisture in your compost can lead to a slimy, anaerobic environment, hindering the decomposition process. To address this, add more dry materials, like shredded newspaper or straw, and avoid overwatering the compost pile. Additionally, turning the compost regularly will help promote better aeration and moisture distribution.
5: Weed Seeds Surviving
If weed seeds persist in your compost, it indicates that the pile might not be reaching a high enough temperature to kill the seeds. Increase the size of your compost heap. Ensure proper layering and turning to generate enough heat for effective seed destruction.
6: Inadequate Size
A small compost pile may struggle to generate enough heat for efficient decomposition. Consider expanding the size of your compost bin or heap to encourage microbial activity and speed up the composting process.
7: pH Imbalance
Monitor the pH level of your compost, as extreme acidity or alkalinity can affect the decomposition process. Lime can be added to raise the pH, while materials like pine needles or coffee grounds can help lower it if necessary. Regular testing and adjustments will ensure an optimal environment for microbial activity.
8: Insufficient Turning in Winter
Composting slows down in colder temperatures. During the winter, increase the frequency of turning your compost to stimulate microbial activity. Consider insulating the compost pile with straw or leaves to retain heat and keep the decomposition process active.
9: Overreliance on One Type of Material
Diversify the materials in your compost to achieve a well-balanced mix of carbon and nitrogen sources. Avoid relying solely on one type of waste, as this may lead to nutrient imbalances. Mix kitchen scraps, yard waste, and other organic materials for a healthier compost ecosystem.
| Read: How Long Does Compost Take to Sit and Cure Before Using It? |
Harvesting and Using Finished Compost Products
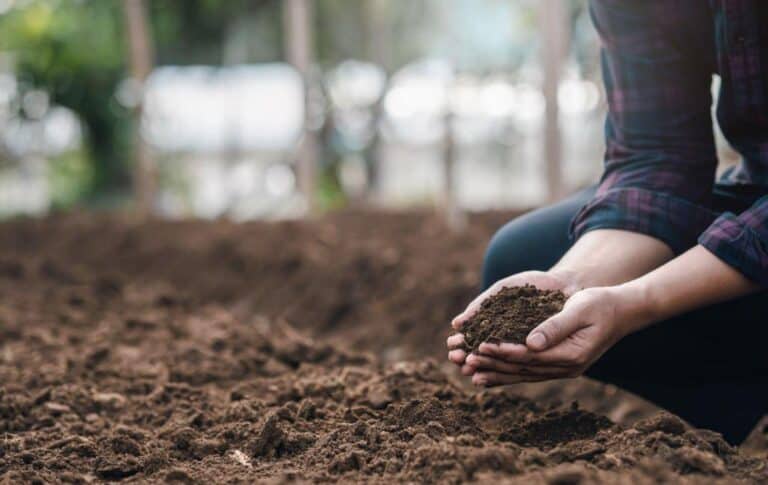
Determining when your compost is ready can be an exciting milestone in your composting journey. A finished compost should have a dark, crumbly texture. resembling rich soil. One way to test if your compost is ready is by performing the squeeze test.
Take a handful of the compost and give it a firm squeeze. If water runs out and the material feels too wet or slimy, it’s not quite ready yet. On the other hand, if it falls apart easily and feels dry or powdery, it may need more time to decompose further.
When you’re confident that your compost is thoroughly decomposed and ready for use, it’s time to harvest! Some techniques for harvesting mature compost include manually sifting through the pile to separate large pieces that haven’t broken down completely from the finished material.
Alternatively, you can create small piles of fresh food scraps on top of established beds of unfinished compost. This will attract surface-dwelling worms like red wigglers. These worms will naturally migrate towards these fresh scraps, leaving behind their castings, which contain concentrated nutrients beneficial for plants.
Conclusion: Recap of key points discussed throughout the article
In this article, we’ve explored alternative methods for composting. You don’t need a traditional composter. Whether you live in an apartment, have limited outdoor space, or simply don’t want to invest in a composter, there are still many options to reduce waste and improve your gardening practices.
We began by discussing the concept of indoor composting using vermicomposting or worm composting. This method uses worms to break down organic matter. It creates nutrient-rich castings that can be used as fertilizer. With just a simple bin, some bedding materials, and a few hundred worms, you can turn your kitchen scraps into valuable organic manure and soil amendments right inside your home.
Next, we explored backyard composting techniques such as trench composting and pit composting. These methods involve burying organic waste directly into the ground or creating small pits for decomposition. They are perfect for those with limited outdoor space but still want to utilize their yard for sustainable gardening practices.
Lastly, we discussed community or shared compost bins as another viable option. This is for those without access to individual composters. Many neighborhoods or cities now offer communal spaces where residents can contribute their food scraps and yard waste. They benefit from shared resources and reduce their overall carbon footprint.
By implementing these alternative composting methods without a traditional composter, you will not only divert waste from landfills but also nourish your plants with nutrient-rich soil additives. So why not give it a try? Start small with indoor worm bins. Or, reach out to local communities to join existing initiatives. Every contribution matters when it comes to living more sustainably!