How To Sterilize Soil Naturally Without Baking and Chemical

Welcome, green-thumbed enthusiasts, to a world where flourishing gardens thrive without the use of harmful chemicals or tedious baking processes. Are you tired of seeing your beloved plants suffer due to pests, diseases, or relentless weeds? Fret no more! In this article, we’ll delve into the art of natural soil sterilization – a magical, eco-friendly journey that paves the way to a healthier garden.
Picture this: vibrant blooms dancing gracefully under the sun, plump vegetables bursting with flavor, and the satisfaction of knowing you’ve embraced nature’s wisdom. We’ll unlock the secrets of solarization, soil solar pasteurization, steam sterilization, and the almighty compost, as they all hold the key to purifying your soil without breaking a sweat.
With these techniques at your fingertips, you’ll watch your garden thrive and prosper, all while nurturing the environment. So, ditch the chemicals and set aside the oven – let’s dive into the wonderful world of natural soil sterilization!
Why Sterilize Soil?
Before we delve into the natural methods of soil sterilization, it’s crucial to understand why this process is beneficial for your garden. Sterilizing soil may seem counterintuitive, as we often associate soil with life and growth. However, there are specific situations where soil sterilization becomes a valuable tool in agriculture and gardening.
Let’s delve into the reasons why sterilizing soil can be advantageous and explore its various applications.
1. Pest and Pathogen Control: Soil sterilization is primarily used to eradicate harmful pests, pathogens, and weed seeds from the soil. By subjecting the soil to high temperatures or chemical treatments, soil sterilization effectively eradicates these threats, creating a clean slate for healthier plant development.
2. Preparing Seedling Media: In commercial plant nurseries and controlled environments, soil sterilization is a common practice to sterilize seed starting mix or medium and ensure disease-free and optimal growth conditions for seedlings. Sterilized soil minimizes the risk of diseases and promotes uniform germination.
3. Reclaiming Contaminated Soil: In areas contaminated with toxic substances or pollutants, soil sterilization can be used to remediate and reclaim the soil. By eliminating contaminants, soil sterilization paves the way for future agricultural use or ecosystem restoration.
4. Research and Experimentation: Soil sterilization is valuable in scientific research and experimentation, providing researchers with a controlled and sterile environment to study the impact of specific factors on plant growth and soil health.
While soil sterilization offers significant benefits, it is essential to use it judiciously and in combination with other sustainable soil management practices. Overuse of sterilization can disrupt the soil ecosystem, deplete beneficial microorganisms, and hinder long-term soil health.
What Are the Issues With Baking and Chemical Soil Sterilization?

While soil sterilization may offer benefits in certain scenarios, it is essential to be aware of the potential issues associated with two common methods: baking and chemicals. Let’s explore these concerns to understand the drawbacks of these soil sterilization techniques.
1. Baking Soil Sterilization:
Baking soil to sterilize it involves subjecting the soil to high temperatures in an oven or microwave. While this method effectively kills pests and pathogens, it has some downsides.
First, it is not practical for large-scale applications, as sterilizing significant amounts of soil becomes time-consuming and energy-intensive. Moreover, baking soil can lead to nutrient loss, alter the soil’s fertility, and reduce its ability to support plant growth. Additionally, excessive heating may cause changes in soil structure, affecting water retention and drainage, which are critical for a healthy soil ecosystem.
2. Chemical Soil Sterilization:
Using chemicals to sterilize soil can be an effective method, but it comes with significant concerns. Chemicals can have harmful effects on beneficial soil organisms, leading to a disruption in the soil’s ecological balance. Additionally, the residual presence of chemicals in the soil may have long-term consequences, potentially impacting future plant growth and overall soil health. Moreover, some chemical sterilization methods may be harmful to the environment and raise environmental and safety concerns.
Understanding these issues allows gardeners and farmers to make informed decisions regarding the use of soil sterilization techniques. While these methods may be suitable for specific situations, it is crucial to consider their overall impact on soil health and the environment.
Related: How to Sterilize Soil with Jeyes Fluid: Is It Harmful to Plants?
How To Sterilize Soil Naturally Without Baking and Chemicals
Preparing Soil for Sterilization
Before you begin the soil sterilization process, it’s essential to take some preparatory steps to ensure optimal results.
- Steps to Take Before Sterilization: Clear the area of any debris, rocks, or plant remains. Ensure the soil is properly loosened and ready for treatment.
- Soil Testing and Analysis: Conduct a soil test to understand its nutrient levels and pH. This information will help you make informed decisions during the sterilization process and afterward when replenishing nutrients.
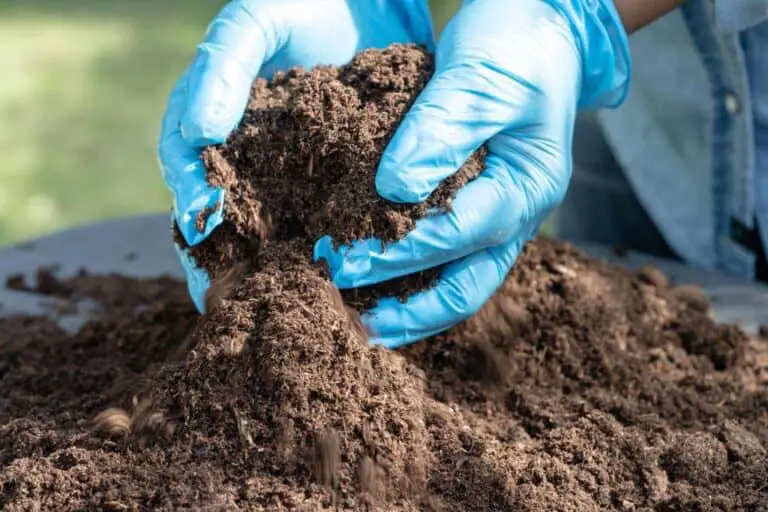
- Soil Preparation Techniques: Amending the soil with organic matter can enhance its structure and fertility. Adding compost or well-rotted manure can create a rich growing medium for your plants.
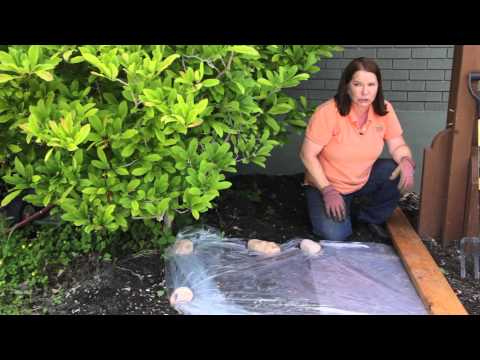
1. Solarization
Solarization is an age-old, natural technique that uses the sun’s heat to sterilize the soil effectively. Here’s how you can do it:
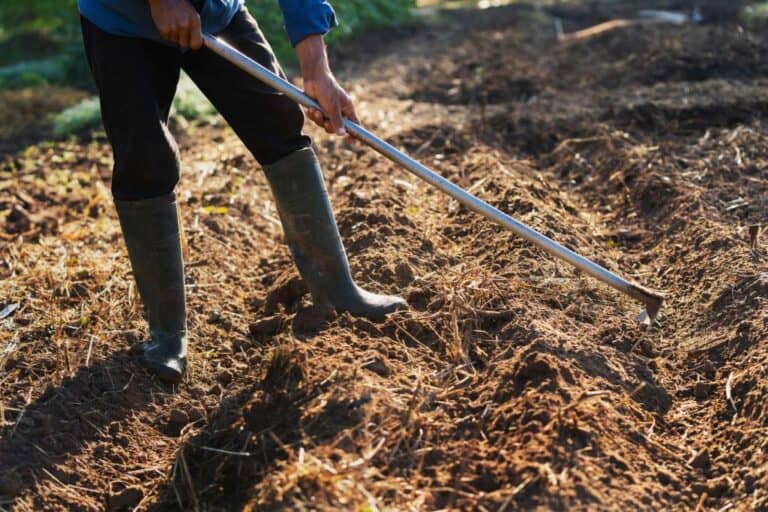
- Prepare the Soil: First, clear the area of any debris, weeds, or rocks. Rake the soil to create a level surface.
- Water the Soil: Give the soil a good soak with water to ensure it’s moistened to a depth of about 12 inches.
- Cover with Plastic: Use clear plastic for this soil solarization method. Lay clear plastic over the moist soil and secure the edges with rocks or soil to trap the heat effectively.
- Let the Sun Work: Leave the plastic in place for 4 to 6 weeks during the hottest months of the year. The sun’s heat will raise the temperature under the plastic, effectively sterilizing the soil.
Solarization is particularly useful for small garden plots and raised beds.
2. Soil Solar Pasteurization
Soil solar pasteurization is another solar-based method that uses lower temperatures compared to solarization. It’s ideal for treating larger areas. Here’s how it’s done:
- Prepare the Soil: Clear the area of weeds, rocks, and debris. Loosen the soil using a shovel or a rotary tiller.
- Apply a Thin Layer: Spread the soil in a thin layer, no more than 4 inches deep, to ensure even heating.
- Cover with Plastic: Cover the soil with a clear plastic sheet and secure the edges.
- Monitor the Temperature: Use a soil thermometer to monitor the temperature. Pasteurization requires temperatures to reach around 140°F (60°C) for at least 30 minutes.
- Turn the Soil: Once one side is heated, remove the plastic, and turn the soil over to heat the other side.
3. Steam Sterilization
Steam sterilization is a highly effective method that ensures thorough soil sterilization. While commercial steamers are available, you can also create a DIY steamer with a few simple materials:
| Materials Needed | Instructions |
| Large Pot with Lid | Select a pot that can fit the amount of soil you want to sterilize. |
| Metal Tray or Rack | Place the soil on a metal tray or rack to keep it above the water level. |
| Water | Add water to the pot, but ensure that the water level is below the rack. |
| Thermometer | Use a thermometer to monitor the temperature of the soil. |
| Stove or Heat Source | Place the pot on a stove or heat source, and turn it on to start steaming the soil. |
- Add Soil to the Tray: Fill the metal tray or rack with the soil you want to sterilize. Keep the layer of soil relatively thin for effective steaming.
- Place the Tray in the Pot: Put the filled tray into the pot, making sure it’s elevated above the water level.
- Cover and Steam: Put the lid on the pot and start heating it. Use the thermometer to monitor the soil temperature, aiming for at least 180°F (82°C) for 30 minutes.
- Cool and Use: After steaming, let the soil cool down before using it in your garden.
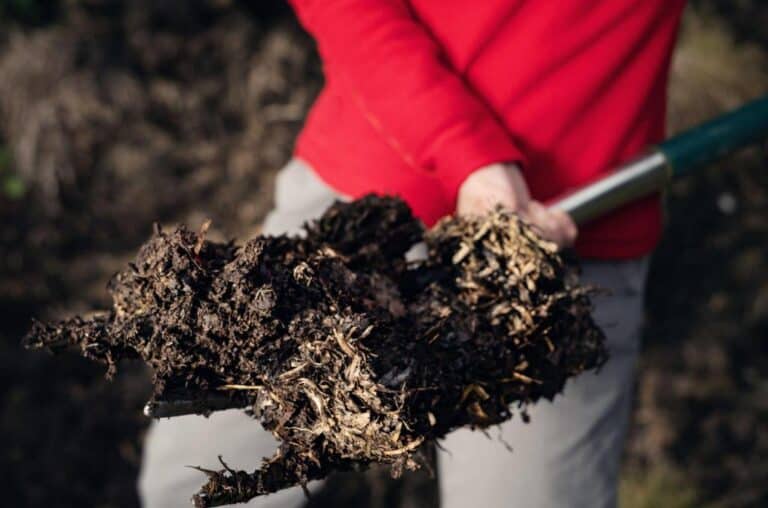
4. Using Compost
Compost can be a valuable tool for soil sterilization when done correctly. The composting process generates high temperatures that kill pathogens and weed seeds. Here’s how to use compost for soil sterilization:
- Prepare the Compost: Create a compost pile using a mix of green (nitrogen-rich) and brown (carbon-rich) materials. Turn the compost regularly to ensure even heating.
- Monitor the Temperature: Use a compost thermometer to monitor the temperature inside the pile. The composting process should reach temperatures between 130°F to 160°F (55°C to 71°C) for effective sterilization.
- Wait for Maturity: Allow the compost to mature for several months. This ensures that any harmful pathogens or weed seeds are fully broken down.
- Incorporate Into Soil: Mix the mature compost into your garden soil to improve its fertility and sterilize it naturally.
Benefits and Limitations of Natural Soil Sterilization
Benefits
- Natural soil sterilization methods have minimal negative impacts on the environment compared to chemical treatments.
- Some natural methods, such as soil rotation and pasteurization, maintain the balance of beneficial microorganisms, contributing to long-term soil health.
- Many natural soil sterilization methods are budget-friendly, utilizing readily available materials and techniques.
Limitations
- Unlike harsh chemical methods, natural sterilization techniques might not completely eradicate all harmful elements in the soil.
- Some methods, like solarization, require ample time and effort to execute properly.
- Solarization, in particular, is most effective during sunny periods, making it less viable in cooler climates or winter months.
With a deeper understanding of soil sterilization and the various natural methods available, you can now make informed decisions to ensure the health and prosperity of your garden. Whether you opt for solarization, steam sterilization, soil pasteurization, or even baking, remember to tailor the method to your specific gardening needs and environmental conditions. Happy gardening!
Best Practices for Maintaining Sterilized Soil
After sterilizing your soil, maintaining its cleanliness and health is crucial to ensuring lasting benefits. Here are more best practices to keep your sterilized soil in top-notch condition:
- Water your plants carefully to prevent waterlogged soil, which can lead to the growth of harmful pathogens. Use a drip irrigation system or water at the base of the plants to minimize water splashing and potential contamination.
- Practice good garden hygiene by regularly cleaning and disinfecting your gardening tools and equipment. This reduces the risk of transferring pests and diseases from one area to another.
- Regularly monitor the soil temperature and moisture levels to ensure they remain within the desired range for your crops. Avoid overwatering, as excess moisture can lead to anaerobic conditions that encourage harmful organisms.
- Introduce beneficial organisms, such as beneficial nematodes and mycorrhizal fungi, to help maintain a balanced soil ecosystem. These organisms can help control pests naturally and improve nutrient uptake by plants.
- Apply well-matured compost to your sterilized soil to reintroduce beneficial microorganisms and replenish essential nutrients. Compost can also improve soil structure and water retention.
- Implement an IPM strategy that focuses on preventive measures and uses a combination of tactics to manage pests and diseases. This approach promotes long-term soil health and minimizes the reliance on soil sterilization.
By incorporating these best practices, you can sustain the benefits of soil sterilization while fostering a healthy and thriving garden environment. Consistent vigilance and a holistic approach to soil management will ensure that your sterilized soil remains a fertile and disease-free haven for your plants to flourish.
Is Natural Soil Sterilization as Effective as Chemical Methods?
Natural methods are highly effective in eliminating pests, diseases, and weed seeds. While they may require more time and effort, they promote a healthier and more sustainable garden environment.
Natural soil sterilization methods have proven themselves as potent contenders in the battle against garden nuisances. While chemical treatments might offer rapid results, natural methods are no slouch either. They gradually work their magic, ensuring that harmful pests and pathogens are neutralized, and weed seeds are kept at bay.
The key here is consistency and patience; natural methods might require a bit more time and effort, but they provide a more sustainable and long-lasting solution for a thriving garden.
Conclusion
In conclusion, sterilizing soil naturally without relying on baking or harmful chemicals is not only possible but also highly beneficial for environmentally conscious gardeners. Embracing organic soil sterilization techniques offers a host of advantages, including preserving the soil’s beneficial microorganisms and maintaining a healthy ecosystem.
By exploring eco-friendly soil sterilization methods, we can ensure the elimination of harmful pathogens and weed seeds without resorting to toxic substances. Non-toxic methods for natural soil sterilization not only safeguard our plants but also protect our environment and the well-being of beneficial insects and organisms that play a vital role in sustaining a balanced garden.
Whether it’s solarization, steam sterilization, or other natural approaches, the beauty of these techniques lies in their sustainability and effectiveness. So, next time you prepare your soil for planting, consider adopting these non-invasive methods to create a thriving and toxin-free garden, where both your plants and the environment can flourish harmoniously. By nurturing your garden with care and making conscious choices, you contribute to a greener, healthier planet for generations to come. Happy gardening!
FAQs on Environmentally Safe and Eco-friendly Soil Sterilization
Can I use a microwave to sterilize soil?
No, microwaving soil is not recommended for sterilization. Microwaving may not achieve consistent or thorough results, and it can also damage the microwave. It’s best to stick to proven natural methods like solarization, steam sterilization, or composting.
How long does it take to sterilize soil using solarization?
Solarization typically takes 4 to 6 weeks during the hottest months of the year. The sun’s heat raises the temperature under clear plastic, effectively sterilizing the soil.
Are there any risks to natural soil sterilization methods?
While natural methods are generally safe, there are a few considerations. Overheating during solarization or steam sterilization may harm beneficial organisms. Composting requires proper management to ensure high enough temperatures for sterilization. Always follow instructions carefully to avoid any risks.
What temperature should I use for baking soil to sterilize it?
Temperature for baking soil: Baking soil for sterilization requires an oven temperature of about 180°F (82°C) for 30 minutes. However, consider using natural methods, as baking may negatively impact soil structure and beneficial organisms.
Can I reuse sterilized soil for multiple planting seasons?
Yes, sterilized soil can be reused for multiple planting seasons. However, ensure it remains uncontaminated before reuse, and consider enriching it with compost and other organic matter to maintain its fertility.
Can I use natural soil sterilization for all types of plants and crops?
Yes, natural soil sterilization is suitable for all types of plants and crops. It provides a clean slate for any plant to thrive, regardless of species or variety.
How often should I sterilize my garden soil naturally?
The frequency of soil sterilization depends on your specific garden’s needs. Generally, it’s advisable to sterilize soil every few years or when you observe persistent pest or disease issues.
Can I combine different natural soil sterilization methods for better results?
Yes, combining natural soil sterilization methods can yield better results. For example, using soil solarization to kill weed seeds and then incorporating compost to promote soil health can be a powerful combination.
Are there any specific safety precautions I should take during soil sterilization?
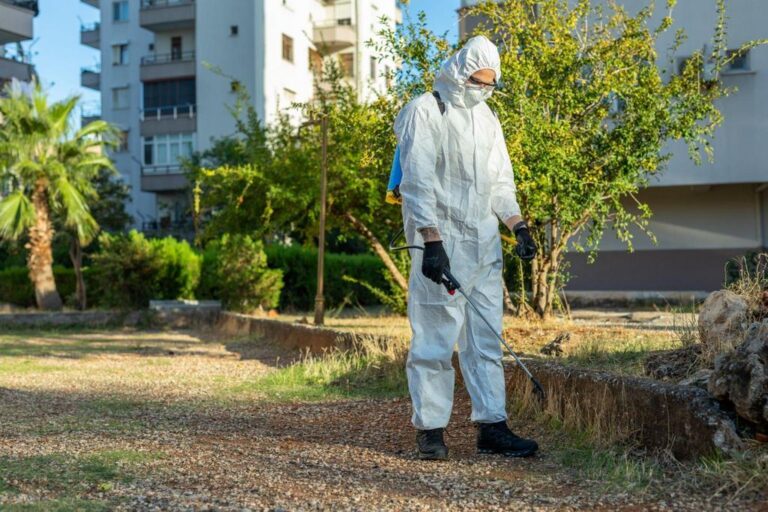
Always wear protective gear, follow method-specific instructions, and handle hot soil with caution. Avoid prolonged exposure to steam or high temperatures and ensure proper ventilation during composting.
What are the signs that indicate my soil needs sterilization?
Signs include persistent pest infestations, recurring diseases, and aggressive weed growth. Yellowing or stunted plant growth may also indicate soil issues that could benefit from sterilization.