How Do I Overwinter Amaryllis Bulbs? My Complete Guide to Keeping Them Healthy

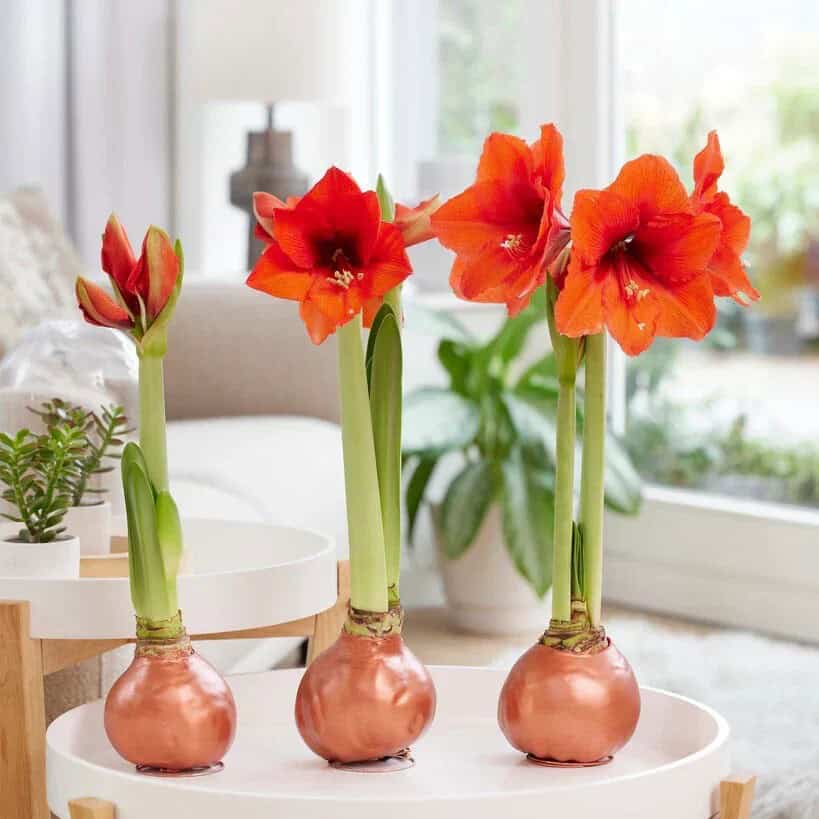
Amaryllis bulbs bring a little magic to the home, especially when their tall stems burst into large, trumpet-shaped flowers. I love how these plants brighten a room during the colder months, but their beauty doesn’t have to end when the last flower fades. With the right care, I can keep an amaryllis bulb healthy through winter and encourage it to bloom again in the next growing season.
The secret lies in understanding the plant’s natural growth cycle. Amaryllis bulbs need time to rest, conserve energy, and prepare for another round of flowering. However, overwintering doesn’t mean treating every bulb the same way. Some amaryllis plants benefit from a cool, dormant period, while others can continue growing in warm climates with enough light.
If you’re wondering how to overwinter amaryllis bulbs, I’ll walk you through the process, from caring for the leaves after flowering to storing the bulb and waking it up for its next display. With a little patience, you can turn one beautiful flowering season into a tradition that lasts for years.
Why Do Amaryllis Bulbs Need Winter Care?
Most commonly grown amaryllis plants belong to the genus Hippeastrum. These tropical and subtropical bulbs store energy in their fleshy layers, using those reserves to produce leaves, flower stalks, and blooms.
After flowering, the bulb needs time to rebuild its energy supply. Its green leaves play an essential role because they capture sunlight and convert it into energy through photosynthesis. If I cut those leaves off too early, I take away the plant’s food factory just when it needs it most.
Overwintering helps protect the bulb and prepares it for future growth. Depending on the variety and growing conditions, the plant may benefit from a resting period before flowering again.
Here are the main benefits of proper overwintering:
- Preserves the bulb’s energy: Healthy care after flowering helps the bulb replenish its reserves.
- Encourages future blooms: A suitable rest period can help prepare many amaryllis varieties for another flowering cycle.
- Protects against cold damage: Amaryllis bulbs cannot tolerate freezing temperatures.
- Extends the plant’s life: A healthy, established bulb can produce flowers for many years with proper care.
I think of overwintering as pressing the pause button, not shutting the book. The plant takes a break, but its next chapter may be just around the corner.
Step 1: Let the Flowers Fade Naturally
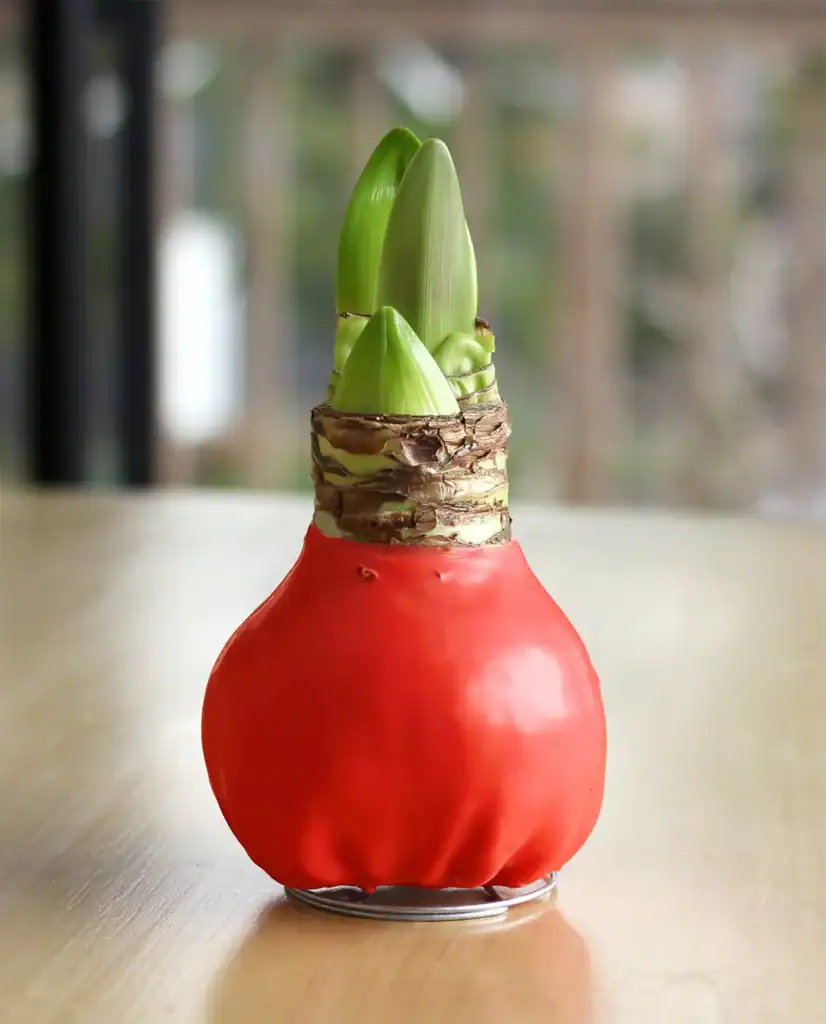
When the flowers begin to wilt, I remove them rather than allowing the plant to spend energy producing seeds. I snip off each faded bloom and, once the flowers on a stalk have finished, trim the stalk near the top of the bulb without cutting into the bulb itself.
However, I leave the green leaves alone.
Those leaves might not look as impressive as the flowers, but they do the heavy lifting behind the scenes. They continue producing energy that the bulb stores for its next growing cycle.
If the leaves remain green and healthy, keep the plant in a bright location and continue normal care. Don’t force dormancy simply because the flowers have faded.
This step makes a real difference. A bulb that receives enough light, water, and nutrients after flowering generally has a better chance of producing strong growth in the future.
Step 2: Keep the Amaryllis Growing After Blooming
Before I prepare an amaryllis for dormancy, I give it time to recover from flowering.
During active growth, I place the pot in a bright spot where the leaves receive plenty of light. A sunny window works well indoors, provided the plant doesn’t overheat.
I water when the upper inch of potting mix feels dry, then let excess water drain through the bottom of the pot. I never leave the container sitting in standing water because soggy soil can damage the roots and bulb.
A balanced liquid fertilizer can also help support healthy foliage. During active growth, follow the product’s label for dilution and feeding frequency.
Here’s a simple guide to post-bloom care:
| Care task | What I recommend |
| Light | Bright light, with several hours of gentle direct sunlight if suitable |
| Watering | Water when the upper inch of soil feels dry |
| Fertilizer | Use a balanced fertilizer according to the label |
| Leaves | Keep healthy green leaves intact |
| Drainage | Use a pot with drainage holes and empty the saucer |
| Temperature | Keep the plant in comfortable, frost-free conditions |
Continue this routine through the active growing period. If you live in a warm climate, you may be able to keep the plant outdoors in a sheltered, bright location when conditions suit it.
The goal is simple: help the bulb store enough energy to support its next flowering cycle.
Step 3: Decide Whether Your Amaryllis Needs Dormancy
Not every amaryllis needs the same overwintering method. Your climate, growing conditions, and flowering goals all matter.
Many gardeners encourage a dormant period to help coordinate flowering for a particular season. Others grow amaryllis in warm conditions and allow the plant to follow its natural cycle.
I use the following guide to decide which approach makes sense.
| Growing situation | Recommended approach |
| Potted amaryllis grown indoors in a temperate climate | Encourage dormancy if you want to schedule another flowering cycle |
| Amaryllis growing outdoors in a warm, frost-free climate | Protect it from cold and allow its growth cycle to guide care |
| Amaryllis with healthy green leaves | Continue light, watering, and feeding until it’s ready for dormancy |
| Amaryllis with naturally yellowing leaves | Gradually reduce watering as the plant enters rest |
| Amaryllis grown for holiday flowers | Plan a rest period well ahead of the desired bloom time |
A dormant period often lasts around 8–12 weeks, although the ideal timing varies. Some bulbs need more time to recover, and not every bulb will flower on a predictable schedule.
If your amaryllis continues growing vigorously in a warm climate, don’t assume that you must force it into dormancy. Healthy growth and adequate light remain important.
Step 4: Gradually Prepare the Bulb for Dormancy

When I’m ready to encourage dormancy, I gradually reduce watering and stop fertilizing. I also move the plant away from conditions that encourage vigorous new growth.
If the leaves begin turning yellow, I allow them to die back naturally. Once they have dried, I trim them away carefully.
I don’t cut off healthy green leaves just to make the bulb go dormant faster. The plant needs time to transfer stored energy from the leaves into the bulb.
During this transition, the soil should become progressively drier. Avoid keeping the potting mix wet as the plant enters dormancy, because excess moisture can encourage bulb rot.
Some amaryllis bulbs naturally lose their leaves, while others retain foliage for longer. The timing can vary with temperature, variety, and growing conditions.
The most important rule is to avoid forcing a healthy, actively growing bulb into rest before it has had enough time to rebuild its reserves.
Step 5: Store Amaryllis Bulbs in a Cool, Dark Place
Once the plant has entered dormancy, I choose a suitable storage location. For many potted amaryllis bulbs, a cool, dry, dark place works well.
A temperature around 50–55°F (10–13°C) is a common target for dormant storage. Keep the bulb away from freezing conditions, which can seriously damage it.
Suitable storage locations may include a cool cupboard, a suitable basement, or another consistently cool area. The location should remain dry enough to discourage rot while avoiding extreme temperature changes.
Should I store the bulb in its pot or remove it?
Both approaches can work.
If the bulb grows in a pot with suitable soil and drainage, I usually find it easiest to leave it in the container. After the foliage dies back, I keep the soil dry and store the pot in a cool, dark location.
If you prefer to remove the bulb from its pot, handle it gently and brush away loose soil. Don’t cut into the bulb or strip away healthy fleshy layers. Store it in a cool, dry, ventilated place where it won’t freeze or collect moisture.
Here’s a comparison:
| Storage method | Advantages | Important considerations |
| In its pot | Less handling and a straightforward transition back to growth | Keep the soil dry during dormancy |
| Out of its pot | Makes inspection and repotting easier | Protect the bulb from damage and excessive drying |
Check the bulb occasionally. It should remain reasonably firm, without a foul smell, extensive mold, or soft, mushy areas. If you notice signs of rot, investigate promptly.
Never store a dormant amaryllis in a freezing garage or an outdoor shed that experiences frost.
Step 6: Know When to Bring Your Amaryllis Out of Storage
After roughly 8–12 weeks of dormancy, I check the bulb to see whether it’s ready to grow again. The timing depends on the variety, the bulb’s health, and when I want to encourage flowering.
If the bulb looks healthy, I bring it into a warm, bright area and inspect it for damage. If it has outgrown its pot or the old potting mix has deteriorated, I repot it into fresh, well-draining mix.
Choose a container with drainage holes that leaves a little room around the bulb. Amaryllis generally grows well in a snug pot rather than an oversized container.
When planting, keep the upper third of the bulb above the soil surface. Burying the entire bulb can increase the risk of rot around its neck.
I then begin watering carefully. If the bulb has been dry throughout dormancy, I moisten the potting mix without leaving it waterlogged. Once new growth develops, I gradually resume normal watering and feeding.
Place the plant somewhere bright and warm, and watch for signs of fresh leaves or a flower stalk. Growth may begin within a few weeks, but the exact timeline varies.
Step 7: Encourage Another Round of Flowers
After dormancy, your amaryllis may produce leaves first, a flower stalk first, or both around the same time. I don’t worry if the plant takes a little while to get moving.
To encourage healthy flowering, I focus on a few basics:
- Give the bulb bright light during active growth.
- Water when the upper layer of soil begins to dry.
- Feed the plant during its growing period according to the fertilizer label.
- Keep the bulb in a frost-free environment.
- Allow the leaves to grow and replenish the bulb after flowering.
A mature, healthy bulb has a better chance of blooming again, but overwintering doesn’t guarantee flowers. Some bulbs need additional time to regain their strength, especially if they produced an unusually large display during the previous season.
If your amaryllis produces only leaves, keep caring for it. Healthy foliage helps rebuild the energy reserves needed for future flowering.
| Continue: Reuse Waxed Amaryllis Bulbs After Blooming — Simple Guide |
Common Amaryllis Overwintering Mistakes to Avoid
Even experienced gardeners can stumble when preparing bulbs for dormancy. I keep these common problems in mind to give my amaryllis the best chance of thriving.
Cutting green leaves too early: Healthy foliage supplies energy to the bulb. Let it yellow naturally before removing it.
Watering during dormancy: Dormant bulbs use much less water than actively growing plants. Wet soil can lead to rot.
Storing the bulb somewhere freezing: Amaryllis bulbs are not frost-hardy. Keep them in a cool but frost-free location.
Using a pot without drainage: Standing water can damage roots and the bulb, especially as growth slows.
Ending dormancy too soon: A bulb may need several weeks of rest before it’s ready to resume growth.
Expecting immediate flowers: The plant may need time to establish roots, develop foliage, and rebuild its energy reserves.
Final Thoughts: Give Your Amaryllis a Fresh Start
Overwintering amaryllis bulbs doesn’t have to be complicated. Once the flowers fade, I focus on keeping the leaves healthy, helping the bulb replenish its energy, and providing a suitable rest period when needed.
The key is to follow the plant’s growth cycle rather than rushing it. Keep the bulb frost-free, reduce watering as it enters dormancy, store it in a cool and dry location, and give it bright light when it’s ready to grow again.
With consistent care, a healthy amaryllis bulb can reward you with beautiful flowers for many seasons. And when that next flower stalk rises from the bulb, you’ll know that a little patience during the quiet months has paid off.
Replace the “wondering” opening phraseAdd a quick overwintering checklist