A Step-by-Step Guide to Grow Eggplant from Store Bought
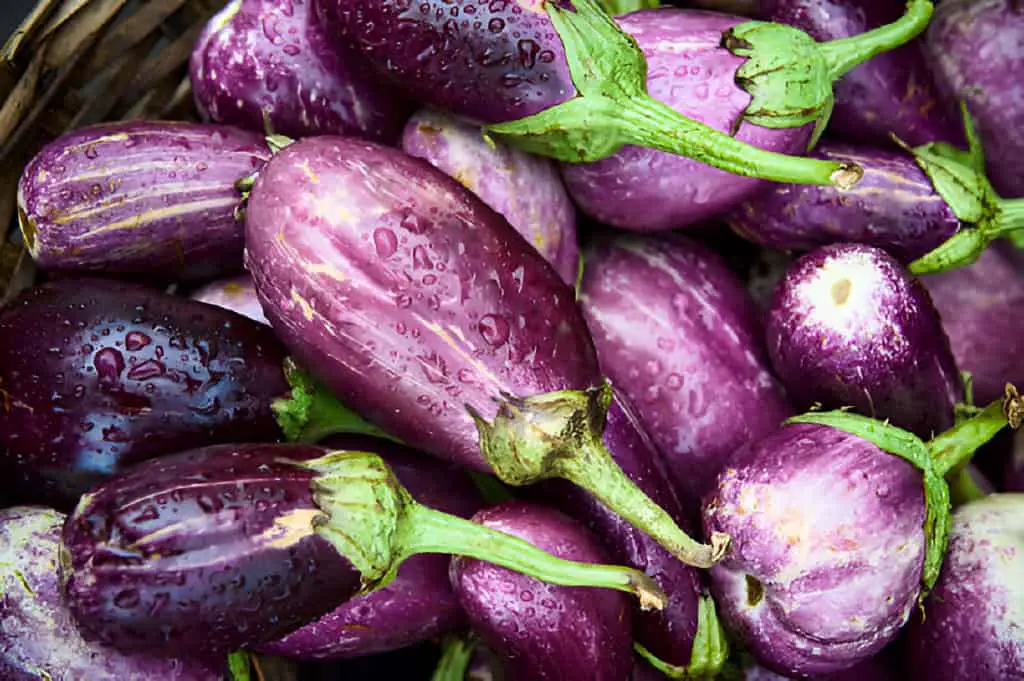
Have you ever wondered if you can grow eggplant from store-bought produce? Perhaps you’ve bought a fresh eggplant from your local market and wondered if you could turn it into a thriving plant in your own garden or patio.
The good news is, you can! You can grow eggplant from store-bought produce. It’s not only possible but also rewarding. You can enjoy vegetables straight from your garden.
Are you a beginner or a seasoned gardener? Are you looking to expand your repertoire? This guide will take you through the process of growing eggplant, step by step.
By the end of this article, you’ll know how to choose the right eggplant. You’ll also learn to prepare it for planting, care for it as it grows, and harvest your own delicious eggplants.
Understanding Eggplants
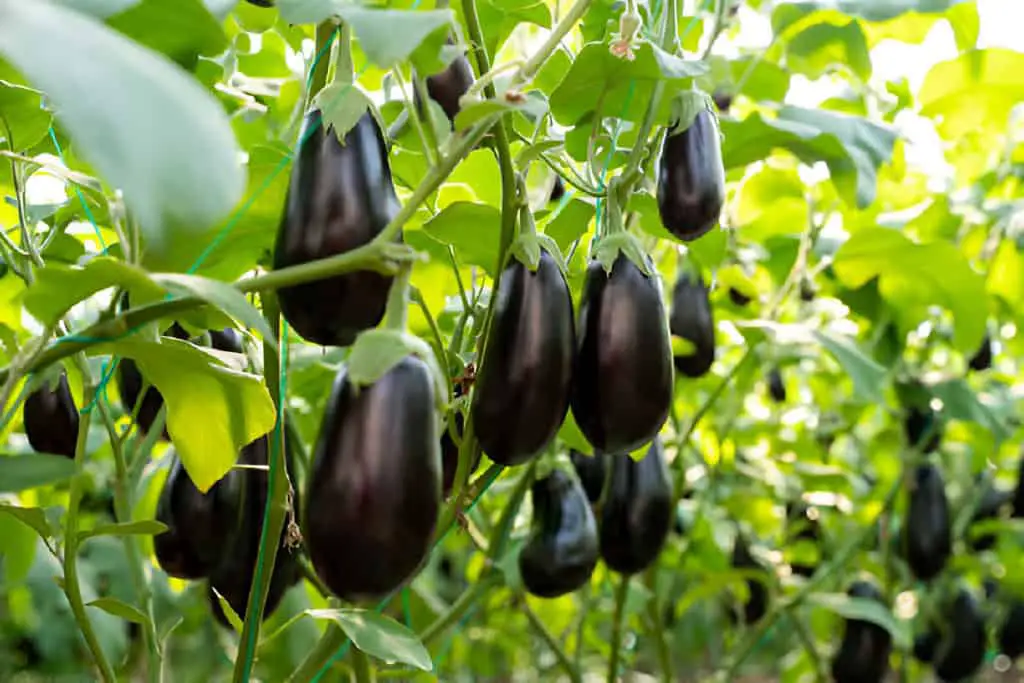
Before diving into the growing process, it’s essential to understand a bit about eggplants. Native to India and Southeast Asia, eggplants thrive in warm climates and require plenty of sunlight.
They are part of the nightshade family, which also includes tomatoes, potatoes, and peppers. The fruit comes in various shapes, sizes, and colors, but the most common varieties found in stores are the large, dark purple ones.
Why Grow Eggplants at Home?
Growing eggplants at home has several benefits. Homegrown eggplants are often fresher and more flavorful than those bought at the store. Additionally, growing your own vegetables can save money and reduce your carbon footprint. Plus, there’s a certain satisfaction that comes from harvesting and eating food you’ve grown yourself.
Selecting the Right Eggplants
To start, you’ll need to choose the right eggplants from the store. Look for healthy, firm eggplants without any blemishes or signs of decay. It’s best to select organic eggplants if possible, as they are less likely to be treated with chemicals that could hinder seed germination.
Preparing the Seeds
Once you have your eggplant, the first step is to extract the seeds. Here’s how to do it:
- Cut the Eggplant: Slice the eggplant lengthwise to expose the seeds.
- Scoop Out the Seeds: Use a spoon to scoop out the seeds and place them in a bowl.
- Rinse and Dry: Rinse the seeds under cold water to remove any pulp. Spread them out on a paper towel and allow them to dry completely. This may take a few days.
Table: Seed Extraction Steps
| Step | Description |
| Cut the Eggplant | Slice lengthwise to expose seeds |
| Scoop Out the Seeds | Use a spoon to remove seeds |
| Rinse and Dry | Rinse under cold water, dry completely |
| Read: How to Grow Scoby from S |
Germinating the Seeds
Once your seeds are dry, it’s time to start the germination process. Germination is the process by which a seed develops into a new plant. Here’s a step-by-step guide:
- Prepare a Seed Tray: Fill a seed tray or small pots with a seed-starting mix. This mix is lighter and more finely textured than regular potting soil, making it easier for seeds to sprout.
- Plant the Seeds: Plant the seeds about 1/4 inch deep in the seed-starting mix. Space them about 2 inches apart.
- Water Gently: Water the seeds gently using a spray bottle to avoid displacing them. Keep the soil consistently moist but not waterlogged.
- Provide Warmth: Place the seed tray in a warm, sunny spot. Eggplant seeds need warmth to germinate, ideally between 70°F to 85°F. A seedling heat mat can help maintain the right temperature.
Table: Germination Requirements
| Requirement | Ideal Condition |
| Soil | Seed-starting mix |
| Planting Depth | 1/4 inch |
| Watering | Consistently moist, not waterlogged |
| Temperature | 70°F to 85°F |
Caring for Seedlings
After about 7-14 days, you should see the seeds begin to sprout. At this stage, your focus should shift to caring for the seedlings:
- Light: Ensure the seedlings get plenty of light. If natural light is insufficient, consider using grow lights to supplement.
- Watering: Keep the soil consistently moist, but be careful not to overwater, as this can cause root rot.
- Thinning: Once the seedlings have a few sets of true leaves, thin them out. Remove the weaker ones, leaving the strongest seedlings 2-3 inches apart.
Transplanting the Seedlings
The seedlings are 6-8 inches tall. The outdoor temperature is above 50°F. Then, they are ready to be moved to the garden or larger pots.
Preparing the Planting Site
Choose a sunny location with well-drained soil. Prepare the soil by adding compost or aged manure to improve fertility and drainage.
- Dig Holes: Dig holes that are slightly larger than the root balls of your seedlings, spacing them about 18-24 inches apart to give each plant room to grow.
- Transplant: Carefully remove the seedlings from the seed tray, being gentle with the roots. Place them in the prepared holes and cover with soil. Firm the soil around the base of each plant.
- Water: Water the transplants thoroughly to help them settle into their new environment.
Table: Transplanting Steps
| Step | Description |
| Prepare Site | Choose sunny location, enrich soil |
| Dig Holes | Spacing 18-24 inches apart |
| Transplant | Place seedlings in holes, cover with soil |
| Water | Water thoroughly |
Caring for Your Eggplant Plants
Once transplanted, eggplants require regular care to thrive and produce a bountiful harvest.
Watering and Feeding
- Watering: Eggplants need consistent moisture. Water deeply once or twice a week, depending on weather conditions. Mulching around the plants can help retain soil moisture and prevent weeds.
- Fertilizing: Feed your eggplants with a balanced fertilizer every 4-6 weeks. Alternatively, you can use compost or well-rotted manure to provide nutrients.
Providing Support
As eggplants grow, their branches can become heavy with fruit. Providing support can prevent the branches from breaking:
- Staking: Use stakes or cages to support the plants. Tie the main stem to the stake with soft ties, ensuring not to damage the plant.
Pest and Disease Management
Eggplants can be susceptible to pests and diseases. Here are some common issues and how to manage them:
- Aphids: Aphids are small insects. You can control them with insecticidal soap or by adding ladybugs.
- Flea Beetles: These pests can cause significant damage to eggplant leaves. Use row covers to protect young plants and apply neem oil if necessary.
- Blossom End Rot: Blossom End Rot is caused by lack of calcium and inconsistent watering. You can prevent it by keeping soil moist and adding calcium to the soil if needed.
Table: Common Eggplant Pests and Solutions
| Pest/Disease | Symptoms | Solution |
| Aphids | Small insects on leaves | Insecticidal soap, ladybugs |
| Flea Beetles | Tiny holes in leaves | Row covers, neem oil |
| Blossom End Rot | Dark, sunken spots on fruit | Consistent watering, add calcium |
Harvesting Your Eggplants
Eggplants are typically ready to harvest 70–85 days after transplanting. Knowing when and how to harvest is crucial for the best flavor and texture:
Timing
- Appearance: Harvest eggplants when they are firm and glossy. Overripe eggplants become dull and can taste bitter.
- Size: The ideal size varies depending on the variety, but generally, eggplants should be 4-6 inches long.
Harvesting Technique
- Cutting: Use a sharp knife or pruning shears to cut the eggplant from the plant, leaving a small portion of the stem attached.
- Handling: Handle the fruit gently to avoid bruising.
Table: Harvesting Guidelines
| Indicator | Description |
| Firmness | Eggplants should be firm and glossy |
| Size | Typically 4-6 inches long |
| Cutting | Use sharp knife, leave stem attached |
Post-Harvest Care
After harvesting, it’s important to handle and store eggplants properly to maintain their quality:
Storing
- Refrigeration: Store eggplants in the refrigerator to keep them fresh. They can last up to a week if stored properly.
- Usage: Use harvested eggplants in your favorite recipes, from grilling and roasting to making dips like baba ganoush.
Conclusion
Growing eggplants from store-bought fruit is fulfilling. It lets you enjoy fresh, homegrown produce. Follow these steps. They go from selecting and preparing seeds to caring for and harvesting your plants. You can grow eggplants successfully in your garden.
Whether you’re a seasoned gardener or a beginner, the journey from seed to harvest is rewarding and provides a deeper connection to the food you eat. Happy gardening!

