The Ultimate Guide to Juniper Bonsai Care: Keep Your Tree Healthy
For us, a Juniper bonsai is a synonym of bonsai for beginners. Most experts agree that this species is a fantastic choice if you’re getting started in the miniature tree world. However, the fact that it is a newbie-friendly bonsai doesn’t mean that you can buy it, place it, and forget about it. You gotta show it some love and care, so be sure to meet the following care guidelines.
So, to take care of a Juniper bonsai you should:
- Water it between two and three times per week before the soil completely dries out.
- The Juniper should be preferably grown outdoors, as it requires 6 or more hours of direct sunlight on a daily basis.
- To achieve a desired shape or style, Juniper bonsais can be pruned every 6 weeks.
But what special care do you need to consider when temperatures drop down during the winter? Maybe you’re also wondering if you need to fertilize your Juniper very often. Keep on reading, as you will learn all the ins and outs related to Juniper bonsai care.
How to Care for a Juniper Bonsai
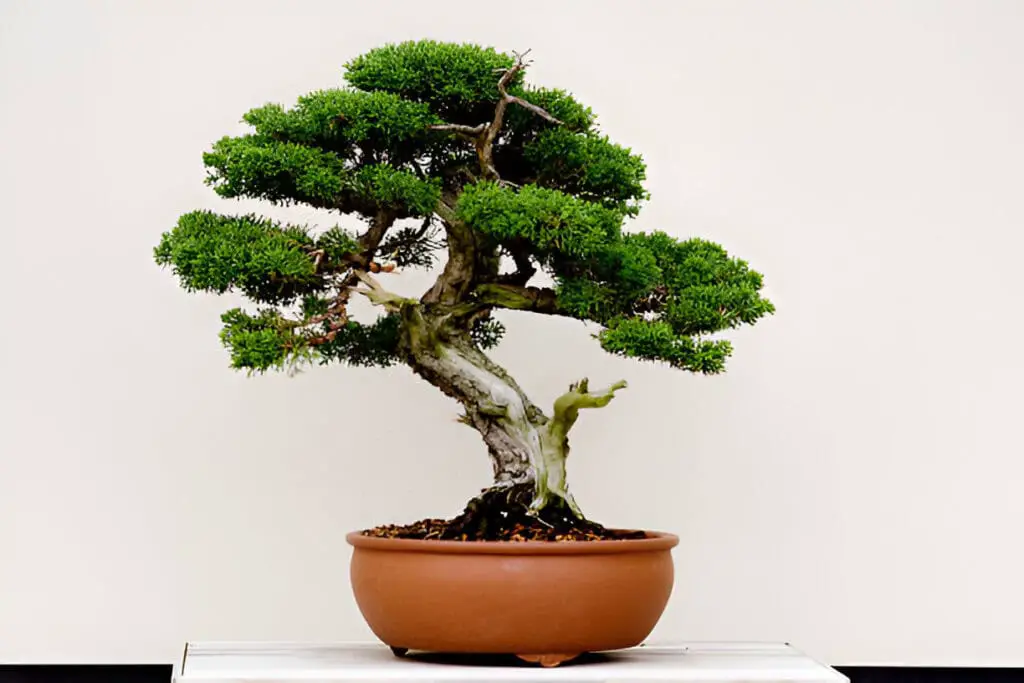
The basic caring guidelines that you need to follow to make a Juniper thrive can be divided into the following:
- Watering and Humidity
- Sunlight
- Pruning
- Fertilizing
How to Water a Juniper Bonsai Tree
Although this species can hold out several days without water, you will need to monitor it on a daily basis. Watering is based on its needs rather than on a schedule, and you will need to develop a monitoring habit as a Juniper owner.
We suggest booking a recurrent event in your calendar or setting up a daily alarm to check your bonsai. But checking doesn’t mean watering; it’s just that: checking. As with most miniature trees, the soil moisture will give you a sign regarding when it’s the right time to water your bonsai. As a rule of thumb, simply poke your finger into the soil and if you feel that it’s dry, that is a good indicator that you should water your Juniper.
Alternatively, you can use a small wooden stick and press it about 2 or 3 inches into the soil. Then, after a couple of minutes, take it out and observe it carefully. If the stick is dry, then you can go ahead and water your Juniper. On the other hand, if you notice that the stick is wet or damp, that’s a signal that the soil is moistened enough and your bonsai doesn’t need watering yet.
Regarding watering techniques, we suggest going gentle. Pour less than 250 ml (8.4 oz or one cup) of water at a time. Then, allow some minutes to go by until the trunk, soil and roots absorb the water. Water again carefully if needed. Make sure to avoid creating a mini-pool of water in the top layer of the soil as this means “too much.”.
Don’t forget to verify that your bonsai pot has adequate drainage and that water effectively comes out from the drainage holes. This is key to avoiding root rotting and preventing your bonsai from becoming ill.
Finally, you can go ahead and spray the leaves with a spray bottle to complete the perfect watering session.
As you could tell, humidity is another key factor to promote healthy growth for your Juniper. Regular misting is recommended as humid conditions suit the Juniper species very well.
One of the main concerns from Juniper owners is what to do regarding watering if they need to leave their bonsai alone without supervision for a couple of days. Well, the first thing is to try to find someone who can take care of it, or if there is a nursery nearby. If no one is available to care for it, you can use a plastic bag (ideally a ZipLock), mist it with water, and place your bonsai inside. Then close the bag.
What this strange setup will do is it will increase the overall humidity by emulating an evergreen, and this will maintain the soil moist until you come back.
Juniper Bonsais and Winter
You should be extra cautious with your bonsai when temperatures get below -10 Celsius (14 Fahrenheit). The main reason for this is that Junipers, as a species don’t like the cold. In fact, during the winter months, they will react by entering into dormancy and even turn their leaves into a dark purplish color.
So it might be a good idea to protect your Juniper by blocking or reducing its exposure to the frost. Most users prefer bringing their tree into their homes. If you choose this path, be mindful of the fact that your bonsai still will need sunlight exposure during the daytime, but other than that, your leafy friend should be good.
Advanced Caring Guidelines
In this section, we will cover more advanced care guidelines related to the Juniper such as:
- Repotting and Soil characteristics
- Pruning
- Fertilizing
Disclaimer for beginners: if you’re getting started, we suggest that you seek advice in a local nursery, where experts can teach you these advanced tasks in an immersive way. The last thing we want is that you get frustrated, or try to tackle some technique you’re not ready yet for and harm your bonsai.
Juniper Bonsai Repotting
When to repot a Juniper Bonsai?
Seasoned bonsai owners recommend repotting a bonsai like Juniper as follows:
- Young bonsais: every two years.
- Mature bonsais: every three to four years.
Nevertheless, if you wish to double-check if it’s the right moment to do the repotting, check if the roots still have room to expand in the container and they aren’t choking. This can be done by carefully removing the bonsai from the pot, turning it upside down, and observing the roots. Make sure to grab the tree near its trunk base, where it is more robust.
What you want to check is if the roots have formed multiple circles around themselves. If that’s the case, this means the roots are struggling to expand properly. This means that they need more space, or new soil to continue growing in a healthy way.
Once you’ve decided that repotting is the best option, it’s crucial to select well-draining soil to prevent unwanted root rotting. Also, remember to do a quick root pruning when repotting your bonsai, as this will help to prevent “root choking” as we described above. This will allow you to make the most out of each of your repotting cycles.
Generally, exercise caution and refrain from severing large roots from your bonsai. You can play it safe by cutting the thin roots that are near to the drainage holes and far from the root system core. According to anecdotal evidence, you should not remove more than 25% of the root mass at a time in order to avoid problems related to water and nutrient absorption.
Check this video that explains the step-by-step:
After performing the root pruning, make sure to place your Juniper into the new pot and fill the spaces between the performed root cuttings with soil to minimize air pockets formation.
You should aim to perform this task during early spring, as the months after could be very useful to regain growth traction and respond well to being repotted.
Juniper Bonsai Pruning
Juniper bonsai pruning is where most experts have a lot of advice to share. And again, this falls into the bonsai dichotomy between aesthetics and maintenance.
If you perform a simple Google search for juniper bonsai, you will see hundreds of images of bonsais with different shapes. Of course, the subtype has some influence on the Juniper’s appearance as we will see in one of the sections below. Nevertheless, there is a considerable impact on the bonsai’s shape that derives from pruning. In fact, by pruning you will make your leafy friend be more “bushy”, encouraging new growth and strength.
How to Prune a Juniper Bonsai
There are two main ways you can prune your Juniper Bonsai:
You can pinch the foliage tips with your fingers. This pinch and pull should be done on the weak points of the foliage tips, near their end. Yeah, not the most artistic way, however it can be very effective. When you notice that a shoot has reached a length of one inch (2.54 cm), you can pinch it back.
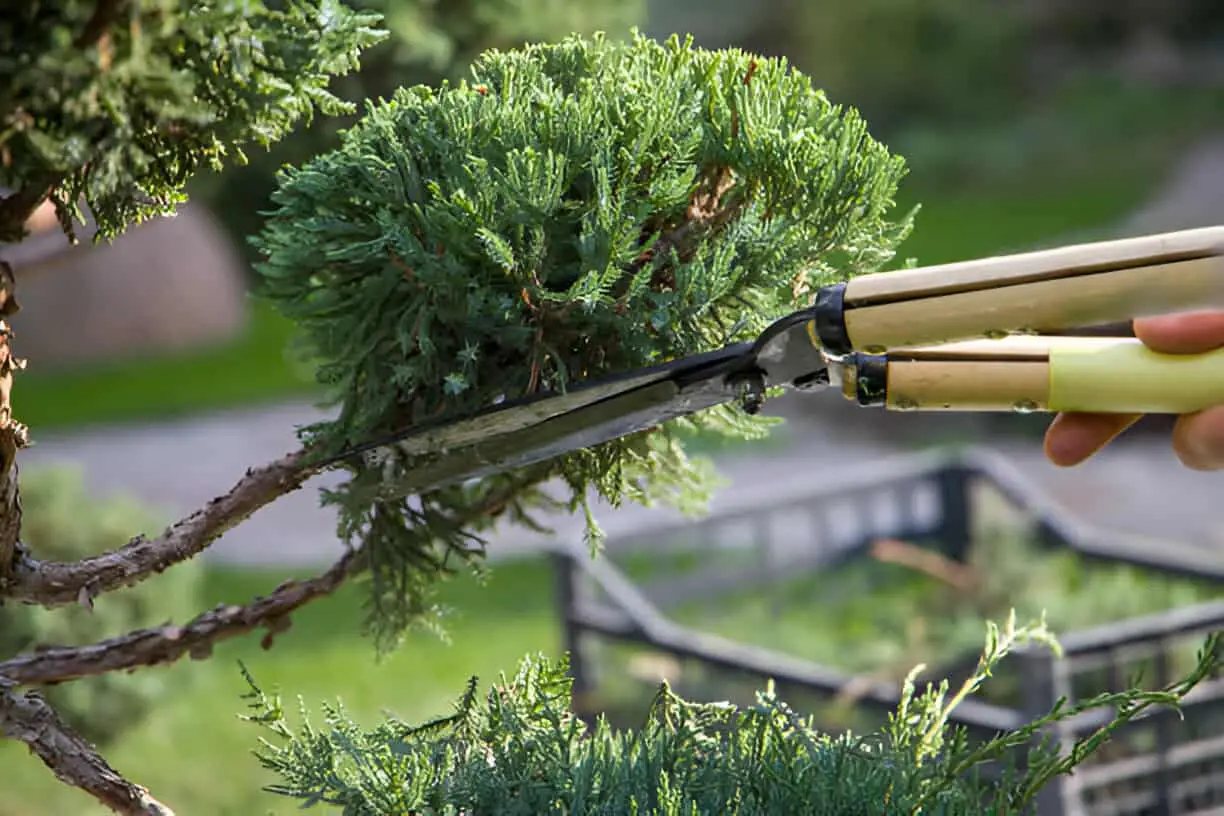
Alternatively you can use bonsai shears to cut and remove the longest part of the foliage tip, leaving multiple growing tips per each branch.
As we mentioned above, try to do branch and leaf pruning during the spring and summer months because it will maximize the refoliation effect.
You can check our guide on bonsai pruning for beginners to learn more tips.
Juniper Bonsai Fertilizing
A secret to accelerate your Juniper’s growth lies around having the proper fertilizing routine. In order to do so, you can use high nitrogen fertilizers during the spring months and this will boost the proper growth of your bonsai trunk and branches.
Besides this, you can pretty much fertilize it with liquid fertilizer every week or with pellets every month. This applies to most of the year, with the only exception being during the winter months when fertilizing is not really necessary.
Juniper Bonsai Varieties
There are more than 50 Juniper bonsai varieties documented. We have summarized the most popular Juniper sub-types in the table below:
| Name | Description |
| 1. Sierra (Juniperus Occidentalis) | Characterized by having a cone shape, a wide trunk and a thin foliage. |
| 2. Rocky Mountain (Juniperus Scopulorum) | A very malleable sub-type that can be shaped into really cool designs, most of them with a prominent trunk that extends its limbs without significant foliage. |
| 3. California (Juniperus californica) | Most California Juniper bonsais present a woody wide base at a trunk that can curve itself like play-doh. It also has marked coniferous foliage that partly covers the trunk. |
| 4. Savin (Juniperus Sabina) | This subtype has scale-like foliage that can be pretty coarse. An important caution is that this tree can be poisonous. So they are not a safe bonsai species for cats or dogs |
| 5. Japanese Needle (Juniperus Rigida) | The needle nickname comes from the shape of its foliage tips. Also, they tend to have large branches that can extend very wide and even come out of the pot. |
| 6. Japanese Shimpaku (Juniperus sargentii) | This subtype is characterized by its populated foliage and branches and less exposed trunk than other subtypes. |
Related Questions
Can a Juniper survive Indoors?
Most experts recommend growing Juniper bonsais outdoors. However, we learned from this source that indoor growing is not impossible if you commit to making it work. This means you will need to move your bonsai several times a day to make sure it gets the direct sunlight it needs to thrive (approximately 6 hours per day).
Additionally, you will need to keep it very humid and mist it at different hours throughout the day. Finally, make sure you are aware of any dry air coming out of an AC or heating system and protect your bonsai against it if you can.
How long does a Juniper bonsai take to grow?
Most experts estimate that planting a Juniper tree from seed can take up to 5 years. Even though it’s not a Juniper growth-specific guide, we created a full guide on bonsai tree growth and how long it takes, read it here.
Is my Juniper Bonsai dead?
To answer this question, simply scrape a small part of the trunk bark with a sharp knife or your fingernail. If you see a light green color in the tissue, good news, your bonsai is not dead and you could revive it. But if you see a dark brown color, bad news, most probably your bonsai has dried out.
Why is my Juniper Bonsai Turning Brown?
This could be the result of under or overwatering your bonsai. To discard the latter, make sure to check the drainage holes are working properly and that they don’t have a weird smell (which could indicate root rotting). If the cause is underwater, please refer to the watering guidelines described above.


