What Do You Put at the Bottom of a Large Planter?
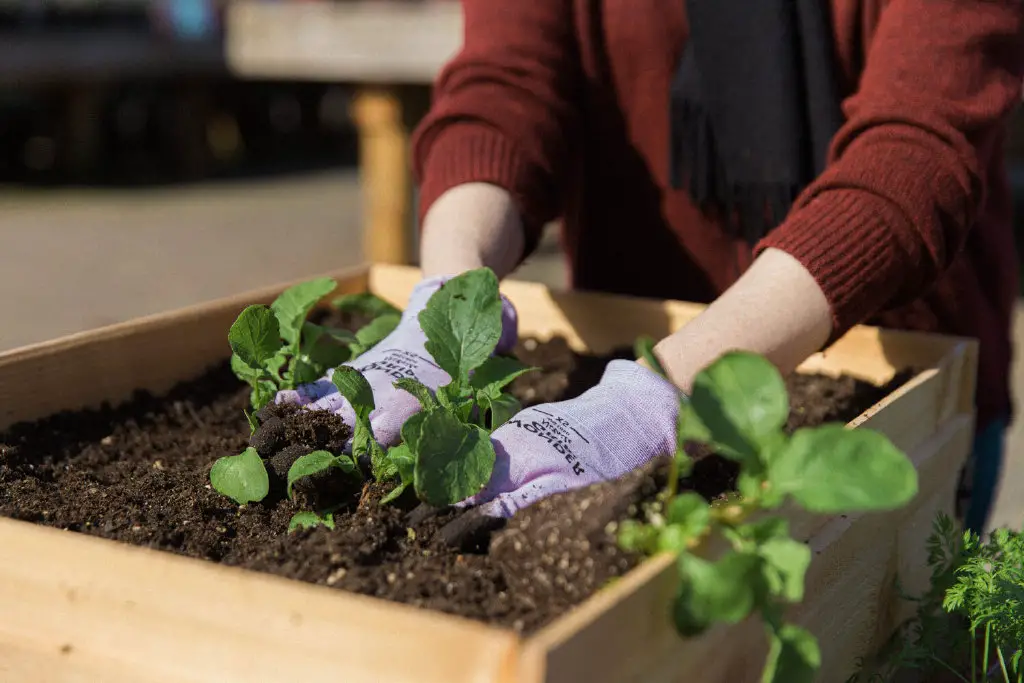
Let’s face it: large planters can be a blessing for your garden aesthetics but a mystery when it comes to proper setup. There’s something so satisfying about seeing a beautiful, vibrant plant placed perfectly in a large pot, but the truth is, getting that pot ready for planting isn’t always as straightforward as it seems.
If you’ve ever stood over an empty giant planter, staring at the bottom and wondering what on earth you should put in there, you’re definitely not alone. I’ve been there, too. I’ve spent plenty of time experimenting, learning from a few mistakes, and gradually figuring out what works best.
Now, after some trial and error, I’ve nailed down a few key tips that will set your large planter up for success.
So, what exactly should you be placing at the bottom of your planter to ensure healthy, thriving plants? Is it all about drainage, or are there other factors at play that could affect the growth of your plants in the long run? These are the kinds of questions I was asking myself during my own gardening journey, and in this post, I’m going to share the answers I’ve discovered through firsthand experience.
By the end of this article, you’ll have a clear understanding of how to properly prepare the bottom of your large planter, from the materials that help with drainage to those that will prevent common issues like root rot.
Why Does the Bottom of a Planter Matter?
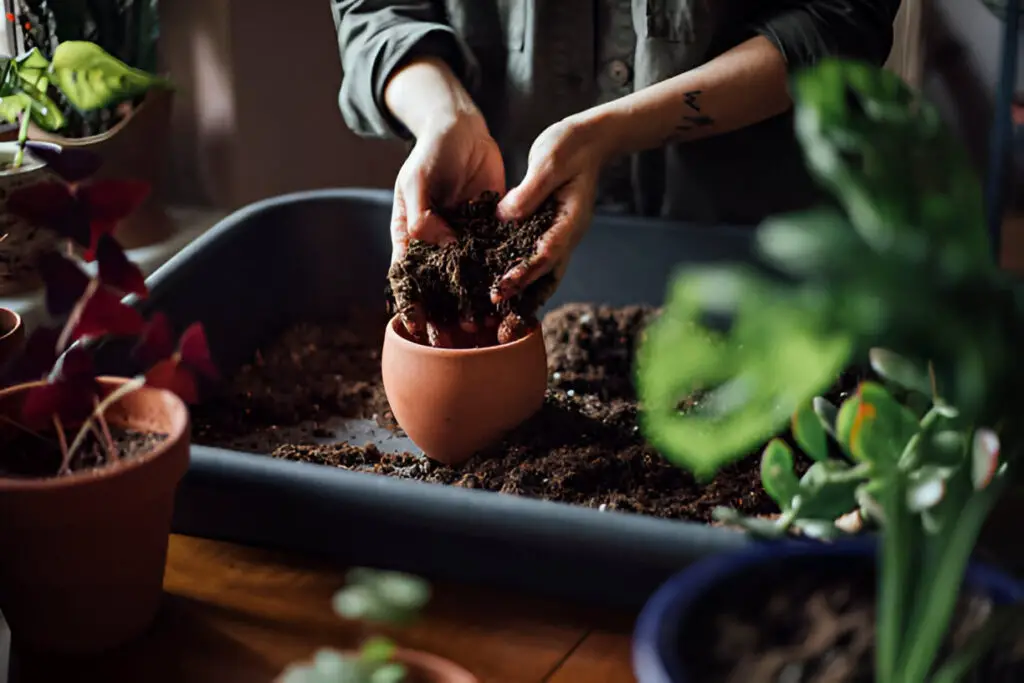
Think of the bottom of your planter as the foundation of a house. Just as a shaky foundation can cause problems for a building, a poorly prepared planter bottom can create all sorts of issues for your plants. Without the proper setup, you risk water pooling at the bottom, leading to waterlogged roots and, ultimately, root rot.
Compacted soil can also restrict healthy root growth, making it harder for your plants to thrive. Getting the foundation right ensures your plants have a stable, healthy environment from the start.
The key to a healthy planter starts with good drainage. Without it, water can accumulate, suffocating the roots and leaving them vulnerable to disease. To avoid these issues, many gardeners add layers like gravel, pebbles, or even broken pottery at the bottom. These materials help water flow freely and prevent soil from becoming too dense, ensuring your plants can breathe and grow strong.
Setting up the bottom of your planter properly will set the stage for a flourishing garden. A little attention to detail goes a long way in preventing problems down the line, so your plants get the best start possible. By ensuring proper drainage and soil health, you’re giving your green companions the best chance to thrive.
The Golden Rule: Drainage, Drainage, Drainage
Plants hate soggy feet! Without proper drainage, water accumulates at the base, creating the perfect storm for root rot. To avoid this, the bottom of your planter needs to encourage excess water to escape.
- Start with Drainage Holes: Before we even talk fillers, make sure your planter has drainage holes. No holes? Drill some!
- Add Fillers: Adding the right materials below the soil can create space for water to flow freely. Let’s dive into some great options.
Lightweight Fillers for the Win
Large planters can get heavy, especially when you add soil and plants. The solution? Fillers that reduce the weight without compromising drainage. Here’s what I’ve found works best:
| Filler Material | Why It Works | Tips for Use |
| Foam Packaging Peanuts | Lightweight and great for drainage | Wrap in mesh to prevent soil mixing. |
| Recycled Plastic Bottles | Eco-friendly and adds bulk without weight | Crush slightly for stability. |
| Broken Pottery or Pebbles | Classic choice for sturdy drainage | Use sparingly to avoid heavy planters. |
| Old Newspapers or Cardboard | Biodegradable and soil-friendly | Compress lightly to maintain air pockets. |
Striking the Balance: Drainage vs. Retention
While drainage is crucial, you don’t want the soil to dry out faster than a summer sidewalk. After you’ve added fillers, create a barrier between them and the soil. A layer of landscape fabric or mulch does the trick, keeping your soil in place while allowing water to flow freely.
Tailoring Fillers to Plant Needs
Every plant has its quirks. While succulents demand quick-draining soil, ferns might appreciate a bit more moisture. Choose fillers based on the plants you plan to grow. Here’s a quick guide:
| Plant Type | Best Fillers | Why |
| Succulents & Cacti | Pebbles, sand, foam peanuts | Encourages fast drainage. |
| Herbs | Crushed bottles, newspapers | Maintains moderate moisture. |
| Tropical Plants | Cardboard, lightweight pumice | Balances moisture and aeration. |
Recycling and Reusing: A Gardener’s Superpower
Got some old junk lying around? Turn it into planter gold. Recycle items like old T-shirts, egg cartons, or even chipped ceramic plates. Not only does this reduce waste, but it also gives your plants a creative head start. I once used a stack of mismatched socks as filler—and my basil couldn’t have been happier!
Avoid These Common Mistakes
Not everything belongs at the bottom of a planter. Here are a few “don’ts” I’ve learned the hard way:
- Avoid Dense Materials: Rocks and heavy gravel can weigh down the planter without improving drainage.
- Don’t Skip the Drainage Barrier: Soil will mix with fillers over time if not separated, defeating the purpose.
- Say No to Organic Fillers That Decompose Quickly: While biodegradable fillers like cardboard are great, avoid using materials like fresh wood chips that could attract pests or deplete nutrients as they break down.
Experiment and Adjust
Gardening, like cooking, often requires a little trial and error. Don’t hesitate to tweak your setup if you notice issues. For example, if water pools on top, you might need better fillers or more drainage holes. Keep an eye on how your plants respond, and let them guide you.
Why Fillers Aren’t Just About Drainage
While drainage takes center stage, fillers also provide other benefits:
- Aeration: Fillers create air pockets that keep roots oxygenated.
- Preventing Soil Compaction: Compact soil can suffocate roots; fillers give roots room to breathe.
- Cost Efficiency: Filling the bottom of the planter reduces the amount of soil you need, saving money.
Step-by-Step: How to Prep Your Planter
Ready to get planting? Here’s my foolproof process:
- Check for Drainage Holes: If your planter doesn’t have them, drill now.
- Add Fillers: Choose lightweight, moisture-resistant materials and layer them 4–6 inches deep.
- Lay a Barrier: Use fabric, mesh, or mulch to keep soil separate from the fillers.
- Fill with Soil: Add your potting mix, leaving enough room for planting.
- Plant and Water: Place your plants, water thoroughly, and watch them thrive!
Regular Maintenance: Keep Things Fresh
Over time, fillers may compact or decompose. Make it a habit to refresh the bottom layers every few years. This is also a wonderful opportunity to repot your plants, ensuring their roots stay healthy and unrestricted.
The Bottom Line: Happy Plants, Happy Gardener
Despite its seemingly insignificant appearance, the bottom of your planter plays a crucial role in fostering a thriving plant. By carefully choosing fillers and tailoring the setup to your plants’ needs, you create a strong foundation for vibrant, healthy growth. So, grab your planters, unleash your creativity, and watch your garden dreams blossom!

