The Simple Guide to Growing Bean Sprouts in a Bag: Step-by-Step Instructions
There’s something magical about watching a tiny seed sprout and grow into something green and fresh. Growing your own bean sprouts in a bag is not only easy but also incredibly satisfying. You can do it right in your kitchen, and it doesn’t take much to get started.
Whether you’re new to sprouting or a seasoned pro, this guide will walk you through the process, step by step, to ensure you get crunchy, delicious sprouts every time.
Why Grow Bean Sprouts in a Bag?
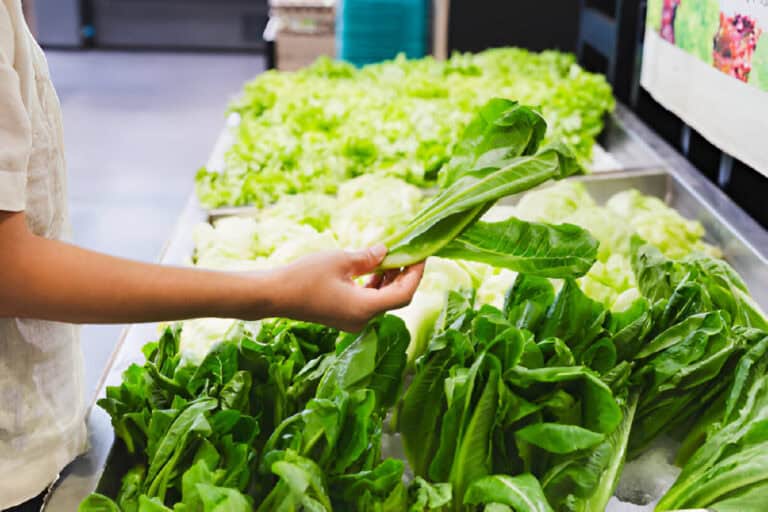
Before we jump into the “how,” let’s quickly talk about why you should grow bean sprouts in the first place. Bean sprouts are nutritious, easy to grow, and add a crisp texture to your dishes. Whether you’re tossing them into a salad, stirring them into a stir-fry, or adding them to sandwiches, they bring both flavor and health benefits. And the best part? You don’t need fancy equipment to grow them. A simple bag will do the trick.
What You’ll Need
Before we dive into the sprouting process, let’s gather everything you’ll need to get started:
- A sprouting bag: This can be a mesh bag or any breathable fabric. You can find sprouting bags online or simply use a clean, thin kitchen towel.
- Dried beans: Mung beans are the most commonly used for sprouting, but you can also use other types like lentils or chickpeas.
- A bowl: For soaking the beans.
- Water: Clean, room temperature water works best.
- A clean, dry place: Somewhere out of direct sunlight but still warm.
Step 1: Soak the Beans
The first thing you’ll need to do is soak your beans. This step helps to activate the sprouting process. It’s like waking up the seeds from their sleepy state.
- Rinse your beans thoroughly to remove any dust or debris.
- Place your beans in a bowl and cover them with water. Make sure there’s enough water to fully submerge the beans, as they will expand.
- Let the beans soak for about 8 to 12 hours, or overnight. If you’re sprouting large amounts, it might be a good idea to soak them longer.
Soaking is essential because it kickstarts the process, so don’t skip this step!
Step 2: Drain and Rinse the Beans
Once your beans have soaked and expanded, it’s time to drain and rinse them. This step is vital because it removes any residue from the soaking process and ensures the beans are clean before they begin sprouting.
- Use a colander or fine mesh strainer to drain the water completely.
- Rinse the beans under cool running water for a few seconds to clean them further.
At this point, you should notice that the beans look plump and ready to sprout. Give them a quick once-over to make sure they’re clean and free of debris.
Step 3: Place the Beans in the Bag
Now that your beans are soaked and rinsed, it’s time to place them in the bag. This is where the magic happens.
- Take your sprouting bag and open it up.
- Place the beans inside the bag—be sure to spread them out evenly so they have plenty of room to grow.
- Tie the bag closed or simply fold it over (depending on the type of bag you’re using).
Step 4: Hang the Bag
Hanging your bag is crucial for sprouting success. Beans need to be in a place that allows air circulation to prevent mold and encourage growth. Here’s how to do it:
- Find a spot in your kitchen or another warm area, away from direct sunlight. The ideal temperature is around 65-75°F (18-24°C).
- Hang the bag from a hook, a cupboard handle, or any other place where the beans can be left to sprout.
- The bag should be positioned so that the beans are able to “breathe,” but not in direct sunlight.
Step 5: Rinse and Drain Regularly
After the beans are placed in the bag, the next step is a bit of maintenance. You’ll need to rinse the beans twice a day—once in the morning and once before bed.
- Gently open the bag and rinse the beans with cool water.
- Drain the water completely to avoid any excess moisture, which could lead to mold.
Make sure to rinse thoroughly so that the sprouts are fresh and free of any leftover water or debris. This step is crucial for keeping your sprouts healthy and growing at their best.
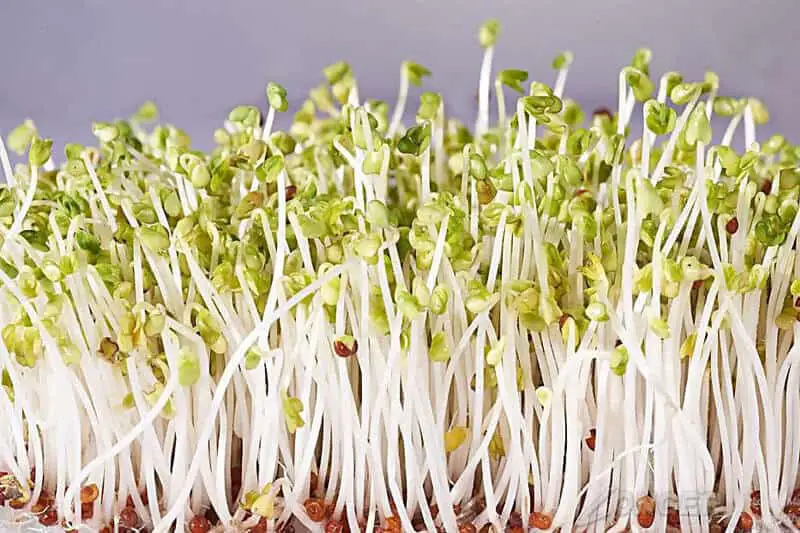
Step 6: Wait for the Magic to Happen
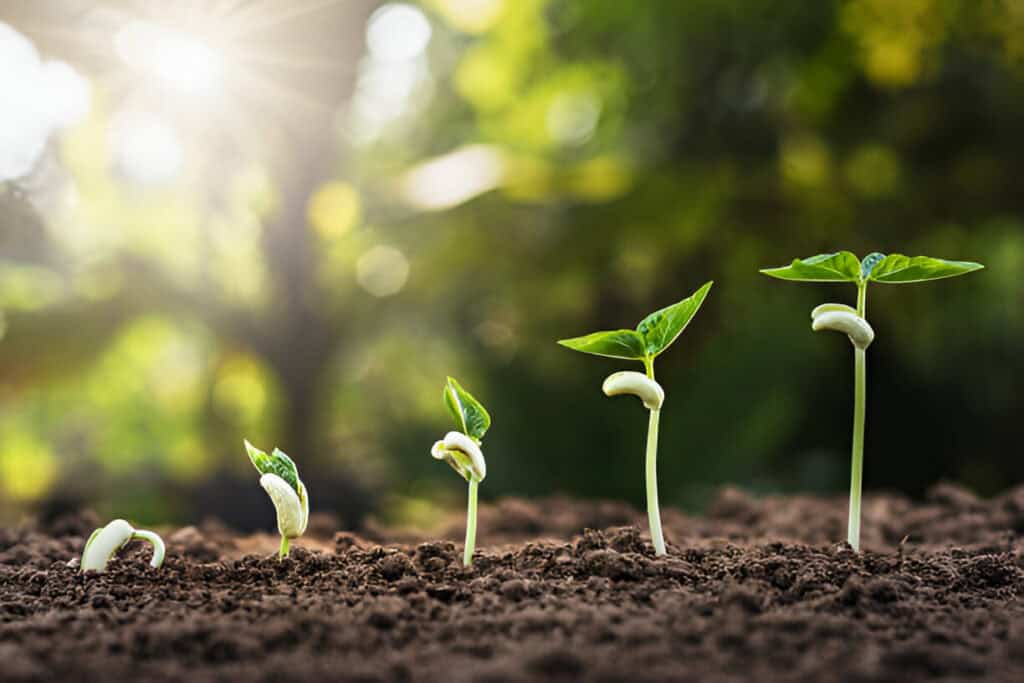
At this point, all you need is patience! Depending on the temperature and humidity, your beans will begin to sprout in about 2-4 days. You’ll see tiny white tails poking out from the beans, which are the beginnings of your sprouts.
During this period, you can check on them a few times a day to monitor their progress, but avoid opening the bag too often. Let the sprouts grow and develop. When they’re ready, they’ll be firm, crunchy, and just the right size.
Step 7: Harvest Your Sprouts
Once your sprouts are at the desired length—usually around 1-2 inches—it’s time to harvest them.
- Gently remove the sprouts from the bag.
- You can rinse them one last time to ensure they’re clean and free from any remaining husks or residue.
At this point, you can enjoy your fresh sprouts in a variety of dishes, from salads to stir-fries or even as a crunchy topping for sandwiches.
Tips for Success
- Don’t Overcrowd the Bag: The beans need space to sprout. If you overcrowd the bag, they may not grow properly, and you’ll end up with fewer sprouts.
- Keep It Clean: Always use clean equipment, especially the bag and the bowl you soak the beans in. This helps prevent any bacterial growth.
- Rotate the Bag: If your bag isn’t hanging evenly, you can rotate it a few times during the sprouting process to ensure that the beans are getting the proper air circulation.
What Kind of Beans Can You Grow in a Bag?
Growing beans in a bag is a great way to make the most of limited space, and there are several types of beans that thrive in this environment. Whether you’re using a fabric grow bag or a simple plastic bag, it’s important to choose beans that can tolerate indoor conditions and small spaces. Here are some popular options:
1. Mung Beans
Mung beans are among the best beans for sprouting in a bag. They’re quick to sprout, nutritious, and can be used in various dishes, from stir-fries to soups. These beans thrive in warmth and need minimal space, making them ideal for bag growing.
2. Lentils
Lentils are another excellent choice for bag growing. Like mung beans, they don’t need a lot of space and can grow quickly. They require a steady, warm environment and should be watered regularly to avoid drying out.
3. Soybeans
Soybeans can also grow in a bag, though they require a bit more attention. They need a larger growing space, so choose a bigger bag. Soybeans take longer to sprout but are perfect for making homemade tofu or edamame.
4. Chickpeas
Chickpeas are sturdy and grow well in bags. They are perfect for creating fresh sprouts, which can be added to salads, sandwiches, or wraps.
Tips for Growing Beans in a Bag:
- Watering: Be sure to keep the soil or growing medium consistently moist but not soggy.
- Light: Place your bean bags in a spot that receives indirect light for best results.
- Temperature: Beans thrive in warm environments, so choose a spot free of drafts.
With the right care, these beans will sprout and grow beautifully in your bags, offering fresh, home-grown produce.

Can Bean Sprouts Be Grown Indoors?
Yes, you can absolutely grow bean sprouts indoors, and it’s a great option for fresh greens year-round. One of the best things about growing bean sprouts indoors is that it’s not dependent on the season. Whether it’s the chill of winter or the heat of summer, you can start sprouting at any time. The key to success lies in creating the right environment.
To grow bean sprouts indoors, you’ll need a dark, warm spot, ideally around 65-75°F (18-24°C). This can be a cupboard, closet, or any space that’s away from drafts. Keep the temperature steady, as fluctuating temperatures can slow down sprouting or affect the sprouts’ quality.
Here are some tips to get you started:
- Choose the Right Container: A jar, bowl, or sprouting tray works well.
- Soak the Seeds: Start by soaking the beans for 8-12 hours to kick off the sprouting process.
- Rinse Regularly: Keep the seeds moist, rinsing them a few times a day to prevent mold.
With these steps, you’ll have fresh, crunchy bean sprouts ready in just a few days, even in the dead of winter!
Troubleshooting Common Issues
If you run into any issues while sprouting, don’t worry—it’s usually easy to fix.
- Mold or Odor: This happens when the sprouts get too wet or aren’t rinsed properly. Make sure to drain the sprouts thoroughly after each rinse and avoid excessive moisture.
- Slow Growth: If your sprouts aren’t growing quickly, check the temperature. Sprouts need warmth (but not heat) to grow well.
- Short, Weak Sprouts: If your sprouts are short or not very strong, it could be a sign that you didn’t soak them long enough or didn’t rinse them often enough.
Conclusion: Your Home-Grown Bean Sprouts
Growing bean sprouts in a bag is as easy as it gets. All you need is a little patience and some basic supplies. In a few short days, you’ll have fresh, crunchy sprouts to use in your meals. Whether you’re looking to add a nutritious punch to your salads, sandwiches, or stir-fries, home-grown sprouts are a game-changer.
So, next time you’re looking for a simple yet rewarding gardening project, reach for some beans and a bag—your sprouts are waiting!