Should I Soak Clover Seeds Before Planting? The Surprising Benefits
When it comes to gardening, I’ve always believed that the little things make a big difference. Whether it’s how you water your plants, the time of day you tend to your garden, or even the angle of sunlight on a seedling, the smallest choices often yield the biggest results.
So, when I decided to add clover to my garden—both for its lush greenery and its soil-enriching qualities—I paused to consider one key question: Should I soak clover seeds before planting?
At first, it seemed like a minor detail. But the more I read, the more I realized this choice could actually shape how successful my clover patch would be. Does soaking speed up germination? Will it help seeds settle in poor soil? Or is it an unnecessary step that just sounds good in theory?
In this post, I’ll walk you through what I learned from my own garden experiments, plus insights from expert growers. If you’re aiming for a fuller, healthier clover bed, knowing whether to pre-soak your seeds can make all the difference. Let’s dig in!
Why Even Bother with Clover?
Before diving into the whole soaking debate, let’s talk clover. This isn’t just the stuff of lucky charms or St. Patrick’s Day decorations. Clover is a powerhouse plant that can transform your garden in more ways than one. It’s a natural nitrogen fixer, meaning it can enrich your soil without the need for chemical fertilizers. Plus, clover is hardy, drought-resistant, and can outcompete weeds, making it a gardener’s best friend.
I first became interested in clover because I wanted a low-maintenance, eco-friendly ground cover that would also give my garden a lush, green appearance. Clover seemed like the perfect fit, but I wasn’t sure if I needed to go the extra mile with soaking the seeds.
The Benefits of Soaking Clover Seeds
Soaking seeds is like giving them a head start. By soaking clover seeds, you’re essentially speeding up the germination process, giving them the best possible chance to thrive. Here are a few benefits I’ve noticed when I take the time to soak my clover seeds:
- Faster Germination: Soaking the seeds can shave a few days off the germination process. When you’re eager to see those first green shoots, this can be a real game-changer.
- Better Uniformity: Soaking helps ensure that the seeds absorb water evenly, which leads to more uniform sprouting. This means your clover patch will look more even and lush, rather than spotty and uneven.
- Stronger Growth: Seeds that have been soaked tend to establish roots more quickly. This results in stronger, healthier plants that can better withstand drought and other stressors.
- Improved Weed Suppression: Clover grows quickly, especially when the seeds are soaked beforehand. This rapid growth helps the clover outcompete weeds, leaving you with a cleaner, greener garden.
Soaking might seem like a small step, but in my experience, it’s one of those little details that can make all the difference in the world.

How to Soak Clover Seeds: A Simple Guide
So, how exactly do you go about soaking clover seeds? It’s not rocket science, but there are a few tips and tricks I’ve picked up along the way that can help ensure success.
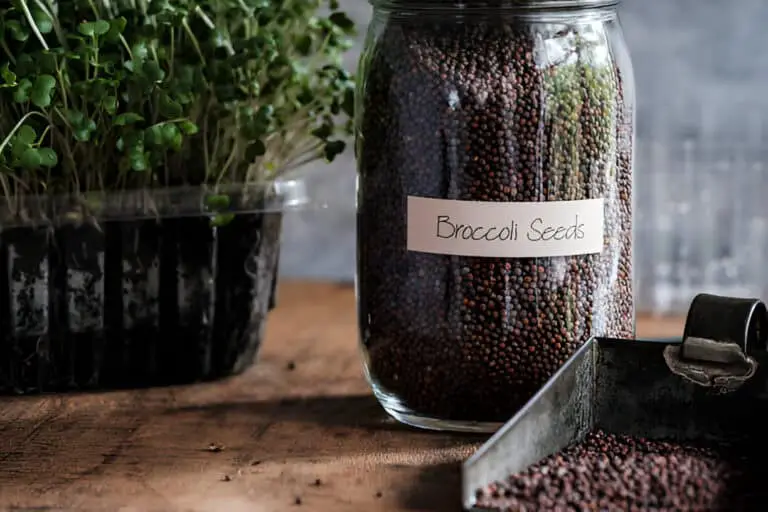
- Start with Fresh Seeds: First things first, make sure your seeds are fresh. Like with any gardening project, the quality of your seeds can make or break the outcome. Old seeds might not germinate well, even if you soak them.
- Use Lukewarm Water: Fill a bowl with lukewarm water. You don’t need to get fancy – just tap water at a comfortable temperature will do. Think of it like making a cup of tea for your seeds.
- Soak for 12-24 Hours: Let the seeds soak for 12 to 24 hours. Any longer, and you risk drowning them. I usually soak my seeds overnight and plant them the next morning.
- Drain and Plant Immediately: After soaking, drain the seeds and plant them right away. Don’t let them sit around, or they might dry out or even start to mold.
My Personal Experience with Soaking Clover Seeds
I’ll admit, when I first heard about soaking clover seeds, I was skeptical. I’ve always been the type of gardener who likes to keep things simple, and soaking seemed like an extra step that might not be necessary. But after trying it out, I’m a convert.
The first time I soaked clover seeds, I noticed the difference almost immediately. The seeds germinated faster, and the seedlings were more robust. My clover patch filled in quickly and looked fuller than ever before. It was like watching a time-lapse of a green carpet unfurling in my garden.
Here’s a little comparison I put together based on my own experience:
| Factor | Soaked Seeds | Unsoaked Seeds |
| Germination Speed | Faster (3-5 days) | Slower (5-7 days) |
| Growth Uniformity | More even | Less consistent |
| Root Strength | Stronger, deeper roots | Weaker roots |
| Weed Suppression | More effective | Less effective |
As you can see, soaking offers some clear advantages, particularly in terms of germination speed and uniformity. If you’re anything like me and you want to get the most out of your clover, soaking is definitely worth considering.
| Related: Should I Soak Milkweed Seeds Before Planting? |
When Not to Soak Clover Seeds
Of course, there are always exceptions to the rule. Soaking isn’t always necessary, and in some cases, it might even be counterproductive. Here are a few scenarios where you might want to skip the soak:
- High Humidity: If you’re planting in a particularly humid environment, soaking might not be necessary. The air and soil already have plenty of moisture, so the seeds will naturally absorb what they need.
- Wet Soil: If the soil is already very wet, soaking could lead to waterlogged seeds. This can cause the seeds to rot before they have a chance to sprout. In these conditions, it’s better to plant the seeds dry and let the soil do the work.
- Time Constraints: If you’re short on time and need to get your seeds in the ground quickly, it’s okay to skip the soak. While it’s a beneficial step, it’s not absolutely essential, and you can still achieve good results with unsoaked seeds.
Other Tips for Planting Clover
Whether you decide to soak your seeds or not, there are a few other tips that can help ensure your clover patch turns out beautifully.
- Soil Preparation: Clover prefers well-drained soil. If your soil is compacted or heavy, consider loosening it up with a garden fork or adding some compost to improve drainage.
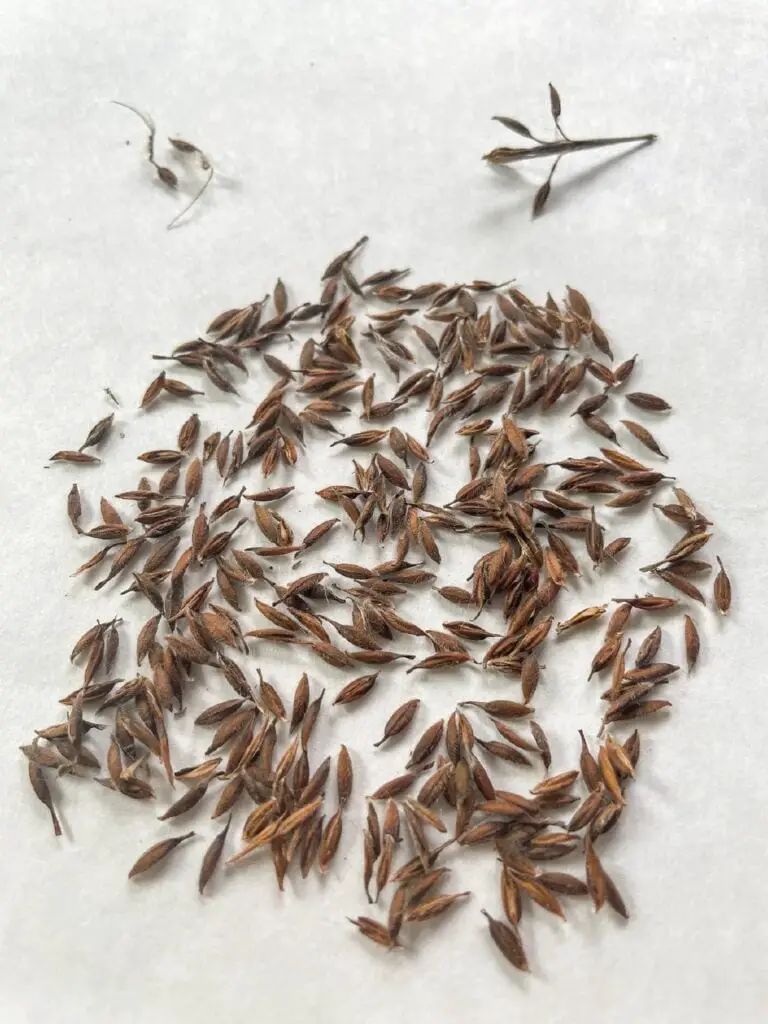
- Planting Depth: Clover seeds are tiny, so they don’t need to be planted deep. I usually scatter them on the surface and then lightly rake them in or cover them with a thin layer of soil.
- Watering: Keep the soil consistently moist until the seeds have germinated and the plants are established. Once clover is up and running, it’s fairly drought-tolerant, but it needs a good start.
- Spacing: Clover spreads quickly, so you don’t need to worry too much about precise spacing. However, if you want a dense, lush patch, make sure to broadcast the seeds evenly.
The Science Behind Soaking
For those who like to dig a little deeper into the science of gardening, soaking seeds makes a lot of sense. Seeds have a protective outer coat that can be tough to penetrate, especially for small seeds like clover. Soaking softens this coat, allowing water to reach the embryo inside more easily.
Water is crucial for activating the enzymes that kickstart germination. By soaking the seeds, you’re essentially jumpstarting this process, giving the seeds a head start before they even hit the soil. It’s like priming a pump – you’re making it easier for the seeds to do their thing once they’re in the ground.
| Read: Can I Soak Corn Seeds Before Planting? |
To Soak or Not to Soak: My Final Thoughts
So, should you soak clover seeds before planting? In my experience, the answer is a resounding yes – with a few caveats. Soaking speeds up germination, promotes more uniform growth, and helps the clover establish stronger roots. It’s a small step that can lead to big rewards, especially if you’re aiming for a lush, healthy clover patch.
That said, soaking isn’t always necessary. If you’re planting in wet or humid conditions, or if you’re pressed for time, you can skip the soak and still achieve good results. It all depends on your specific circumstances and what you’re hoping to achieve.
For me, soaking clover seeds has become a part of my gardening routine. It’s a simple step that gives me a little extra peace of mind, knowing that I’m doing everything I can to give my clover the best possible start. And in the world of gardening, where so much depends on factors beyond our control, it’s nice to know that there’s something I can do to tilt the odds in my favor.
So the next time you’re getting ready to plant clover, consider giving your seeds a soak. It might just be the secret ingredient that takes your garden from good to great. Happy planting!