From Grocery to Garden: Regrowing Mint Leaves from Store Bought Herbs
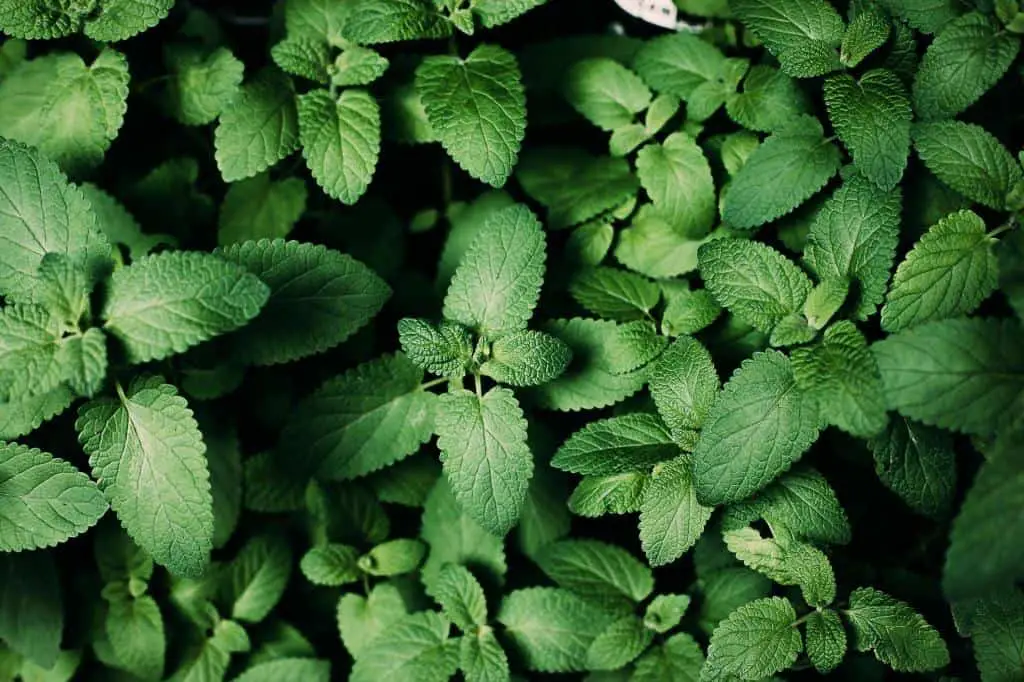
Mint is a versatile and aromatic herb that is widely used in culinary dishes, beverages, and even for medicinal purposes. Imagine having a constant supply of fresh mint at your fingertips without having to buy it repeatedly from the store.
The good news is that you can regrow mint leaves from store-bought herbs with ease. This guide will walk you through the steps to ensure you have a thriving mint plant at home.
This article has a benefit. It shows a simple way to improve macaroni’s taste using chicken broth. This will make your meals more flavorful and enjoyable.
Are you a novice cook? Do you want to expand your culinary skills? Or, are you a seasoned chef seeking new ideas? Mastering this technique will make your pasta dishes much more delicious.
Why Regrow Mint from Store Bought?
Benefits of Regrowing Mint
- Cost-Effective: Saves money by reducing the need to purchase fresh mint frequently.
- Sustainable: Promotes a sustainable lifestyle by reducing waste.
- Convenient: Provides a constant supply of fresh mint for cooking and garnishing.
- Healthier Option: A healthier option is homegrown mint. It is free from the pesticides and chemicals often in store-bought herbs.
Choosing the Right Mint from to Grow
Before you begin, it’s important to choose the right type of mint. There are several varieties, including spearmint, peppermint, and chocolate mint. Each type has its unique flavor profile, so select one that suits your taste and culinary needs.
Types of Mint
| Type | Flavor Profile | Common Uses |
| Spearmint | Mild and sweet | Salads, sauces, beverages |
| Peppermint | Strong and cooling | Desserts, teas, medicinal purposes |
| Chocolate Mint | Subtle chocolate and minty taste | Desserts, beverages, garnishes |
Preparing the Mint Cuttings
Step-by-Step Guide
- Select Healthy Stems: Choose healthy, vibrant stems from the store-bought mint. Look for stems that are free from pests and diseases.
- Cut the Stems: Using a pair of sharp scissors or pruning shears, cut 4-6 inch long stems just below a leaf node. Leaf nodes are the points where leaves attach to the stem.
- Remove Lower Leaves: Remove the leaves from the bottom two inches of the stem to expose the nodes. These nodes will develop roots when placed in water or soil.
Visual Guide
| Step | Description |
| 1. Select Healthy Stems | Choose vibrant, pest-free stems. |
| 2. Cut the Stems | Cut 4-6 inch long stems below a leaf node. |
| 3. Remove Lower Leaves | Remove leaves from the bottom two inches of the stem. |
| Also read: How to Increase the Size of Mint Leaves? |
Rooting the Mint Cuttings
Remove the lower leaves from the mint stalk, leaving only the top leaves intact. This helps prevent the cutting from rotting and allows the roots to grow more easily.
Cut the stem just below a node (where a leaf grows) to encourage rooting.
You have two options for rooting mint cuttings: water or soil. Each method has its benefits, and you can choose the one that works best for you.
Rooting in Water
- Place in Water: Fill a glass or jar with water and place the cuttings in it, ensuring the exposed nodes are submerged.
- Change Water Regularly: Change the water every 2-3 days to prevent stagnation and the growth of mold or bacteria.
- Wait for Roots to Develop: Within a week or two, you should see roots starting to form. Once the roots are about 1-2 inches long, the cuttings are ready to be planted.
Rooting in Soil
- Prepare the Pot: Fill a small pot with well-draining potting soil.
- Plant the Cuttings: Insert the cuttings mint runners into the soil, ensuring the nodes are covered. Gently press the soil around the cuttings to hold them in place.
- Water the Cuttings: Water the soil lightly to keep it moist but not waterlogged.
- Maintain Moisture: Keep the soil consistently moist until the cuttings establish roots.
Comparison Table
| Method | Advantages | Disadvantages |
| Rooting in Water | Easy to monitor root growth, less maintenance | Roots may be fragile, need to transplant |
| Rooting in Soil | Direct planting, no need for transplanting | Requires careful watering, may not see roots |
Transplanting and Growing Mint
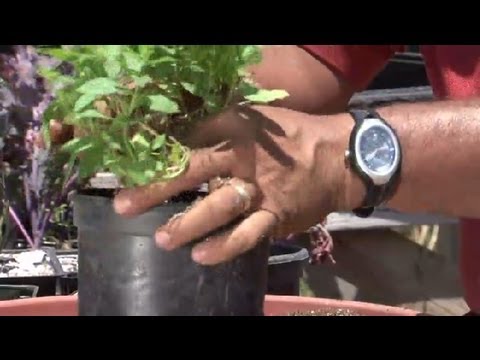
Once your mint cuttings have developed a healthy root system, it’s time to transplant them into a larger pot or garden bed.
Transplanting Tips
- Choose the Right Pot: Select a pot with good drainage holes. Mint can also be planted directly in the garden, but it tends to spread aggressively.
- Use Quality Soil: Use a well-draining potting mix enriched with organic matter.
- Planting: Dig a hole in the soil, place the rooted cutting, and cover the roots with soil. Press gently to secure the plant.
- Watering: Water the plant thoroughly after transplanting. Keep the soil moist but not waterlogged.
Caring for Your Mint Plant
Light and Temperature
- Light: Mint thrives in full sun or partial shade. Ensure your plant gets at least 4-6 hours of sunlight daily.
- Temperature: Mint grows best in temperatures between 55°F and 70°F (13°C to 21°C). It can tolerate slight frost but should be protected from extreme cold.
Watering and Fertilizing
- Watering: Keep the soil consistently moist, especially during dry periods. Avoid overwatering, as mint prefers slightly damp conditions.
- Fertilizing: Mint is not a heavy feeder. A balanced, all-purpose fertilizer applied once a month during the growing season will suffice.
Common Problems and Solutions
Pests
Although aphids, spider mites, and whiteflies rarely harm mint, it is relatively resistant to pests. Use natural insecticides or a strong stream of water to remove these pests.
Diseases
Mint can suffer from fungal diseases such as rust and powdery mildew. Ensure good air circulation and avoid overhead watering to prevent these issues. If necessary, use a fungicide to treat the affected plants.
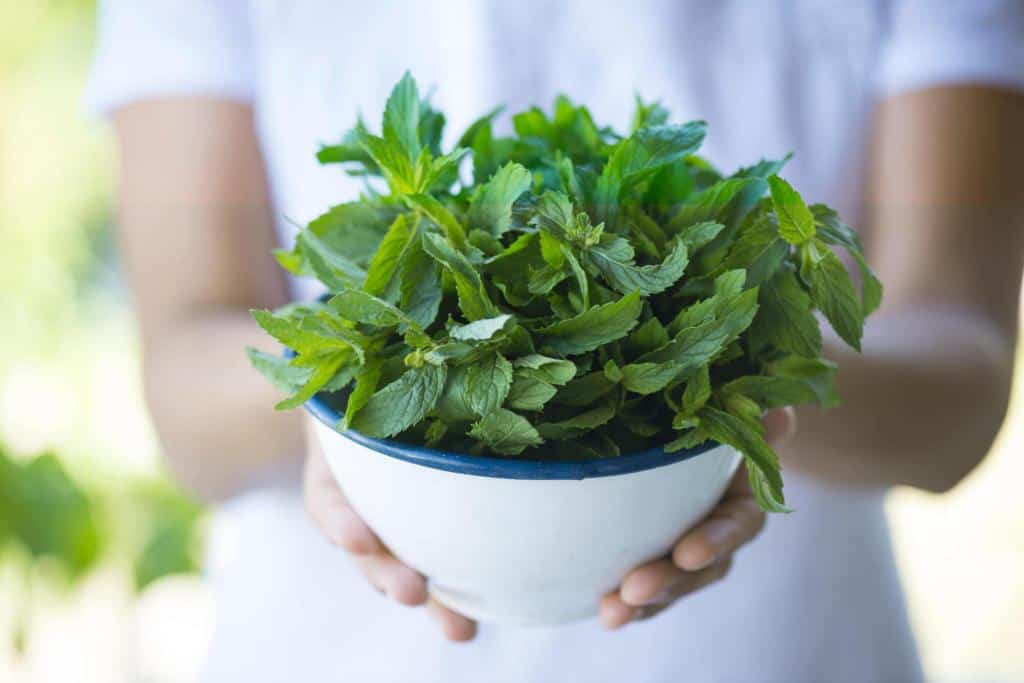
Harvesting Mint
Harvesting mint is simple and can be done throughout the growing season. Regular harvesting encourages the plant to produce more leaves and prevents it from becoming leggy.
How to Harvest
- Select Healthy Leaves: Choose healthy, vibrant leaves for the best flavor.
- Cut Above a Leaf Node: Use scissors or pruning shears to cut the stems just above a leaf node. This will encourage new growth.
- Harvest Regularly: Regularly harvesting mint after it fllowers will keep the plant bushy and productive.
Storing Fresh Mint
To keep your harvested mint fresh, wrap the stems in a damp paper towel and store them in a plastic bag in the refrigerator. Alternatively, you can freeze mint leaves in ice cube trays with water for longer storage.
Storing Methods
| Method | Duration | Tips |
| Refrigeration | Up to 1 week | Wrap in damp paper towel, place in plastic bag |
| Freezing in Ice Cubes | Several months | Freeze in ice cube trays with water |
| Drying | Several months | Air-dry or use a dehydrator |
Creative Uses for Fresh Mint
Mint is a versatile herb that can be used in a variety of dishes and beverages.
Culinary Uses
- Beverages: Add fresh mint to iced tea, lemonade, or cocktails for a refreshing twist.
- Salads: Incorporate mint into fruit or vegetable salads for a burst of flavor.
- Desserts: Use mint to garnish desserts like ice cream, cakes, and pies.
Medicinal Uses
Mint is also known for its medicinal properties. It can be used to soothe digestive issues, relieve headaches, and freshen breath.
Conclusion
Regrowing mint leaves from store-bought herbs is simple. It is rewarding and offers many benefits. By following this guide, you can enjoy a constant supply of fresh, aromatic mint in your home.
You may use mint for cooking, medicine, or just to enjoy its scent. A thriving mint plant is a delightful addition to any home. Start your regrowing journey today and experience the joy of fresh mint at your fingertips.