Should Poppy Seeds Be Stratified? My Personal Journey with These Tiny Powerhouses
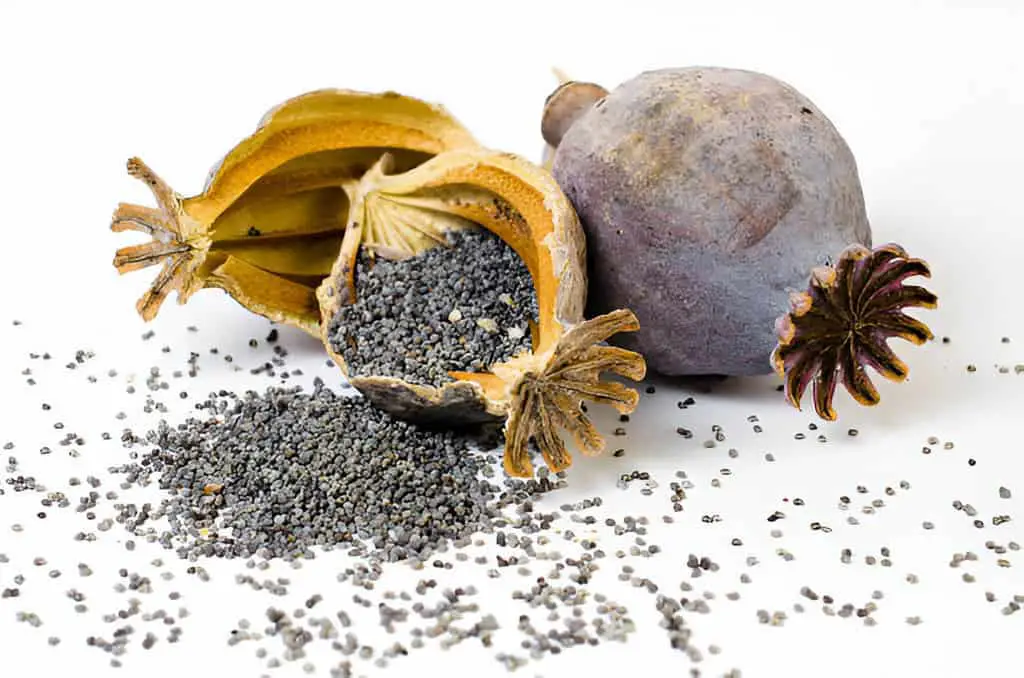
Gardening has always been my escape, my zen space where the world slows down and I can breathe easy. But let’s talk about one of the tiniest seeds that packs a punch in the garden—poppy seeds. They’re like the underdog of the plant world, small but mighty.
I remember the first time I tried to grow poppies, and boy, did I learn a lot. One thing that tripped me up was this whole business about stratification. Should poppy seeds be stratified? Well, grab a cup of tea, and let’s dig into this together.
Understanding Stratification: The Cold Shoulder Treatment
First, let’s get on the same page about what stratification even is. Stratification is a fancy term for giving seeds the cold shoulder—literally. It mimics winter conditions, convincing seeds they’ve gone through the cold season and are ready to sprout once the weather warms up.
It’s like putting them in a tiny winter boot camp so they’re primed to burst into life when spring arrives.
Why Bother with Stratification?
But why bother going through this process at all? Can’t you just plant the seeds and let nature take its course? That’s what I thought initially. However, here’s the secret: some seeds don’t need stratification. But, for certain plants, this step can mean the difference between a thriving sprout and a dud. Poppies are delicate, with paper-thin petals and bright colors. A little extra effort at the start will yield a beautiful payoff.
The stratification process simulates natural seasonal cycles. Many seeds, including poppies, depend on these cycles to break dormancy. Without experiencing a period of cold, some seeds won’t germinate, no matter how ideal the planting conditions are. Properly stratifying your seeds will ensure a vibrant garden this spring, full of healthy, thriving plants.
Do Poppy Seeds Need Stratification?
So, do poppy seeds need to be stratified? The short answer is yes, but with a twist. Not all poppy varieties need this process, but many do, especially if you’re growing them in a warmer climate.
The Science Behind It
Poppy seeds come from various species, with some native to colder climates. These little guys have evolved to germinate after a cold winter, which is why stratification helps. By chilling them, you’re giving them a signal that winter has passed and it’s time to wake up and grow.
Here’s where it gets interesting. If you live in a region with mild winters, like I do, those seeds won’t get that natural cold signal. That’s when you need to step in with some DIY stratification.
| Related: Can You Leave Perennials in Pots Over Winter and Survive the Cold? |
How to Stratify Poppy Seeds: My Go-To Methods
I’ve tried a few different methods to stratify my poppy seeds, and I’ll share what’s worked best for me.
The Fridge Method (The No-Fuss Approach)
The easiest way to stratify poppy seeds is to pop them in the fridge. Here’s how I do it:
- Gather Supplies: You’ll need your poppy seeds, a zip-lock bag, and a bit of moist sand or a damp paper towel.
- Mix It Up: Combine the seeds with the moist sand or damp paper towel in the zip-lock bag.
- Seal and Chill: Seal the bag and place it in the fridge. Make sure it’s not too wet inside the bag—just a little moisture will do.
- Timing is Everything: Leave them in the fridge for 2-4 weeks. This timing mimics a light winter, convincing the seeds they’ve been through a cold season.
Once they’ve had their chill time, they’re ready to plant. I usually start this process about a month before I plan to plant them in the garden, so they’re all set when I’m ready to sow.
The Outdoor Method (Nature’s Way)
If you’re a let-nature-take-its-course gardener, you can stratify poppy seeds by sowing them directly outdoors in late fall or early winter. This method relies on natural winter conditions to do the work for you.
- Prepare the Soil: Choose a spot with well-draining soil and plenty of sunlight. Poppies don’t like soggy feet.
- Sow the Seeds: Scatter the seeds on the soil surface. Don’t cover them with soil—these seeds need light to germinate.
- Let Winter Work Its Magic: Mother Nature takes over from here, providing the cold temperatures needed for stratification.
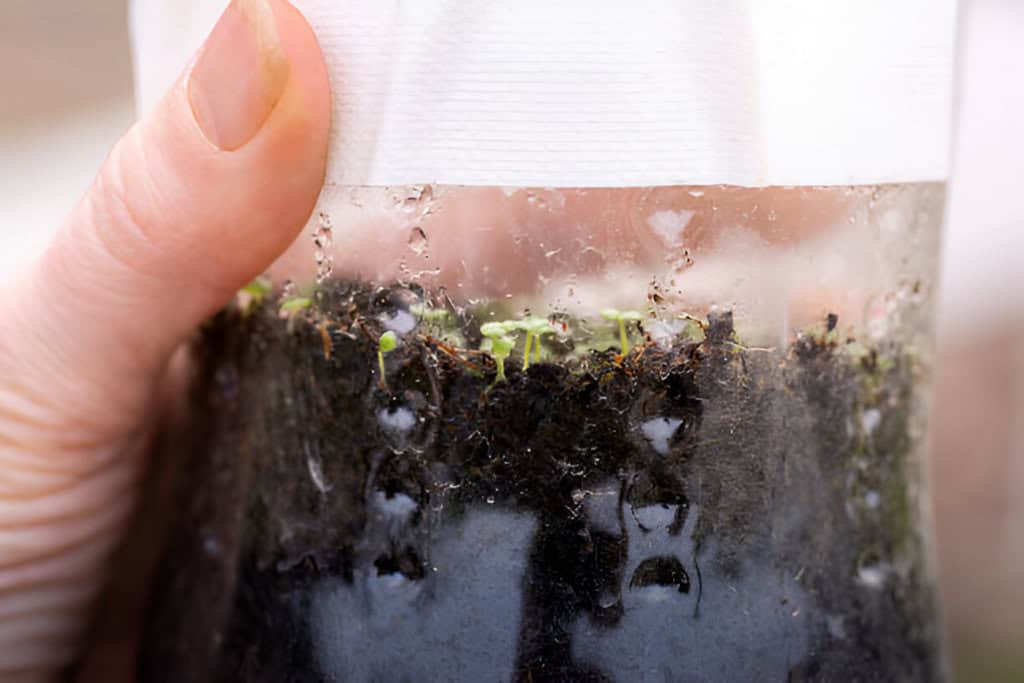
I’ve tried this method, and it’s a bit of a gamble depending on your winter weather. But if you’re lucky, come spring, you’ll see those little sprouts breaking through the soil.
When Stratification Isn’t Necessary: The Exceptions
Not all poppy seeds require stratification. Some varieties, especially those native to warmer climates or bred for easier germination, don’t need this extra step. For example:
| Poppy Variety | Stratification Needed? | Notes |
| Iceland Poppy (Papaver nudicaule) | Yes | Benefits from cold stratification, especially in warmer climates. |
| Oriental Poppy (Papaver orientale) | Yes | Needs a cold period to break dormancy. |
| California Poppy (Eschscholzia californica) | No | Thrives in mild winters; no stratification required. |
| Shirley Poppy (Papaver rhoeas) | Optional | Can be stratified, but often germinates without it. |
If you’re working with California poppies, for instance, you can skip the stratification. They’re tough little plants that don’t need the cold treatment to sprout.
My Experience: Lessons Learned the Hard Way
The first year I tried growing poppies without stratifying the seeds, I had a few scattered blooms. But, they were nothing like the vibrant, full display I had imagined. It was disappointing, to say the least. But after reading up and giving stratification a try, the difference was night and day.
The next season, my garden was alive with poppies, their delicate petals swaying in the breeze like a sea of colorful flags.
Now, stratification is a step I never skip. It’s a little bit of extra work, sure, but the payoff is worth it. I’ve found that those few weeks of chilling the seeds make all the difference between a sparse showing and a full-on poppy parade.
| Related: Should You Soak Poppy Seeds Before Planting? |
Common Pitfalls and How to Avoid Them
Of course, like anything in gardening, things can go sideways if you’re not careful. Here are some tips to avoid common mistakes when stratifying poppy seeds:
- Don’t Overdo the Moisture: Too much water in the fridge bag can cause the seeds to rot instead of chilling them. I’ve learned to err on the side of slightly dry rather than overly wet.
- Timing is Key: Don’t start the stratification process too early or too late. If the seeds spend too long in the fridge, they might start to sprout in the bag, which isn’t ideal.
- Label Everything: Trust me on this one—label your bags with the date you started stratification. It’s easy to lose track of time and forget how long they’ve been chilling.
Conclusion: My Take on Stratifying Poppy Seeds
So, should poppy seeds be stratified? In my experience, yes, they should—especially if you want a garden full of vibrant, thriving poppies. It’s a simple process, but it can make all the difference in your gardening success. Whether you go the fridge route or let nature take its course, giving those seeds a taste of winter can set the stage for a spectacular spring.
Gardening, to me, is all about learning and experimenting. Stratification is one of those little tricks that can turn your garden from good to glorious.
So, if you’re thinking about growing poppies, don’t skip the stratification step. It’s a small effort with big rewards. After all, a garden full of poppies is like having a piece of living art right in your backyard. And who wouldn’t want that?