How to Make Green Manure at Home: Easy Guide to Enhance Soil Health

In the world of gardening, the quest for lush and vibrant plants often leads us down a path cluttered with chemical fertilizers and synthetic additives. However, there is a more natural and sustainable alternative that not only nourishes your garden but also promotes soil health in the long run: green manure.
This age-old practice involves growing specific crops known as cover crops or catch crops that are later incorporated into the soil to enrich its nutrient content, enhance its structure, protect it from erosion, and increase its water-holding capacity.
Unlike traditional fertilizers, be they chemical or organic, green manure offers an array of unique benefits beyond just feeding your plants. It works hand-in-hand with nature’s ecosystem by harnessing the power of nitrogen-fixing legumes like clover or alfalfa to enrich the soil with this essential nutrient without resorting to harmful chemicals. The resulting fertile ground becomes a sanctuary for countless beneficial microorganisms that play pivotal roles in maintaining overall soil health.
So why rely on store-bought amendments when you can create your own rich source of nutrients right at home? In this easy guide to making green manure at home, we’ll explore step-by-step instructions on how to grow cover crops successfully and effectively incorporate them back into your garden beds for maximum benefit. Join us as we embark on an enlightening journey towards greener gardens and healthier soils!
Introduction to Green Manure

Green manure, often referred to as the unsung hero of gardening, is a practice that involves growing specific plants not for harvest but to benefit the soil. Let’s delve into the essence of green manure, understanding its role in transforming ordinary soil into a homegrown nutrient-rich haven for plants.
Green manure is essentially a cover crop grown specifically to improve soil fertility and structure. Unlike traditional crops, these plants aren’t destined for the dinner table; instead, they serve as natural fertilizers when put back in the soil. This regenerative agricultural practice dates back centuries, and its timeless benefits continue to make it a cornerstone of sustainable gardening.
When you garden, healthy soil is very important, and green manure comes out as a hero in this story. Adding green manure offers many advantages. It enriches soil with essential nutrients, enhancing its structure. Not only does it act as a natural fertilizer, but it also aids in preventing soil erosion and suppressing and removing weeds. It’s a holistic approach that fosters a symbiotic relationship between plants and the very earth they thrive in.
| Guide: Green Manure vs. Animal Manure: What Are the Differences? |
Benefits of Green Manure
When it comes to gardening, there’s nothing more sustainable and eco-friendly than incorporating green manure into your routine. By planting cover crops and allowing them to grow and flourish before tilling them back into the soil, you can reap a multitude of benefits for both your garden and the environment.
1. Soil Enrichment:
- Nutrient Boost: Green manure is a natural source of essential nutrients, enriching the soil and providing a foundation for robust plant growth.
- Microbial Activity: The presence of green manure fosters a thriving ecosystem of beneficial microorganisms, enhancing the overall health of the soil.
2. Sustainable Practices:
- Reduced Dependency: By making your own green manure, you reduce reliance on external fertilizers, contributing to a more sustainable and eco-friendly gardening approach.
- Carbon Sequestration: Green manure plants capture carbon from the atmosphere, aiding in carbon sequestration and mitigating climate impact.
3. Weed Suppression:
- Natural Weed Control: The dense growth of green manure crops acts as a natural weed suppressor, reducing the need for chemical interventions.
- Competition: Green manure competes with weeds for sunlight and nutrients, creating an environment less conducive to weed growth.
4. Enhanced Soil Structure:
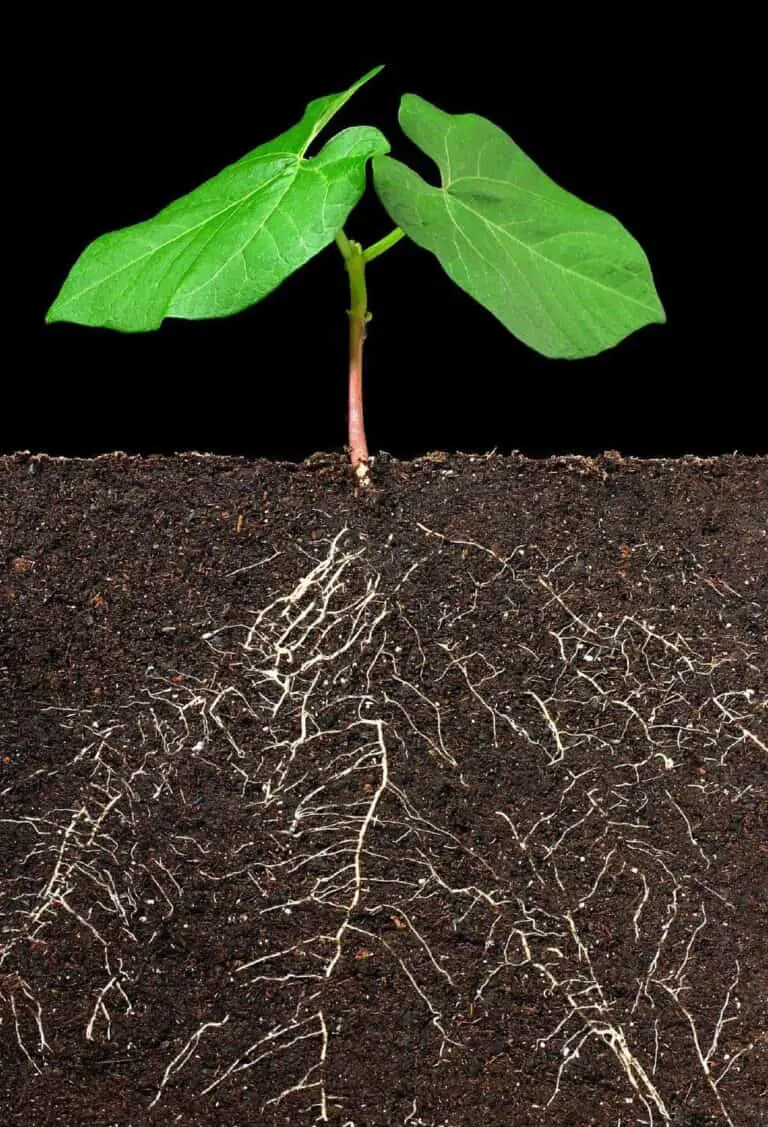
- Improved Aeration: Green manure’s root systems enhance soil structure, promoting better aeration and water retention.
- Erosion Prevention: The root network helps prevent soil erosion, ensuring the stability of your garden beds.
5. Cost-Effective Gardening:
- Budget-Friendly: Growing your own green manure is a cost-effective alternative to purchasing fertilizers.
- Multipurpose: Green manure serves various functions, eliminating the need for multiple specialized products.
Choosing Cover Crops for Green Manure
Picking cover crops for green manure requires some thought. You should think about your climate and the specific traits you want in a cover crop. Different cover crops thrive in different regions, so it’s important to select ones that will grow well in your area. In colder climates, winter rye or hairy vetch make excellent choices as they can withstand freezing temperatures.
If nitrogen is a concern for you, leguminous cover crops such as clover or peas are ideal options. These plants have the remarkable ability to fix atmospheric nitrogen into a form that is usable by other plants. This helps enrich the soil with this essential nutrient without requiring synthetic fertilizers.
Besides providing extra nitrogen, some cover crops also possess weed-suppressing properties. Buckwheat and oats fall under this category; their quick growth inhibits weed development while still enhancing soil structure when turned into green manure. Using these types of cover crops not only reduces competition from unwanted plants but also minimizes the need for harmful herbicides.
| Related: Manure Compost vs. Mushroom Compost: Which Is Best for Your Garden? |
How to Prepare Green Manure at Home:
A. Selecting an Area
Choosing the right area in your garden for cultivating homemade cover crops is crucial for their successful growth and development. When selecting a spot, consider factors such as sunlight exposure and space availability.
Firstly, look for an area that receives ample sunlight throughout the day. Most cover crops thrive when exposed to full sun, so try to select a location with at least 6-8 hours of direct sunlight. This will ensure that your DIY green manure plants can photosynthesize efficiently and produce abundant organic matter.
Secondly, consider the available space in your garden. Cover crops can be grown in small plots or even within existing flower beds or vegetable gardens. If you have limited space, focus on prioritizing areas where you plan to grow future crops or areas that need soil improvement the most.
By carefully selecting an appropriate area for cultivating green manure, you are setting yourself up for success when it comes to improving soil health and fertility naturally.
B. Soil Preparation
Proper soil preparation and improvement are crucial for the optimal growth and performance of cover crops used in green manure. Before sowing your chosen home-made cover crop seeds, it is important to ensure that the soil is adequately prepared. This involves removing any existing weeds or vegetation from the planting area. Weeds can compete with the cover crops for nutrients, water, and sunlight, hindering their growth and development.
One effective method of weed removal is tilling the soil using a tiller or hand tools like a garden fork or shovel. Tilling helps to uproot weeds and loosen compacted soil, making it easier for cover crop roots to penetrate deeper into the ground. Be sure to remove large rocks or debris that may impede root growth as well.
In addition to weed removal, adding compost or organic matter to the soil can greatly enhance its fertility and structure. Compost provides valuable nutrients for both plants and microorganisms in the soil. It also improves the moisture retention capabilities of sandy soils while enhancing drainage in heavier clay soils.
Spread a layer of compost over your prepared planting area before sowing your chosen cover crop seeds. Use a rake or hoe to slowly work it into the top few inches of soil without disturbing any beneficial organisms that are already there.
C. Sowing Cover Crop Seeds
Step 1: Prepare the Soil
Before sowing cover crop seeds, it’s important to prepare the soil properly. Start by removing any weeds or existing plants from the area where you plan to sow the seeds. Loosen the soil with a garden fork or tiller, breaking up any large clumps and creating a fine seedbed.
Step 2: Choose your Cover Crop
Selecting an appropriate cover crop is crucial for making DIY green manure successfully. Consider factors like climate, seasonality, and your specific needs as a gardener. Popular choices include legumes like clover or vetch, which fix nitrogen in the soil; grasses such as rye or oats that offer good ground coverage and weed suppression abilities; and brassicas like mustard that help alleviate certain pest problems.
Step 3: Determine Seeding Rates and Depth
Consult the packaging of your chosen cover crop seeds for recommended seeding rates per square foot or acre. These rates may vary depending on planting purposes (e.g., improving soil structure vs. providing winter protection), so be sure to follow these guidelines carefully.
As for depth, most cover crops should be sown between ½ inch and 1-inch deep into well-prepared soil beds.
Step 4: Sow Cover Crop Seeds
To ensure even distribution of seeds across your designated area, consider mixing them with sand or compost on soil beds. Then gently spread them out by hand; this can facilitate better coverage without clumping.
Afterward, gently rake over the seeded areas to lightly incorporate them into the top layer of soil.
Remember that proper watering after sowing is essential for germination success—the goal is to keep the topsoil consistently moist until seedlings emerge.
With time and regular care—such as mowing when necessary—you will witness vibrant growth developing quickly within weeks! Just remember not to let them set flowers if you plan on telling them under later on to prevent self-seeding and potential weed problems.
D. Maintenance
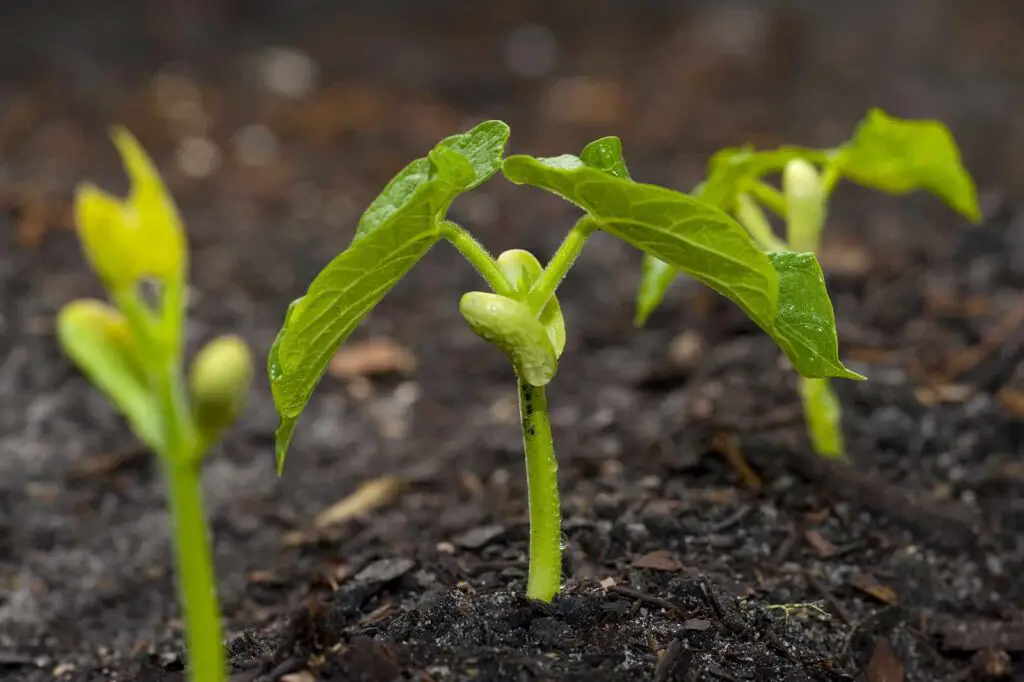
Once you have planted your green manure cover crops, it is important to provide proper maintenance to ensure their healthy growth and maximum benefits for the soil.
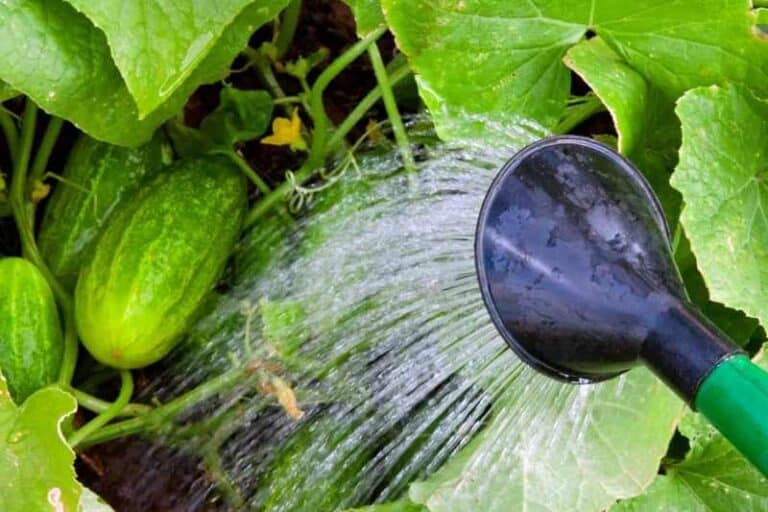
One essential aspect of maintenance is watering. During the growth phase, regular watering is crucial to helping the cover crops establish deep roots and thrive. Make sure to water deeply rather than lightly sprinkling the plants.
Another important maintenance task is weeding. As with any garden, weeds can compete with your green manure crops for nutrients and resources. Regularly inspect your plot for any unwanted plants and remove and sterilize your soil from weeds promptly to keep your cover crop area weed-free. This will allow the desired plants to receive all the necessary nutrients without competition.
While green manure crops are generally hardy, they may occasionally face challenges from pests or diseases that could hinder their growth. To protect your cover crops, practice preventive measures such as planting trap plants nearby or using natural pest control methods like introducing beneficial insects or spraying organic insecticidal soap if needed.
Additionally, consider employing strategies that enhance decomposability when it’s time to incorporate the cover crop back into the soil. Mowing or cutting back certain varieties at specific stages can encourage faster decomposition by increasing contact between plant material and soil organisms responsible for breaking down organic matter efficiently.
Incorporating Green Manure into Soil
When it comes to using green manure in your garden, timing is key. The best time to incorporate green manure into the soil depends on whether you are using a winter or spring cover crop.
For winter cover crops like rye or clover, it’s ideal to allow them to grow until they reach their maximum biomass before incorporating them into the soil in late winter or early spring. This ensures that they have had enough time to establish deep root systems and capture as much nitrogen as possible from the atmosphere.
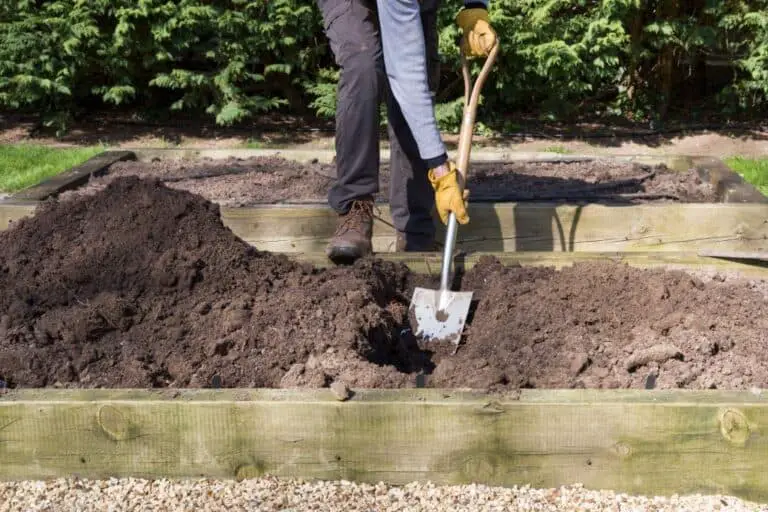
Once you’re ready to incorporate the green manure into the soil, there are a few methods you can use, depending on your preference and available tools. One common method is plowing or tilling the green manure directly into the soil. This breaks down the plant material and speeds up decomposition by exposing more surface area for microorganisms to work their magic.
As the green manure decomposes, it releases valuable nutrients back into the soil, improving its structure and fertility. The breakdown of organic matter adds humus, which acts as a binding agent for particles in sandy soils and improves moisture-holding capacity in sandy loam or clay soils. Decomposition also encourages beneficial microbial activity, further enhancing nutrient availability for future plant growth.
Additional Tips and Considerations
While making green manure at home can be a rewarding process, there are some challenges you may encounter along the way. One common obstacle is dealing with unfavorable weather conditions.
If you live in an area that experiences extreme heat or cold temperatures for long periods of time, it can affect the growth and success of your cover crops. In such cases, consider planting resilient crops like rye or oats that can withstand harsh conditions.
Another consideration is timing. It’s important to sow your cover crop at the right time to maximize its benefits and prevent it from becoming a weed itself. Research the ideal planting seasons for the specific cover crops you choose, as they vary depending on your location and climate.
To optimize results with green manure usage, make sure to properly incorporate the cover crops into the soil before they flower or go to seed. This will prevent them from competing with your main garden plants for nutrients. Use a sharp spade or cultivate gently using a hoe to chop up the vegetation while turning it into the soil.
Furthermore, remember that not all green manures are suitable for every situation or type of soil. Conduct a soil test beforehand to identify any deficiencies or imbalances in nutrient levels, so you can select appropriate cover crops accordingly.
Conclusion
In conclusion, the benefits of using green manure in sustainable gardening practices cannot be overstated. By incorporating cover crops into your garden bed, you not only improve soil health but also contribute to a more eco-friendly and sustainable environment.
Green manure helps increase organic matter content in the soil, which enhances its fertility and structure while promoting beneficial microbial activity. Additionally, it suppresses weed growth naturally, reducing the need for herbicides.
So why not give it a try? Making your own green manure at home is a simple yet powerful way to nourish your soil without relying on synthetic fertilizers or harmful chemicals. The best part is that it is cost-effective and easily accessible to anyone with even a small outdoor space. So start sowing those cover crop seeds today and reap the rewards of healthier plants and a flourishing garden tomorrow!
Remember, every small step towards sustainability counts, and by embracing green manure as part of your gardening routine, you are making an impactful contribution towards preserving our planet’s precious resources while enjoying bountiful harvests year after year.
So go ahead – get your hands dirty, – create life within your soil with green manure! Your garden will thank you for it!

