Growing Raspberries in Containers: My Complete Guide to a Sweet, Abundant Harvest

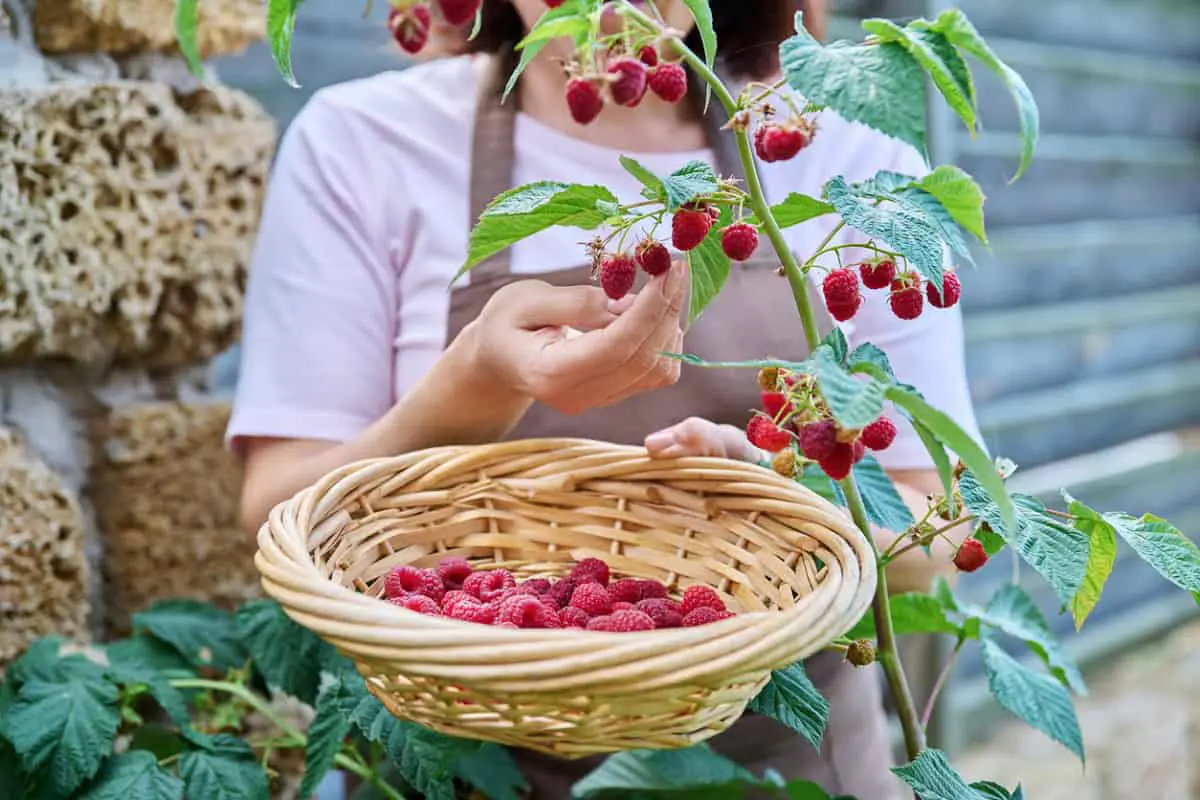
There’s something special about picking a handful of sun-ripened raspberries straight from the plant. Those little red jewels taste sweeter when I grow them myself, and I love knowing exactly how I cared for the fruit that ends up in my kitchen. The best part? I don’t need a sprawling garden to enjoy a homegrown harvest. With the right container, a suitable raspberry variety, and a little patience, I can grow these delicious berries on a patio, balcony, or sunny corner of the yard.
Raspberries have a reputation for spreading wherever their roots take them. Left unchecked, their canes can turn a neat garden bed into a tangled thicket. Growing them in containers gives me much more control over their growth, making it easier to manage the plants without sacrificing the pleasure of fresh fruit.
Of course, container gardening comes with a few challenges. Pots dry out faster than garden beds, and a single plant won’t produce as many berries as a well-established raspberry patch. Still, I think the convenience and control make container growing well worth the effort.
Here’s how I choose my containers, select suitable varieties, prepare the growing medium, and care for raspberry plants to encourage a healthy harvest.
1. Why I Love Growing Raspberries in Containers
Container gardening offers several advantages, especially when space comes at a premium. I can grow raspberries without dedicating an entire garden bed to plants that naturally want to spread.
The benefits of container-grown raspberries
- Fresh fruit within reach: I can pick ripe berries just before breakfast or gather a handful for dessert.
- Better control over the soil: I choose a potting mix that drains well and provides the conditions raspberries need.
- Flexible placement: I can move pots to take advantage of sunlight or protect plants from harsh weather, provided the containers remain manageable.
- Less unwanted spreading: Containers restrict root suckers and help prevent raspberry canes from taking over nearby planting areas.
- Convenient maintenance: I can keep plants grouped together, making watering, pruning, and harvesting easier.
- Potential savings: Once my plants establish themselves, they may provide fruit over several seasons, reducing the need to buy fresh berries.
I also appreciate how easily containers fit into different outdoor spaces. A few large pots can turn an ordinary patio into a productive little berry garden.
However, I don’t expect container-grown raspberries to outperform every garden-bed planting. Plants in the ground generally have more room to develop extensive root systems and produce replacement canes. A container plant can still provide a rewarding harvest, but its output depends on the cultivar, pot size, sunlight, nutrition, and overall care.
2. Understanding the Challenges of Container Growing
Before I plant raspberries in pots, I remind myself that convenience comes with a trade-off. Containers limit root growth, so the plants cannot spread as freely as they would in open soil.
That restriction helps control their growth, but it also limits the space available for water and nutrients. A raspberry plant in a pot may produce fewer canes and less fruit than a mature plant growing in a suitable garden bed.
Watering requires particular attention. Sunlight, wind, warm weather, and the size of the container all affect how quickly the potting mix dries out. During hot weather, I may need to check the soil every day and water more than once when conditions become extreme.
There’s also the question of winter protection. A raspberry plant growing in the ground benefits from the surrounding soil’s insulation. A container exposes the roots to colder temperatures, so I choose frost-resistant pots and protect them when severe cold threatens.
My approach is simple: I accept that container raspberries may produce a smaller crop, then focus on helping each plant reach its potential.
3. Choosing the Right Container
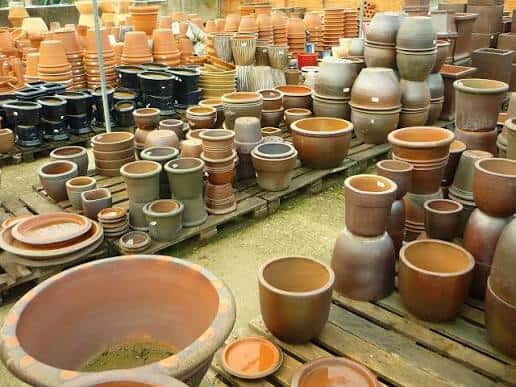
A good container gives raspberry roots enough room to grow while allowing excess water to escape. I don’t skimp on pot size because cramped roots make watering and long-term plant care more difficult.
For a mature raspberry plant, I look for a container at least 24 inches (60 cm) in diameter and 24 inches deep. A large, deep pot holds more growing medium, provides room for root development, and helps maintain more stable moisture levels.
When shopping for containers, I look for these features:
- Generous depth and width.
- Several unobstructed drainage holes.
- Strong construction that can support a heavy pot filled with wet growing medium.
- UV-resistant materials for outdoor use.
- Frost-resistant construction if the plant will remain outside through freezing weather.
Plastic pots are lightweight and retain moisture reasonably well. Ceramic and terracotta containers can look attractive, but they may weigh considerably more and can crack during hard freezes. Fabric grow bags provide excellent drainage and airflow, although they may dry out faster than solid-sided containers.
I avoid placing rocks or gravel at the bottom as a drainage layer. Contrary to a common gardening tip, this doesn’t improve drainage in a container and can leave a saturated layer of potting mix above it. Instead, I use a suitable growing medium and make sure the drainage holes stay open.
| Container feature | Why it matters |
| At least 24 inches wide | Provides room for root development |
| Around 24 inches deep | Accommodates a substantial root system |
| Drainage holes | Prevents excess water from collecting around roots |
| Durable material | Supports long-term outdoor use |
| Manageable weight | Makes seasonal repositioning easier |
I generally dedicate one large container to one raspberry plant. That arrangement gives the roots more space and makes watering, pruning, and feeding easier to manage.
4. Selecting Raspberry Varieties for Pots
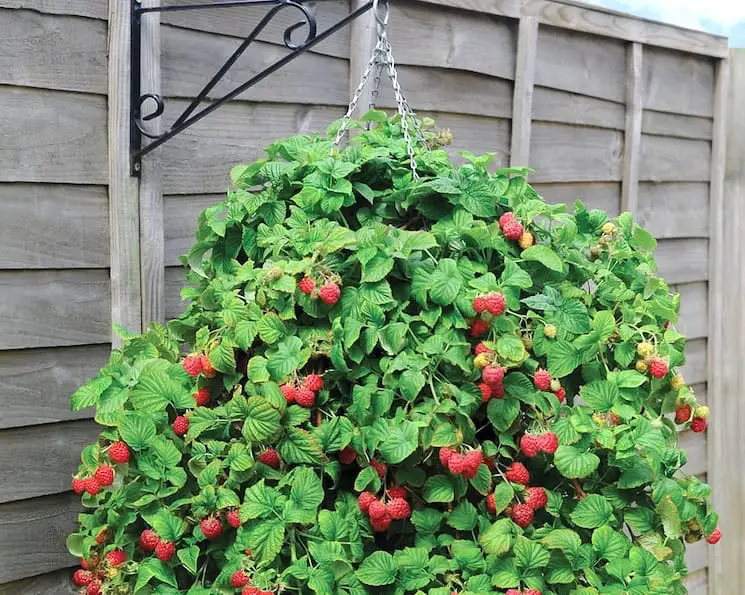
Not every raspberry cultivar suits container life equally well. Some grow vigorously, produce numerous canes, and spread extensively. Others have a more manageable growth habit and work better in a restricted space.
When choosing a variety, I consider its mature size, fruiting season, local climate requirements, and whether it produces fruit on first-year or second-year canes.
Several cultivars worth investigating include:
- Malling Jewel: A traditional summer-fruiting cultivar that can suit container growing when you provide adequate space and support.
- Malling Promise: Another established summer-fruiting variety to consider, particularly if it grows well in your local conditions.
- Autumn Bliss: An autumn-fruiting raspberry that produces fruit on primocanes, making its pruning routine relatively straightforward.
- September: A name used for certain raspberry selections; I would confirm the exact cultivar and its growing characteristics before purchasing.
- Zeva: An older raspberry variety often associated with autumn fruiting, though local availability and performance may vary.
I don’t choose a raspberry based on its name alone. I check the plant label or ask the nursery about its mature height, growth habit, and suitability for pots.
For beginners, autumn-fruiting varieties can be especially convenient. Many produce fruit on canes that grow during the current season. After the harvest, I can cut those canes down during dormancy, simplifying pruning and reducing the need to distinguish between old and new fruiting wood.
Before buying, I also check whether the variety needs a winter chilling period. Raspberries generally grow best in climates that suit their particular cultivar, and not every variety thrives in warm tropical conditions. If I garden somewhere with mild winters and hot summers, I seek advice from a local nursery about cultivars adapted to the regional climate.
5. Preparing the Best Soil for Raspberries
Raspberry roots need moisture, nutrients, and oxygen. If the potting mix stays waterlogged, the roots can struggle, so I aim for a medium that retains moisture without becoming soggy.
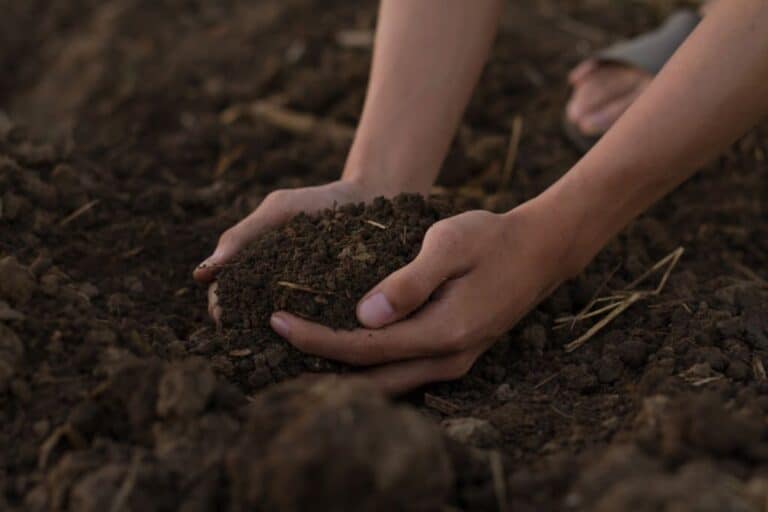
I start with a high-quality potting mix designed for outdoor containers. Then I incorporate a moderate amount of mature compost if the mix needs additional organic matter. I avoid using heavy garden soil on its own because it can compact in a pot and restrict drainage.
A suitable mix should:
- Retain enough moisture to support developing canes and fruit.
- Drain freely after watering.
- Provide good aeration around the roots.
- Contain enough organic matter to support steady growth.
- Maintain a slightly acidic soil reaction.
Raspberries generally prefer a soil pH around 5.5–6.5, although some cultivars tolerate a somewhat wider range. If I suspect the potting mix is too acidic or alkaline, I use a soil test rather than adding amendments blindly.
I also resist the temptation to add large amounts of fertilizer at planting time. A nutrient-rich potting mix and mature compost can provide a useful start, while excessive fertilizer may encourage soft, leafy growth at the expense of balanced development.
6. Planting Raspberries in Containers

Once I have the container, growing medium, and raspberry plant ready, planting becomes straightforward. I can start with a nursery-grown plant or a bare-root cane purchased during the appropriate planting season.
Here’s my basic planting routine:
- Prepare the container. Check that the drainage holes are open and position the pot where the plant will receive suitable light.
- Add the potting mix. Fill the container partway, leaving enough space to accommodate the root system.
- Inspect the roots. Gently loosen tightly packed roots on a container-grown plant. Keep bare roots moist and protect them from drying out before planting.
- Position the plant. Place the roots in the hole and spread them naturally rather than forcing them into a tight bundle.
- Set the planting depth. Follow the nursery’s instructions for the plant type. For bare-root raspberries, position the crown and roots at the recommended depth instead of burying the entire stem indiscriminately.
- Backfill the container. Add potting mix around the roots and gently firm it to remove large air pockets.
- Water thoroughly. Soak the growing medium until water drains from the bottom.
- Add support if necessary. Install a small trellis, bamboo stakes, or another suitable support system to help keep the canes upright.
I finish with a layer of organic mulch about 1–2 inches thick, leaving a little space around the base of the cane. Shredded bark, clean straw, or leaf mold can help reduce evaporation and moderate soil temperature.
I don’t automatically place pebbles beneath the soil. Good drainage depends on the growing medium and unobstructed drainage holes, not a layer of stones.
| Continue: Are Elderberries Self Pollinating? |
7. Watering: Keep the Roots Comfortably Moist
Watering is one of the most important parts of growing raspberries in containers. The plants need consistent moisture to support leafy growth and fruit development, but their roots dislike sitting in saturated soil.
I check the potting mix regularly by pressing a finger into the top inch. If it feels dry, I water slowly and thoroughly. If it remains moist, I wait and check again rather than watering on autopilot.
During warm weather, I pay extra attention because a large plant may use water quickly while it develops fruit.
My watering routine includes a few simple habits:
- Water near the base of the plant.
- Water deeply enough to moisten the root zone.
- Let excess water drain freely.
- Check moisture more frequently during hot, windy periods.
- Reduce watering when cool weather slows plant growth and evaporation.
A general starting point is around 1–2 inches of water per week, including rainfall, but container conditions vary too much for that figure to serve as a rigid rule. I adjust according to the weather, plant size, and moisture level inside the pot.
Mulch helps conserve water, but it doesn’t eliminate the need for regular checks.
8. Feeding and Supporting Healthy Growth
Raspberries need nutrients to produce healthy canes, flowers, and fruit. Because repeated watering can gradually wash nutrients out of containers, I monitor the plants and replenish nutrients when necessary.
I use a fertilizer formulated for berries or fruiting plants and follow the label’s instructions. If my potting mix already contains slow-release fertilizer, I account for that supply before applying more.
I avoid overfeeding with nitrogen. Too much can produce lots of leafy growth without improving fruit production, and overly vigorous canes can become difficult to manage in small spaces.
Support also matters. As the canes grow taller, I tie them loosely to stakes or a compact trellis using soft garden ties. I leave room for the stems to thicken and avoid tying them so tightly that the ties cut into the bark.
Good support keeps the plant upright, improves airflow, and makes harvesting easier.
9. Pruning and Maintaining Your Raspberry Plant
Pruning may seem intimidating at first, but it becomes much easier once I know when my raspberry plant produces fruit.
Summer-fruiting raspberries generally bear fruit on canes that grew the previous year. After those canes finish fruiting, I remove them while keeping healthy new canes for the next season.
Autumn-fruiting raspberries often produce fruit on canes that grew during the current year. If I grow a suitable primocane-fruiting variety for one autumn crop, I can usually cut all the canes close to ground level during dormancy. The plant then produces fresh canes for the following season.
The exact method depends on the cultivar and the crop schedule I want, so I always confirm the variety’s pruning requirements.
I also remove dead, damaged, or diseased canes and clear away fallen leaves and old fruit. These small jobs keep the container tidy and help me spot developing problems before they spread.
| Check out: When to Strawberries in Melbourne? |
Final Thoughts: Enjoying Homegrown Raspberries in Small Spaces
Growing raspberries in containers takes a little more attention than planting them in the ground, especially when it comes to watering and feeding. However, the payoff can be wonderful: fresh fruit, better control over spreading canes, and a productive garden that fits into a surprisingly small space.
I start with a large container, choose a cultivar suited to my climate, and use a well-draining potting mix. Then I keep the soil consistently moist, provide support as the canes grow, and prune according to the plant’s fruiting habit.
Most importantly, I stay realistic about the harvest. One container probably won’t fill the freezer with berries, but it can provide a delicious handful of fruit and the satisfaction of growing something worthwhile at home.
With a little patience and a steady routine, those humble pots can become a sweet corner of the garden—and every ripe raspberry feels like a small reward for the work that went into growing it.