Can You Grow a Plant From Store Bought Beans? Will It Grow?
Have you ever wondered if you can turn those store-bought beans into a thriving garden plant? Growing your own plants from grocery store finds is a rewarding and cost-effective way to start a garden.
This article will guide you through the steps to growing a plant from store-bought beans. They will turn a simple kitchen staple into a green treasure. By the end, you’ll have the knowledge to cultivate your own bean plants and enjoy fresh, homegrown produce.
Read on to learn how to get started and the benefits of growing your own food from scratch.
Growing a Plant From Store Bought Beans: Understanding the Basics
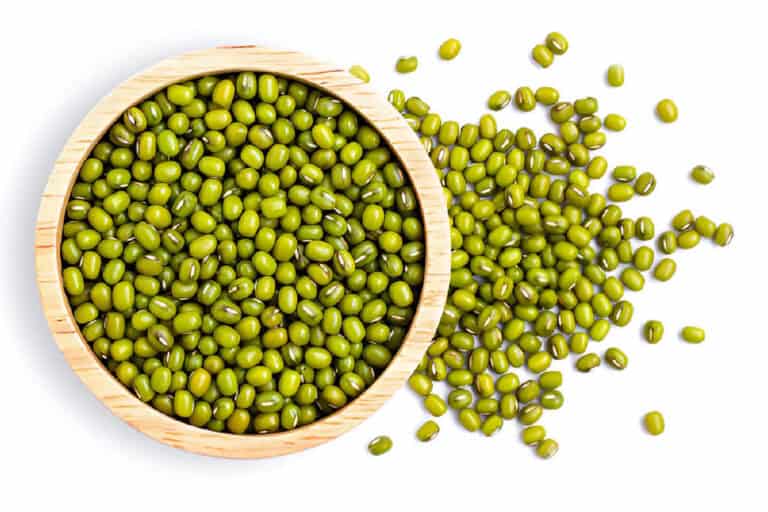
Before we dive into the specifics, it’s important to understand a few basics about beans. Beans are seeds from leguminous plants and come in various types, such as kidney beans, black beans, pinto beans, and more. These beans can be dried or canned, but only dried beans have the potential to sprout and grow.
Types of Beans Suitable for Planting
Not all store-bought beans are ideal for planting. Here’s a quick overview of the types you might encounter and their suitability for growth:
- Dried Beans: These are typically found in bags and can be used for planting. Examples include black beans, kidney beans, pinto beans, and chickpeas.
- Canned Beans: These beans are cooked and preserved, rendering them unsuitable for planting.
- Fresh Beans: Often sold in pods, fresh beans like green beans or snap beans are ideal for planting if they are mature and not too young.
Table: Types of Store-Bought Beans and Their Planting Viability
| Bean Type | Suitable for Planting? | Notes |
| Dried Beans | Yes | Look for organic or untreated beans |
| Canned Beans | No | Cooked and preserved |
| Fresh Beans | Yes | Ensure maturity before planting |
Preparing the Beans
To grow a plant from store-bought beans, preparation is key. Here’s how you can prepare your beans for planting:
- Select Quality Beans: Choose beans that are whole, undamaged, and preferably organic. Non-organic beans might be treated with chemicals that inhibit germination.
- Soak the Beans: Soaking helps to soften the hard outer shell of the beans, making it easier for the seedlings to sprout. Place the beans in a bowl of water and let them soak for 8-12 hours or overnight.
- Rinse and Inspect: After soaking, rinse the beans thoroughly and inspect them. Discard any beans that show signs of mold or damage.
Steps to Prepare Beans for Planting
- Selection: Choose undamaged, whole beans.
- Soaking: Soak beans in water for 8-12 hours.
- Rinsing: Rinse and inspect beans for quality.
Planting the Beans
Once your beans are prepared, it’s time to plant them. Here’s a step-by-step guide:
Choosing the Right Container and Soil
Select a container with good drainage, as beans need well-draining soil to prevent root rot. Fill the container with a nutrient-rich potting mix. Beans prefer slightly acidic to neutral soil with a pH between 6.0 and 7.0.
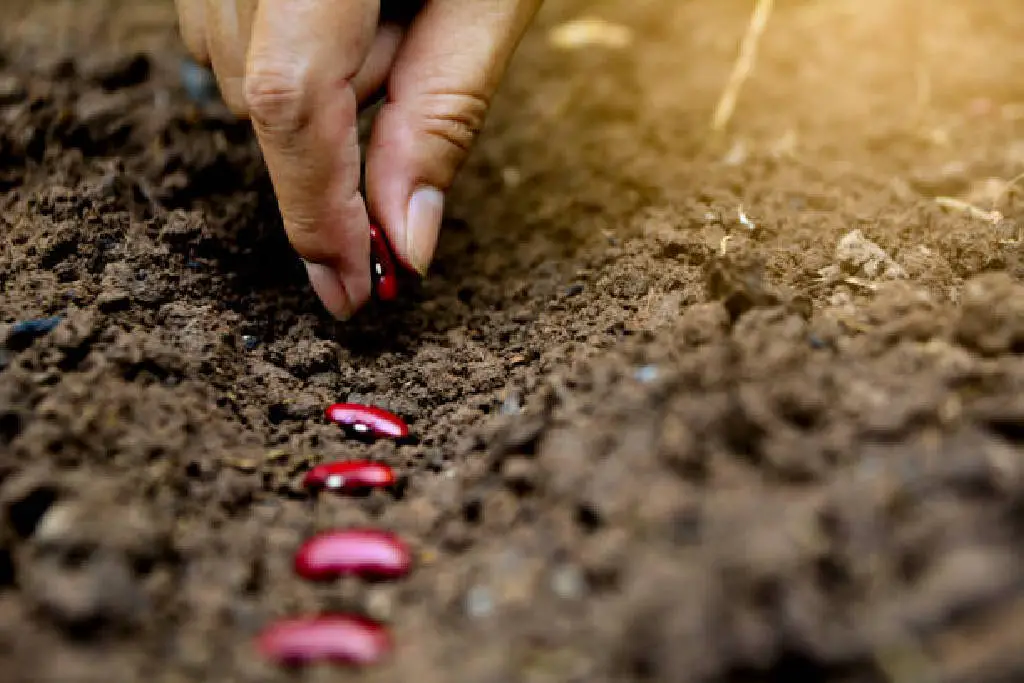
Planting Process
- Make Holes: Using your finger or a small tool, make holes about 1-2 inches deep in the soil.
- Place the Beans: Place one bean in each hole and cover it lightly with soil.
- Watering: Water the soil thoroughly, ensuring it is moist but not waterlogged. Beans need consistent moisture, especially during the germination phase.
Table: Ideal Growing Conditions for Beans
| Factor | Ideal Condition |
| Soil pH | 6.0 – 7.0 |
| Sunlight | Full sun (6-8 hours daily) |
| Watering | Consistent moisture, not waterlogged |
| Temperature | 60°F to 75°F (15°C to 24°C) |
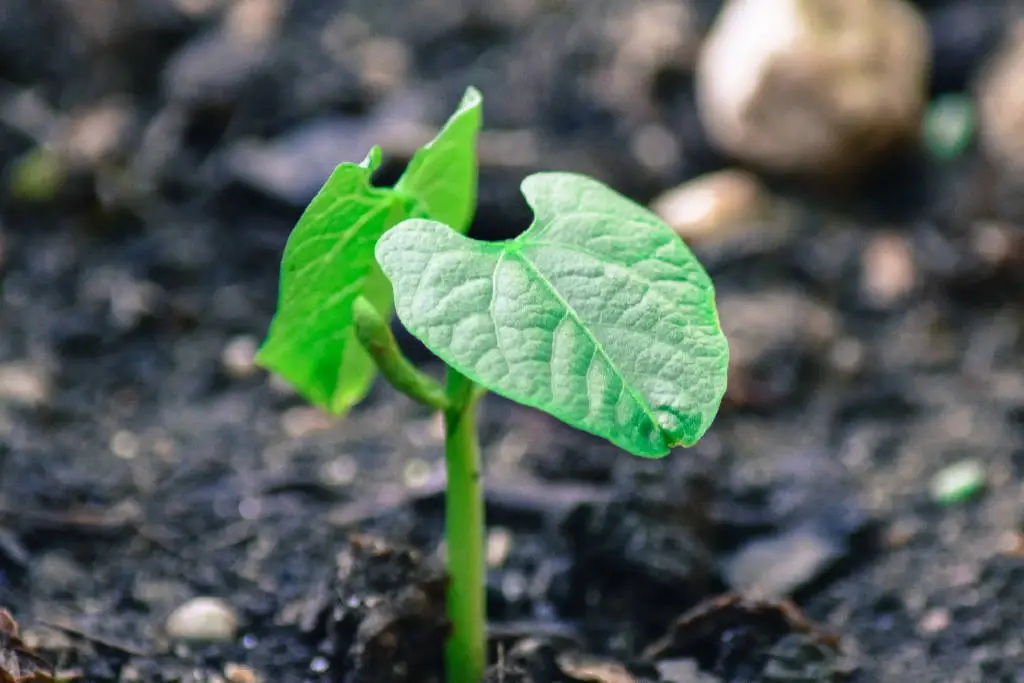
Caring for Your Bean Plants
After planting, beans require regular care to thrive. Here are some tips to ensure healthy growth:
Watering and Fertilizing
- Watering: Beans need regular watering, especially in dry conditions. Aim to keep the soil consistently moist but not soggy.
- Fertilizing: Beans are not heavy feeders. But, a bit of balanced fertilizer can help them grow well. Avoid high-nitrogen fertilizers. They lead to too much foliage at the expense of bean production.
Providing Support
Some bean varieties, particularly pole beans, require support as they grow. You can use stakes, trellises, or cages to help support the plants and encourage vertical growth.
Pests and Diseases
Beans can be susceptible to pests and diseases such as aphids, bean beetles, and fungal infections. Regularly inspect your plants and use organic pest control methods when necessary. Proper spacing and air circulation can also help prevent disease.
Common Bean Pests and Solutions
| Pest | Symptoms | Solution |
| Aphids | Sticky residue, curled leaves | Insecticidal soap, neem oil |
| Bean Beetles | Holes in leaves, stunted growth | Hand-picking, organic insecticides |
| Fungal Infections | Discolored spots, wilting | Proper spacing, fungicides |
Harvesting Your Beans
Beans are typically ready to harvest within 50 to 60 days after planting, depending on the variety. Here’s how to determine when they’re ready and how to harvest them:
Determining Readiness
- Pods: For snap beans, harvest when the pods are firm, crisp, and before the seeds inside fully develop.
- Dry Beans: Allow the pods to dry on the plant. When they are brittle and the seeds rattle inside, they are ready to be harvested.
Harvesting Process
- Snap Beans: Gently pull the pods from the plant or use scissors to avoid damaging the stems.
- Dry Beans: Cut the entire plant at the base and hang it upside down in a dry, airy location to allow the pods to fully dry.
Table: Harvest Times for Different Bean Types
| Bean Type | Days to Harvest | Harvest Indicators |
| Snap Beans | 50-60 days | Firm, crisp pods, before full seed development |
| Dry Beans | 70-90 days | Brittle pods, seeds rattle inside |
Storing and Using Your Harvested Beans
Once harvested, it’s important to store your beans properly to maintain their quality. Here’s how to store and use them:
Storing Beans
- Fresh Beans: Store snap beans in the refrigerator in a plastic bag or container. They can last for up to a week.
- Dry Beans: After drying, shell the beans and store them in airtight containers in a cool, dark place. Properly stored dry beans can last for a year or more.
Using Your Beans
Beans are incredibly versatile and can be used in a variety of dishes. Fresh snap beans can be steamed, stir-fried, or added to salads. Dry beans need to be soaked and cooked before use in soups, stews, or as a protein-rich addition to many recipes.
Table: Bean Storage and Usage Tips
| Bean Type | Storage Method | Usage Ideas |
| Snap Beans | Refrigerate up to 1 week | Steamed, stir-fried, salads |
| Dry Beans | Airtight container, cool dark place | Soups, stews, casseroles, salads |
| Also read: Are Green Beans and String Beans the Same? |
Troubleshooting Common Problems
Growing beans from store-bought beans can come with challenges. Here are some common issues and how to address them:
Poor Germination
- Solution: Ensure beans are soaked properly before planting and maintain consistent moisture. Check the viability of your beans by performing a germination test on a few seeds before planting the entire batch.
Yellowing Leaves
- Solution: This could indicate overwatering, nutrient deficiencies, or pest issues. Adjust watering practices, provide balanced fertilization, and inspect for pests.
Wilting Plants
- Solution: Wilting can be caused by underwatering, root rot, or pests. Ensure adequate watering, check for proper drainage, and inspect roots for signs of disease.
Table: Common Bean Growing Problems and Solutions
| Problem | Symptoms | Solution |
| Poor Germination | Few or no seedlings sprouting | Ensure proper soaking, maintain moisture |
| Yellowing Leaves | Leaves turn yellow | Adjust watering, check nutrients, inspect for pests |
| Wilting Plants | Plants appear limp | Ensure proper watering, check for root rot, inspect for pests |
Conclusion
Growing a plant from store-bought beans is a rewarding project that connects you to the origins of your food. With the right preparation, planting, and care, you can transform a simple bean from your pantry into a flourishing plant. You may grow snap beans to eat fresh or dry beans for storage.
The experience offers a great mix of challenge and joy. So, grab some beans from your local store, follow these guidelines, and embark on your bean-growing adventure. Happy gardening!