Drying Strawberry Seeds: Step-by-Step Guide for Future Planting
Strawberries are a beloved fruit, known for their vibrant color and sweet, juicy flavor. Growing strawberries from seeds can be rewarding. It lets you grow your own berry plants from the start.
One of the critical steps in this process is drying the seeds properly to ensure successful germination later on. By drying seeds correctly, you can extend their shelf life and prepare them for optimal germination in the next growing season.
In this guide, we’ll walk you through the step-by-step process. It’s for drying strawberry seeds for planting later. By reading this article, you’ll gain useful knowledge. You’ll also gain insights into drying strawberry seeds. This will empower you to save your favorite strawberry types and keep a thriving garden each year.
Mastering these techniques will help you become a more self-sufficient gardener. They will ensure a steady supply of healthy, home-grown strawberries.
Why Dry Strawberry Seeds?
Drying strawberry seeds is essential for several reasons:
- Preservation: Properly dried seeds can be stored for extended periods without spoiling.
- Germination: Dry seeds are more likely to germinate successfully when planted.
- Prevent Mold and Rot: Removing moisture from the seeds helps prevent mold and rot during storage.
Harvesting Strawberry Seeds
Before you can dry strawberry seeds, you need to harvest them from the fruit. Here’s how:
1. Selecting the Strawberries
Choose ripe, healthy strawberries for seed harvesting. Overripe or damaged fruits may not have viable seeds.
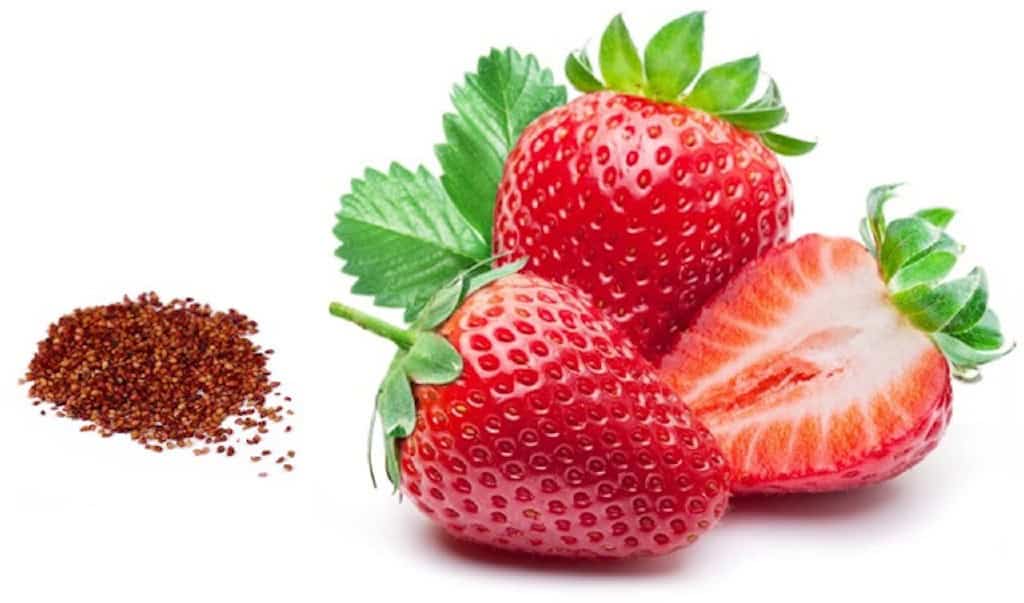
2. Extracting the Seeds
There are a couple of methods to extract seeds from strawberries:
- Blending Method: Place the strawberries in a blender with a small amount of water. Pulse gently to break up the fruit without crushing the seeds. Pour the mixture through a fine mesh sieve and rinse with water to separate the seeds from the pulp.
- Hand Scraping Method: Use a toothpick or a small knife to gently scrape the seeds off the strawberry’s surface. This method is more time-consuming but works well if you only need a few seeds.
Cleaning Strawberry Seeds
Once you have extracted the seeds, the next step is to clean them thoroughly to remove any remaining fruit residue.
1. Rinsing
Place the seeds in a fine mesh sieve and rinse them under cold water. Use your fingers to rub the seeds gently, helping to dislodge any remaining pulp.
2. Soaking
Fill a bowl with water and add the seeds. Stir the mixture and let it sit for a few minutes. The viable seeds will sink to the bottom, while any remaining fruit pieces will float to the top. Carefully pour off the water and floating debris, then rinse the seeds again.
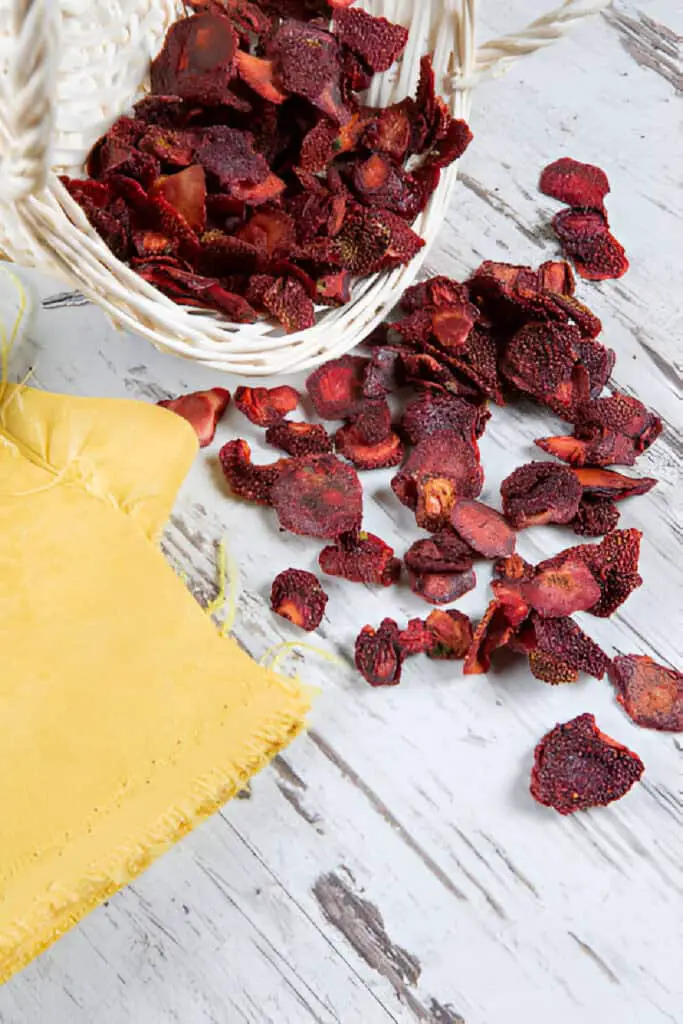
Drying Strawberry Seeds
Proper drying is crucial for storing strawberry seeds. Follow these steps to ensure your seeds are dried correctly:
1. Preparing for Drying
- Surface: Use a non-stick surface like wax paper, parchment paper, or a fine mesh screen to dry the seeds.
- Location: Choose a cool, dry, and well-ventilated area away from direct sunlight.
2. Spreading the Seeds
Spread the seeds out in a single layer on your chosen surface. Ensure they are not clumped together, as this can lead to uneven drying and mold growth.
3. Drying Time
Allow the seeds to dry for 7-10 days. Stir or gently shake the seeds daily to ensure even drying and to prevent them from sticking together.
| Read: Say Goodbye to Strawberry Seed Beetles |
Storing Strawberry Seeds
Once the seeds are completely dry, proper storage is essential to maintain their viability for future planting.
1. Container Selection
Choose an airtight container, such as a glass jar with a tight-fitting lid, a zip-lock bag, or a seed envelope.
2. Labeling
Label the container with the date and variety of the strawberry seeds. This information will be helpful when you’re ready to plant them.
3. Storage Conditions
Store the seeds in a cool, dark, and dry place. A refrigerator or a cool basement works well. Avoid storing seeds in areas with fluctuating temperatures or high humidity.
Testing Seed Viability
Before planting, it’s a good idea to test the viability of your stored seeds. Here’s how:
1. Paper Towel Test
- Materials: Use a damp paper towel, a plastic bag, and a warm place.
- Procedure: Place a few seeds on the damp paper towel, fold it, and place it in the plastic bag. Seal the bag and leave it in a warm place.
- Observation: Check the seeds after 7-14 days. If the seeds have sprouted, they are viable and ready for planting.
Planting Strawberry Seeds
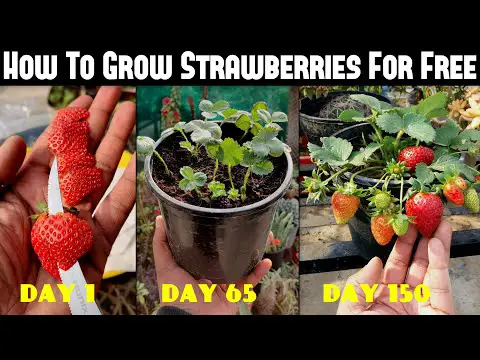
Now that you have successfully dried and stored your strawberry seeds, it’s time to plant them. Follow these steps for the best results:
1. Seed Stratification
Strawberry seeds benefit from a cold stratification period to break dormancy and improve germination of strawberry seeds rates.
- Method: Place the seeds in a damp paper towel, seal them in a plastic bag, and refrigerate for 2-4 weeks before planting.
2. Sowing the Seeds
- Soil: Use a well-draining, sterile seed-starting mix.
- Containers: Small pots or seed trays work well.
- Depth: Sow the seeds on the surface of the soil and press them down gently. Do not cover them with soil, as they need light to germinate.
- Watering: Mist the soil lightly to keep it moist but not waterlogged.
3. Germination and Growth
- Light: Place the containers in a bright location with indirect light. Using grow lights can enhance germination.
- Temperature: Maintain a temperature of 60-75°F (15-24°C).
- Care: Keep the soil moist and provide good air circulation to prevent mold growth.
| Also read: When to Plant Strawberries in Melbourne? |
Transplanting Seedlings
Once the seedlings have developed several true leaves, they are ready to be transplanted.
1. Hardening Off
Gradually acclimate the seedlings to outdoor conditions by placing them outside for a few hours each day, increasing the time over a week.
2. Transplanting
- Location: Choose a sunny location with well-draining soil.
- Spacing: Space the seedlings 12-18 inches apart to allow for growth.
- Planting: Transplant the seedlings at the same depth they were growing in their containers. Water them well after planting.
Summary Table: Strawberry Seed Drying Process
| Step | Description |
| Harvesting Seeds | Choose ripe strawberries, use blending or hand scraping method |
| Cleaning Seeds | Rinse under water, soak to separate viable seeds |
| Drying Seeds | Spread on non-stick surface, dry for 7-10 days |
| Storing Seeds | Use airtight container, label, store in cool, dark place |
| Testing Viability | Use paper towel test to check for sprouting |
| Planting Seeds | Cold stratification, sow on soil surface, keep moist |
| Transplanting Seedlings | Harden off, choose sunny location, space 12-18 inches apart |
Conclusion
Drying strawberry seeds is a simple yet crucial step in ensuring successful future planting. Follow this step-by-step guide. It will help you harvest, clean, dry, and store strawberry seeds. This will pave the way for a fruitful gardening experience. With patience and care, you can grow your own strawberries from seeds. Then, you can enjoy the sweet fruits of your labor. Happy planting!