When to Plant Freesia Bulbs in New Zealand: The Best Months and Tips
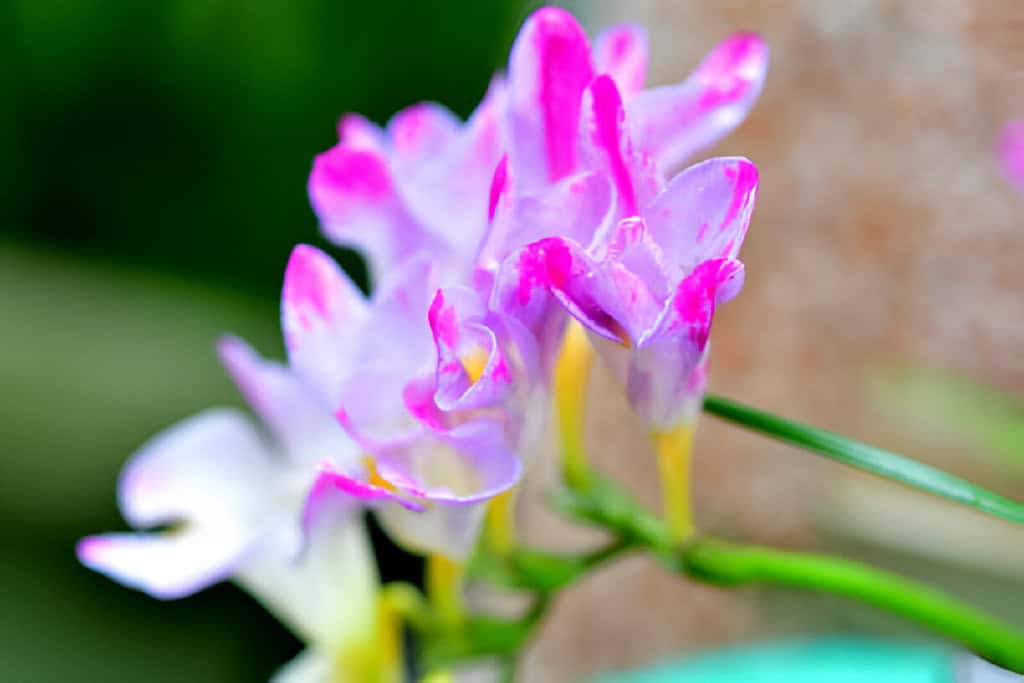
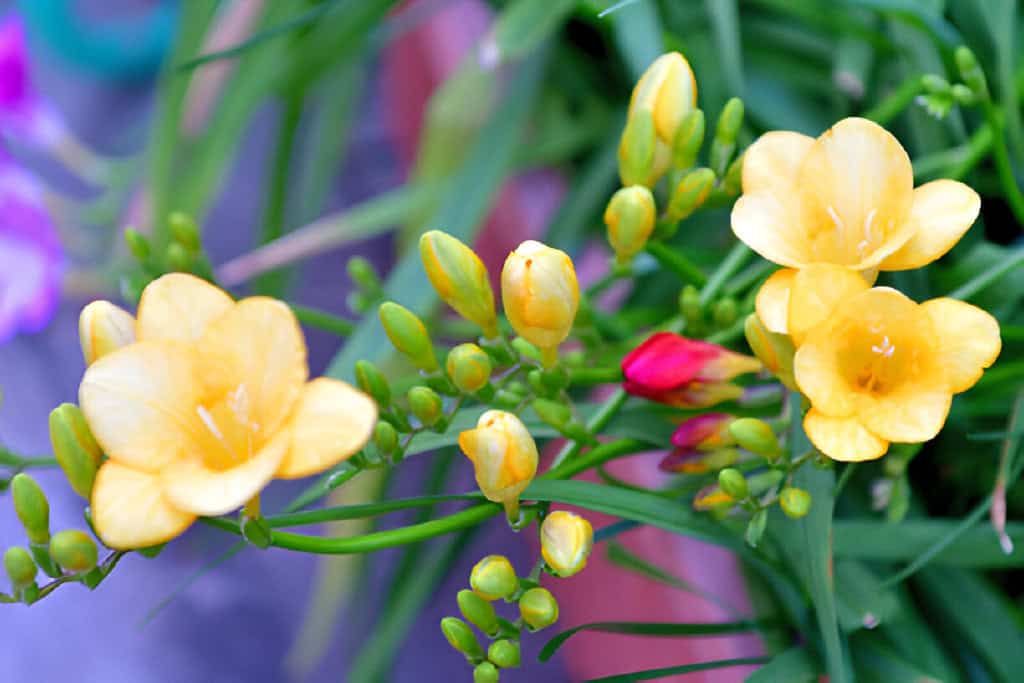
Freesias are a beloved choice for gardeners, known for their vibrant colors and intoxicating fragrance. Native to South Africa, these flowering bulbs have found a welcome home in gardens around the world, including New Zealand.
Are you ready to fill your garden with the delightful fragrance and vibrant colors of freesias? Knowing the optimal time to plant freesia bulbs in New Zealand can significantly impact their growth and bloom. Whether you’re a gardening pro or new to bulbs, know the right season and conditions for freesias. It’s key to a successful garden.
This article explores the best times to plant freesia bulbs in New Zealand. It offers expert tips to help your garden thrive with these, scented flowers.
Importance of Timing When Planting Freesia Bulbs
Timing is crucial when planting freesia bulbs to ensure vibrant blooms and healthy plants. Freesias thrive when planted at the right time. This lets them root well and use good growing conditions. Planting too early or too late can lead to poor growth and disappointing flowering results.
For optimal growth, freesia bulbs should be planted in early spring or late summer, depending on your climate. In regions with mild winters, planting in late summer allows the bulbs to develop roots before cooler temperatures set in. In areas with harsh winters, plant in early spring after the last frost. This will prevent the bulbs from freezing.
Proper timing also affects the blooming period of freesias. When planted at the right time, freesias will bloom in mid to late spring, filling gardens with their vibrant colors and sweet fragrance. Planting at the wrong time can delay blooming or result in weaker flowers.
Understanding New Zealand’s Climate
New Zealand’s climate varies significantly from the subtropical north to the cooler south, offering a range of conditions that can impact freesia growth. Freesias thrive in well-drained, sunny soil. Thus, some regions are better for growing them.
Climate Zones in New Zealand
- North Island: Generally warmer and more humid, especially in the northern regions.
- South Island: It’s cooler with distinct seasons. This suits freesias, especially in the central and southern parts.
- Coastal Areas: Mild temperatures and moderate rainfall, ideal for consistent growth.
Seasonal Overview
- Spring (September to November): Ideal growing season, with blooms typically appearing.
- Summer (December to February): Growth continues; ensure adequate watering.
- Autumn (March to May): Optimal planting period as temperatures cool.
- Winter (June to August): Bulbs remain dormant, preparing for the next growing season.
Best Time to Plant Freesia Bulbs
The optimal time to plant freesia bulbs in New Zealand is during the autumn months. Plant in autumn. It lets bulbs root before winter. This leads to strong growth and many blooms in spring.
Planting in the North Island
- Optimal Planting Period: Late March to early May.
- Benefits: Soil temperatures are ideal for root development.
- Considerations: Ensure the soil is well-drained to prevent bulb rot.
Planting in the South Island
- Optimal Planting Period: Mid-March to late April.
- Benefits: Cooler autumn temperatures support bulb establishment.
- Considerations: Protect bulbs from early frosts in southern regions.
Planting Calendar for Different New Zealand Regions
| Region | Optimal Planting Period | Key Considerations |
| Northland | Late March to Early May | Ensure soil is well-drained |
| Auckland | Late March to Early May | Adequate sunlight is crucial |
| Wellington | Late March to Early May | Mild autumn weather |
| Canterbury | Mid-March to Late April | Watch for early frosts |
| Otago | Mid-March to Late April | Cooler temperatures ideal |
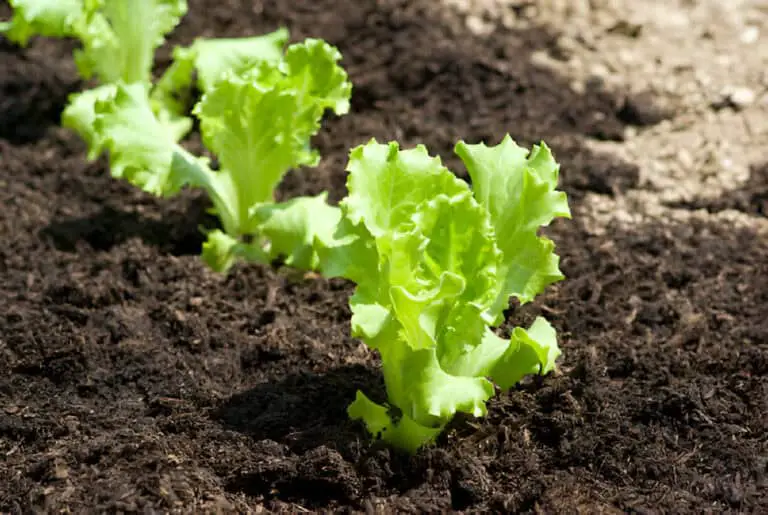
Preparing the Soil
Freesias prefer well-drained, sandy loam soil enriched with organic matter. Proper soil preparation is crucial to prevent waterlogging and promote healthy growth.
Soil Testing and Amendment
- Test the Soil: Determine pH levels and nutrient content.
- Amend the Soil: Incorporate compost or well-rotted manure to enhance fertility and drainage.
Bed Preparation
- Loosening the Soil: Till the soil to a depth of at least 20 cm.
- Mulching: Apply a layer of mulch to retain moisture and suppress weeds.
Choosing the Right Freesia Bulbs Varieties
Selecting high-quality bulbs is essential for a successful freesia garden. Look for bulbs that are firm, plump, and free of mold or damage.
Factors to Consider
- Bulb Size: Larger bulbs generally produce more flowers.
- Bulb Health: Ensure bulbs are healthy and free from disease.
- Supplier Reputation: Purchase from reputable suppliers to guarantee quality.
Popular Freesia Varieties
- Single-flowered Freesias: Known for their simplicity and elegance.
- Double-flowered Freesias: Offer a fuller, more dramatic display.
- Hybrid Freesias: Combine traits of different species for enhanced beauty and resilience.
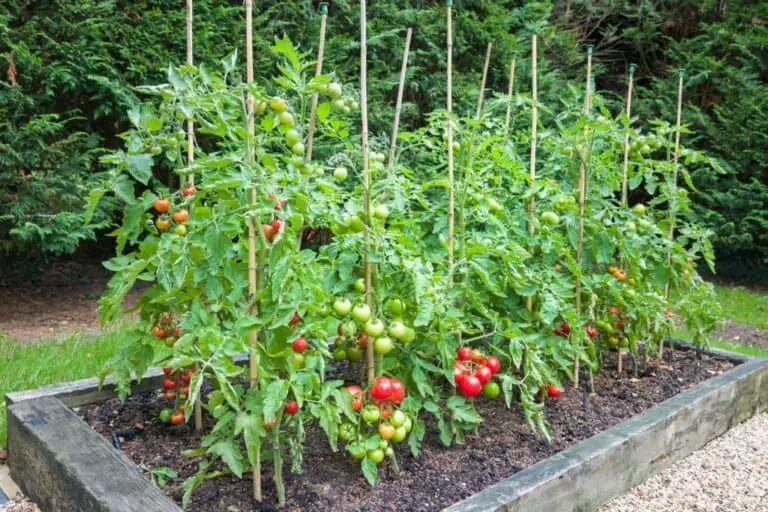
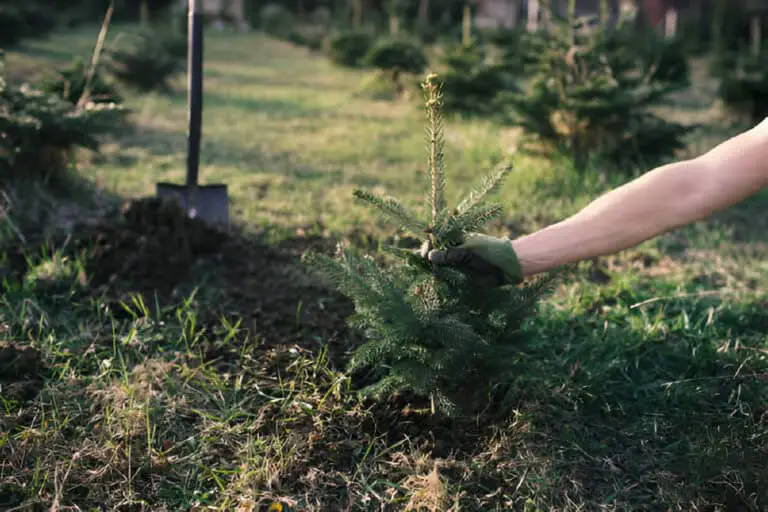
Planting Freesia Bulbs
Selecting the Planting Site
Choose a site with full sun or partial shade. Freesias need at least six hours of sunlight daily to thrive. The soil should be well-drained to prevent bulb rot.
Planting Steps
- Planting Depth: Plant bulbs 5-8 cm deep, with the pointed end facing up.
- Spacing: Space bulbs 5-10 cm apart to allow for adequate air circulation and growth.
- Watering: Water thoroughly after planting to settle the soil.
Step-by-Step Guide
- Prepare the Soil: Loosen the soil and enrich the soil with organic matter.
- Dig Holes: Create holes 5-8 cm deep for each bulb.
- Place Bulbs: Position bulbs in the holes with the pointed end up.
- Cover and Water: Cover the bulbs with soil and water well.
Caring for Freesia Plants
Watering
Consistent watering is key to freesia health, particularly during dry spells.
- Frequency: Water regularly, keeping the soil moist but not waterlogged.
- Method: Use a soaker hose or drip irrigation to water at the base of the plants.
Fertilizing
Freesias benefit from balanced fertilization to support their growth and flowering.
- Type: Use a balanced, slow-release fertilizer.
- Application: Apply fertilizer during planting and again in early spring.
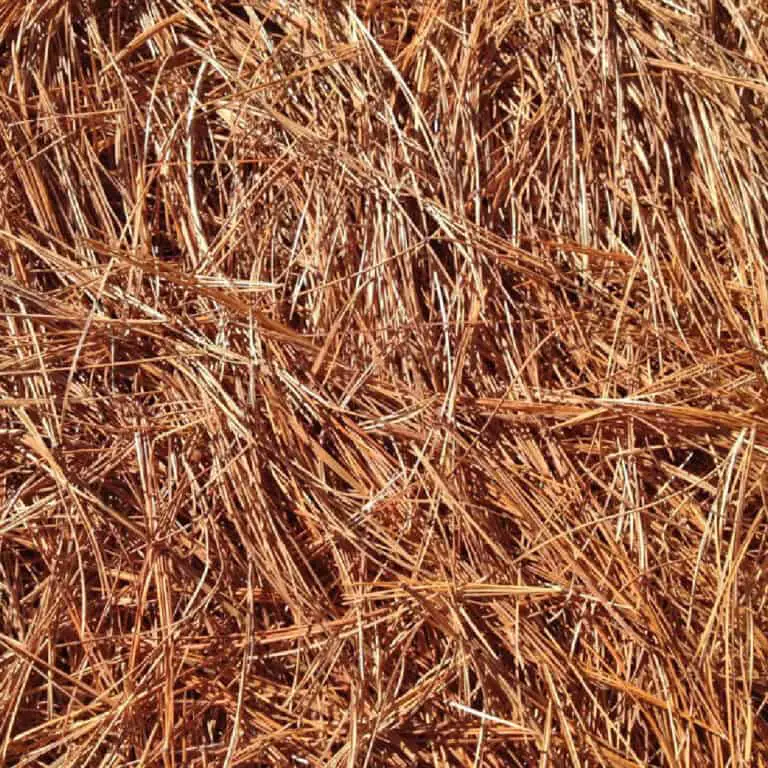
Mulching
Mulching helps retain soil moisture and suppress weeds.
- Mulch Type: Use organic mulch such as bark or straw.
- Depth: Apply a 5-10 cm layer around the plants.
Pest and Disease Management
Regular monitoring and prompt action can prevent pest and disease issues in freesia plants.
Common Pests
- Aphids: Small insects that suck sap from the leaves.
- Slugs and Snails: Can damage young shoots and flowers.
- Thrips: Tiny insects that can cause discoloration and deformities.
Common Diseases
- Botrytis Blight: Fungal disease causing grey mold on leaves and flowers.
- Basal Rot: A fungal disease that affects the bulbs.
- Powdery Mildew: Fungal disease causing a white powdery coating on leaves.
Control Methods
- Natural Predators: Encourage beneficial insects like ladybugs and lacewings.
- Organic Sprays: Use neem oil or insecticidal soap to control pests.
- Good Hygiene: Remove and dispose of infected plant material.
Supporting Freesia Blooms
Freesias may need support to keep their blooms upright, especially in windy areas.
Staking
- Method: Use small stakes and garden twine to support the stems.
- Timing: Stake the plants when they reach about 15 cm in height.
Deadheading
Remove spent flowers to encourage continuous blooming and prevent seed formation.
- Timing: Deadhead as soon as flowers start to fade.
- Method: Cut the flower stalk back to the base of the plant.
Post-Bloom Care
Proper care after blooming ensures freesia plants remain healthy and return year after year.
Foliage Care
Allow the foliage to die back naturally to provide energy for the next growing season.
- Timing: Do not cut back foliage until it has turned yellow and withered.
- Method: Gently remove dead foliage to prevent disease.
Bulb Care
If you need to lift and store bulbs, ensure they are handled properly to avoid damage.
- Lifting Bulbs: Carefully dig up the bulbs after the foliage has died back.
- Cleaning: Clean off any soil and allow the bulbs to dry.
- Storage: Store bulbs in a cool, dry place until replanting in autumn.
Dividing Freesia Bulbs
Freesia bulbs can become crowded over time and may need to be divided to maintain healthy growth.
When to Divide
- Frequency: Every 2-3 years, or when flowering diminishes.
- Timing: Divide bulbs in late summer to early autumn.
How to Divide
- Lifting Bulbs: Carefully dig up the clumps of bulbs.
- Separating Bulbs: Gently separate the bulbs, ensuring each division has roots attached.
- Replanting: Replant the divided bulbs at the appropriate depth and spacing.
Conclusion
Planting freesia bulbs in New Zealand can be a joy. They will add vibrant colors and lovely scents to your garden. With proper timing, soil prep, and care, you can enjoy a stunning display of freesias each year.
These guidelines will help your freesia plants thrive, whether you are in the North or South Island. They will beautify your garden. With the right approach, you can create a breathtaking floral display that will be the envy of your neighborhood.