How Do I Know When to Pick My Gourds and Ready for Harvest?
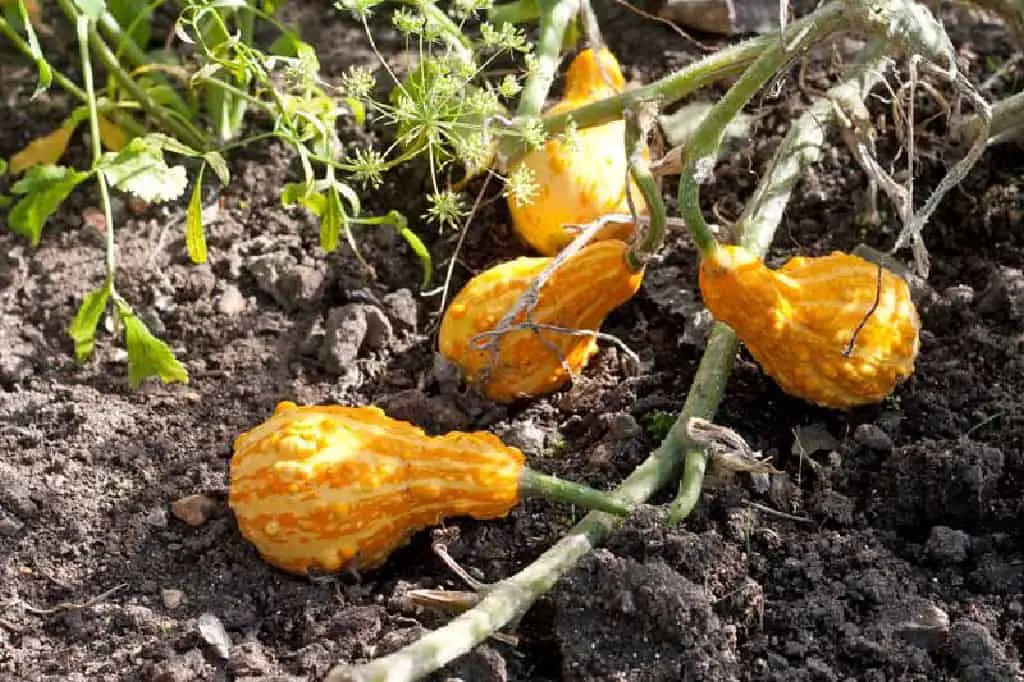
The warm colors of autumn paint the scenery with bright colors, and gardeners can’t wait for harvest time and all the food it brings. Along with pumpkins, squash, and other fall favorites, gourds stand out because they can be used in a lot of different ways to decorate and make food. Many growers face the same problem, though: how do you know when to pick Gourds off the vines?
You need to know when something is ready. You also need to appreciate the old stories and practices that surround these plants. Let us take you on a trip through old sayings and useful advice. We will figure out when to pick your gourds so they look good and taste great.
Importance of Picking Gourds at the Right Time
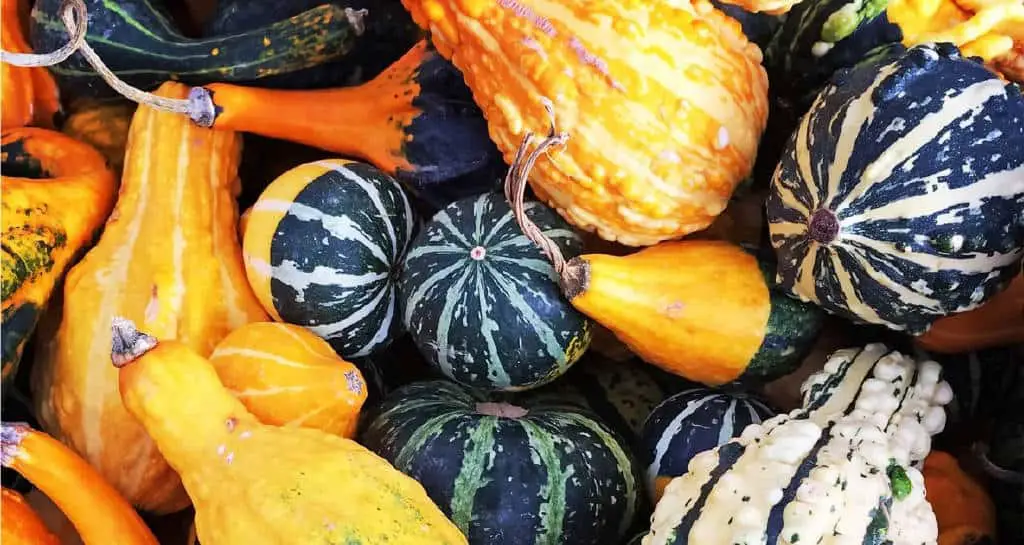
Picking gourds at the right time is crucial for their quality and usability. Harvesting too early can result in underdeveloped gourds that may not fully mature or dry properly. On the other hand, waiting too long to harvest can lead to overripe gourds that may be prone to rotting or developing mold. Therefore, knowing when to pick your gourds is essential for maximizing their potential.
By picking your gourds at the right time, you can ensure that they are of the highest quality and are ready for use in a variety of applications. You may use gourds for decoration, utensils, or musical instruments. Harvesting at the right time is key to getting the most from your gourd crop.
How Do I Know When to Pick My Gourds and Are They Ready for Harvest?
Gourds are useful and fascinating plants. They can be used for decoration, utensils, or even musical instruments. Knowing when to harvest them is crucial to ensure they are at their best. Here’s a guide to help you determine when your gourds are ready to be picked.
- Size and Color: Gourds should reach their full size and develop their characteristic color. Different types of gourds will have different colors when ripe, so it’s essential to know the specific variety you are growing.
- Hardness: Ripe gourds will feel firm and hard when gently pressed. If the gourd gives under pressure or feels soft, it is not yet ready for harvest.
- Drying Time: After harvesting, gourds need to be dried before they can be used. The drying process can take several weeks to several months, depending on the size and thickness of the gourd.
- Sound: Another factor to consider is the sound of the gourd. When you shake a ripe gourd, you should hear the seeds rattling inside. This is a sign that the seeds have fully developed and the gourd is ready for harvest.
- Stem: The stem of the gourd can provide clues. A dried, brown stem is a sign that the gourd is mature and ready to be picked.
Timing Considerations for Harvesting Gourds
Late summer to early fall is generally considered the best time to harvest gourds. This is when the gourds have had enough time to mature and develop their full size and color. However, it’s important not to rush the harvest process. Gourds should be fully mature before picking to ensure they are of the best quality.
While it’s important to wait for gourds to fully mature, it’s also crucial not to wait too long to harvest them. Gourds left on the vine for too long can become overripe and start to rot. This can happen quickly, especially as temperatures begin to cool in the fall. Regularly inspect your gourds as they approach maturity to ensure they are harvested at the right time.
Harvesting and Curing Gourds
Harvesting
- Cutting: Use sharp shears or a knife to cut the stems, leaving a few inches of stem attached to each gourd. This helps in the drying process by allowing moisture to escape through the stem.
- Handling: Handle the gourds carefully to avoid bruising, denting, or breaking the skin. This is crucial, as the rind or skin is susceptible to damage.
Initial Drying
- Cleaning: Gently wash the gourds in warm, soapy water to remove dirt and debris. Then, wipe them down with a soft cloth dampened in a household disinfectant to prevent decay.
- Drying: Place the gourds in a single layer on clean newspapers or shelves in a warm, dry, well-ventilated location. Turn them frequently and remove any that show signs of decay. This initial drying stage typically takes about a week, during which the colors are set and the outer skins harden.
Final Drying
- Storage: Transfer the gourds to a warm, dry, dark area, again spreading them in a single layer. Check them every few days, turning them and discarding any that show signs of deterioration. This final drying stage usually takes three to four weeks. The gourds will become light and the seeds will rattle inside.
- Monitoring: Monitor the gourds for mold, which may appear during this stage. As long as the gourds remain hard, the mold is not a problem.
Finishing Touches
- Cleaning: Once the gourds are fully dry, wash them in warm water and use steel wool to remove any mold or crust on the skin.
- Drying: Dry the gourds with a soft cloth to prevent water spots.
- Preservation: Properly dried gourds can retain their natural colors for three to four months. To extend this period, try waxing them with a paste floor wax. They can also be painted, stained, or varnished, or decorated with a wood-burning tool.
Tips and Variations
- Variety-specific care: Different types of gourds may require specific care. For example, some varieties may need to be dried for longer periods or may require special handling.
- Curing: Some gourds can be cured by placing them in a well-ventilated area, without the need for direct sunlight. This method can take several weeks to a year, depending on the conditions.
- Patina formation: During the curing process, gourds may develop a patina, which can be cleaned off later. This is a natural part of the curing process.
Conclusion
When determining if a gourd is ready for harvest, consider its size, color, and hardness. Mature gourds will be firm to the touch and have developed their characteristic color. Ripe gourds of different varieties will have different colors. So, you to know the specific traits of your gourds.

