How Do You Water Plants With a Gallon Jug? DIY Drip-Water
Watering plants effectively is essential for their growth and health. Traditional watering methods work well. But, using a gallon jug for DIY drip-watering can save water, time, and ensure plants get a consistent moisture supply. This DIY drip-water method might just be the game-changer your garden needs.
In this article, we’ll walk you through making a cheap, efficient irrigation system. You will use only a common household item.
This method is particularly useful for gardeners who travel frequently or have busy schedules. Let’s explore how to water plants using a gallon jug and create an efficient DIY drip-water system.
Why Use a Gallon Jug for Drip-Watering?
Drip-watering systems deliver water slowly to plant roots. They are designed to limit evaporation and runoff. A gallon jug drip system is a simple, cost-effective alternative to more complex irrigation systems. It ensures your plants get the right amount of water. This is crucial for their development, especially in dry periods.
Benefits of DIY Drip-Watering with a Gallon Jug
Using a gallon jug to water plants offers several benefits. It allows for precise watering control, enabling you to target the roots of the plants directly. Also, using jugs for watering is sustainable. It reduces waste and promotes eco-friendly gardening. Below are some more benefits:
- Water Efficiency: Delivers water directly to the roots, reducing wastage.
- Consistent Moisture: Helps maintain consistent soil moisture levels.
- Cost-Effective: Utilizes readily available materials, saving money.
- Low Maintenance: Requires minimal setup and upkeep.
- Environmental Impact: Reduces water usage, which is beneficial for drought-prone areas.
Materials Needed
To set up a DIY drip-watering system with a gallon jug, you’ll need the following materials:
- One-gallon plastic jug (with a lid)
- Nail or small drill bit (to create holes)
- String or twine (optional, for stability)
- Scissors or knife (to make cuts)
- Water (to fill the jug)
How Do You Water Plants With a Gallon Jug (Step-by-Step Guide)
Step 1: Preparing the Jug
Start by selecting a clean, one-gallon plastic jug with a secure lid. Ensure it’s thoroughly rinsed out if it previously contained any other substances. This is crucial to avoid any chemical residue that might harm your plants.
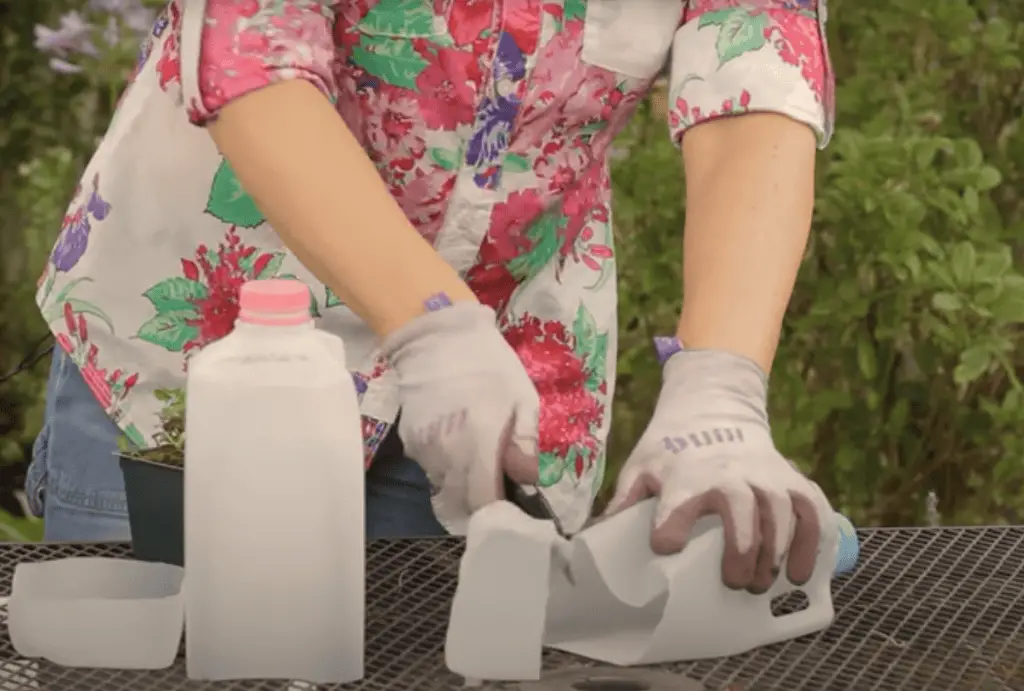
Step 2: Creating Drip Holes
Using a nail or a small drill bit, carefully puncture small holes into the sides and bottom of the jug. The size and number of holes will determine the water flow rate. For a slower drip, make fewer and smaller holes. Ensure the holes are evenly spaced to allow for uniform water distribution.
Step 3: Positioning the Jug
Once your jug is prepared, bury it partially in the soil near the plant you want to water, leaving the top third above ground for easy refilling. Make sure the holes are facing the roots of the plant. If the jug tends to tip over, you can secure it with string or twine attached to stakes or the plant itself.
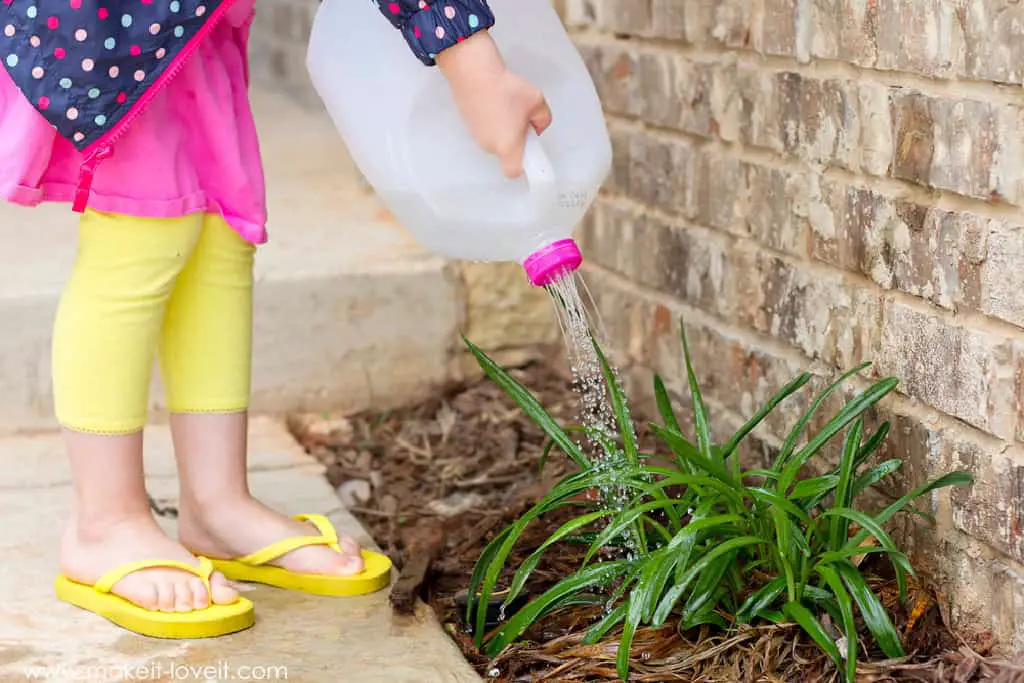
Step 4: Filling and Maintaining
Fill the jug with water and secure the lid. The water will slowly seep through the holes, providing a steady supply of moisture to the plant roots. Refill the jug as needed, depending on the size of the plant and the weather conditions. Check the soil moisture regularly to ensure your plant is getting enough water.
Tips for Optimal Use
- Adjust Hole Size: Experiment with different hole sizes and numbers to find the optimal water flow rate for your specific plants.
- Placement: Place the jug closer to plants with higher water needs and further from those with lower requirements.
- Fertilizer: You can mix liquid fertilizer with water in the jug to provide nutrients along with moisture.
| Read: Do You Water Mulch After or Before Putting It Down? |
Using Multiple Jugs
For larger gardens or multiple plants, you can set up several gallon jugs throughout your garden. Each jug can be tailored with different hole sizes to accommodate various plants’ water needs. This method ensures all plants get enough water. It promotes a healthier, more vibrant garden.
Example Table: Jug Setup for Different Plants
| Plant Type | Number of Holes | Hole Size | Refill Frequency |
| Tomatoes | 5 | Small (1/16″) | Every 2-3 days |
| Cucumbers | 3 | Medium (1/8″) | Every 1-2 days |
| Peppers | 4 | Small (1/16″) | Every 2-3 days |
| Squash | 6 | Large (1/4″) | Daily |
| Herbs (Basil, Mint) | 2 | Small (1/16″) | Every 3-4 days |
Troubleshooting Common Issues

Slow or No Water Flow
If water isn’t flowing as expected, the holes may be too small or blocked by soil particles. Remove the jug, inspect the holes, and clear any obstructions. Consider enlarging the holes slightly or adding a few more to increase the flow rate.
Jug Tipping Over
A jug that tips over easily can disrupt the watering schedule. To prevent this, ensure the jug is buried deep enough or secured with stakes. Alternatively, placing a few rocks or bricks around the base can provide additional stability.
Overwatering
Monitor the soil moisture regularly to avoid overwatering, which can lead to root rot. If the soil feels consistently wet, reduce the number of holes or the frequency of refilling the jug.
Advantages of a DIY Drip System
Creating a DIY drip-watering system with a gallon jug has several advantages. It has them over traditional watering methods. It promotes water conservation. It ensures consistent hydration. It can be customized to suit different plant needs. This method also encourages deeper root growth, making plants more resilient to drought and other stressors.
| Read: Watering After Applying Weed and Feed? Expert Tips |
Comparison Table: Traditional Watering vs. DIY Drip System
| Feature | Traditional Watering | DIY Drip System |
| Water Efficiency | Moderate | High |
| Consistency | Variable | Consistent |
| Cost | Low | Very Low |
| Setup Complexity | None | Easy |
| Maintenance | Moderate | Low |
| Environmental Impact | Moderate | Low |
Conclusion
Watering plants with a gallon jug is effective. Making a DIY drip-watering system is a good way to keep plants healthy and save water. This simple method ensures that plants get consistent moisture. It promotes robust growth and resilience.
It doesn’t matter if you’re a seasoned gardener or a beginner. Adding this technique to your gardening routine can lead to healthier plants and a more sustainable garden. Give it a try and see the difference it makes in your gardening experience!