How to Use a Weed Wacker for Edging: My Guide to a Polished Landscape

As a gardening enthusiast, I’ve learned that achieving that manicured look in your yard requires the right tools and techniques. Enter the weed wacker, or string trimmer as some call it. While many people associate this handy tool with trimming tall grass and weeds, I’ve discovered its hidden talent for edging.
If you’re ready to elevate your landscape game, let’s dive into how to use a weed wacker for edging and transform your yard into a masterpiece.
Why Edging Matters
Before diving into the ins and outs of using a weed wacker for edging, let’s explore the significance of this gardening practice. Edging transforms your garden from a simple patch of grass into a meticulously curated outdoor space.
Edging enhances the overall aesthetic appeal by defining the boundaries between your lawn and other areas, such as garden beds, pathways, or driveways. Imagine standing back to admire your yard after a successful edging session; it’s like giving your garden a fresh haircut, making everything appear sharp and well-kept.
Moreover, proper edging serves a functional purpose. It acts as a barrier against unwanted grass and weeds that tend to creep into flower beds and vegetable patches. Without this essential boundary, your beautiful blooms and fresh produce can become overrun with invasive plants. Edging not only preserves the visual appeal of your garden, but also supports the health of your plants by keeping these intruders at bay.
Ultimately, investing time in edging creates a polished look and fosters a thriving outdoor environment.
With these benefits in mind, it’s clear that mastering the art of edging is a crucial step toward achieving your dream landscape. So grab that weed wacker and get ready to elevate your garden’s appearance and health!
What You’ll Need
To get started, gather the following tools and materials:
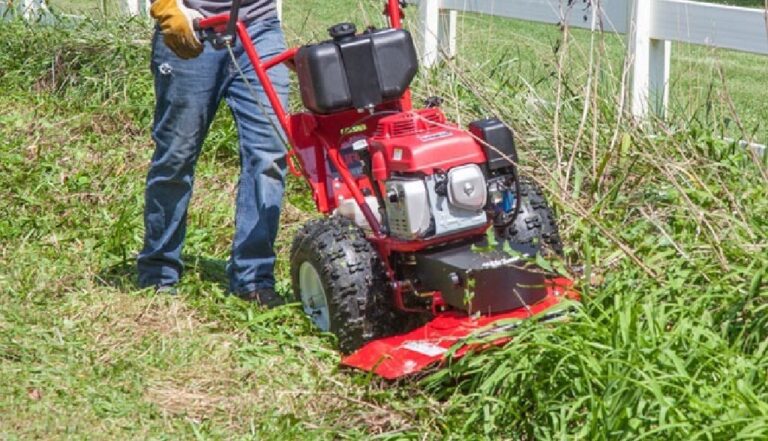
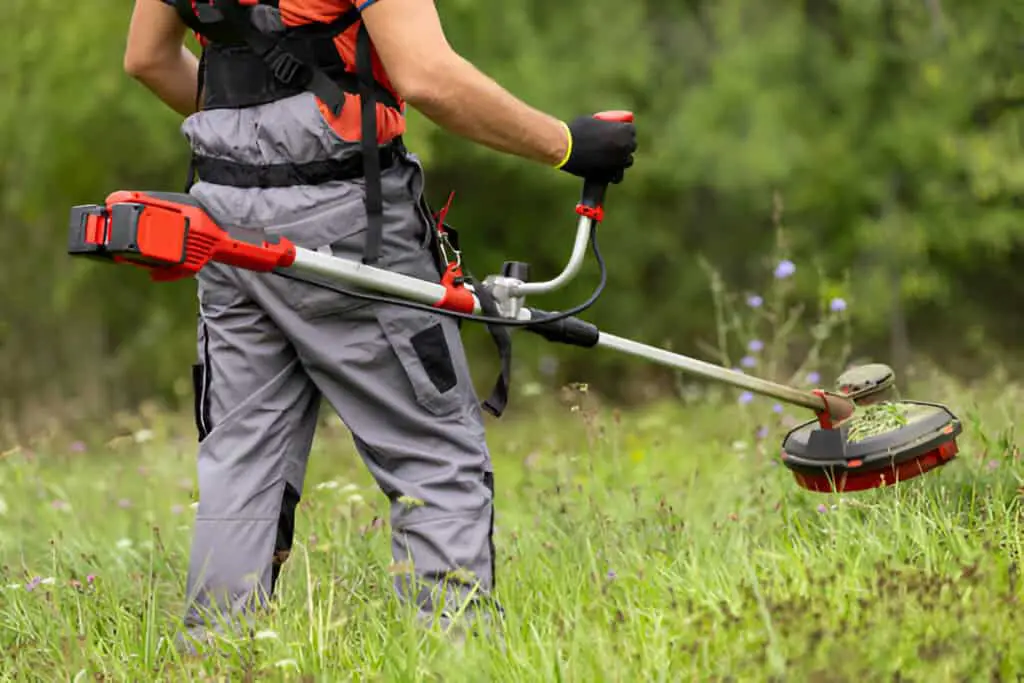
- Weed Wacker/ String Trimmer: Your main tool for edging. Make sure it’s in good working order.
- Safety Gear: Protect your eyes with goggles and wear long pants and sturdy shoes. Trust me, you don’t want flying debris to ruin your day!
- Marking Tool: A garden marker or spray paint can help outline where you want to edge.
- Rake or Broom: For cleaning up the clippings after you’ve done your work.
- Edging Attachment (optional): Some weed wackers come with optional edging attachments that can make the job easier.
Setting Up for Success
Before you even think about firing up the weed wacker, take a moment to prepare. Clear the area you plan to edge. Remove any rocks, branches, or debris that could hinder your progress or damage the tool. I like to walk along the edges I plan to work on and mark them with a garden marker or a bit of spray paint. This gives me a visual guide and helps me stay on track as I edge out.
Adjusting Your Weed Wacker
Next, let’s get your weed wacker ready for action. If your model has an adjustable head, set it to the proper angle for edging. Ideally, you want to hold it at a slight angle, around 30 degrees to the ground. This position allows the string to cut cleanly along the edges, preventing any unwanted scalping of your lawn.
Some weed wackers also come with different line sizes. If you have the option, choose a thicker line for edging; it can handle the tougher job of cutting through grass and soil without breaking easily.
Getting Started: The Edging Technique
With everything prepped, it’s time to roll up your sleeves and dive into edging.
- Start with a Slow Approach: Begin by powering on your weed wacker. I always start slowly to get a feel for how the tool interacts with the ground. This also helps prevent any unexpected kickback.
- Positioning: Stand with your feet shoulder-width apart for stability. Hold the weed wacker with both hands, keeping it at the desired angle. Remember to maintain a comfortable grip; you’ll be working for a while!
- Follow the Line: Use the guide you created earlier to follow along the edges. Move slowly and steadily, allowing the spinning line to do its job. I like to use a sweeping motion, gradually working my way along the defined edge.
- Watch Your Surroundings: Keep an eye out for rocks or debris that could kick up while you’re working. If you see anything that could be problematic, take a moment to remove it.
- Make Multiple Passes: Depending on how thick the grass or weeds are, you may need to make several passes. If you notice any missed spots, just go back and touch them up.
Safety First
While using a weed wacker is relatively straightforward, safety should always be a top priority. Here are a few safety tips I follow:
- Wear Protective Gear: Always use goggles and gloves. Even if you think it’s a light job, better safe than sorry!
- Keep Pets and Kids Away: Make sure the area is clear of children and pets. They have a knack for wandering right into your workspace at the worst moments.
- Know Your Tool: Familiarize yourself with your weed wacker’s operation manual. Different models might have unique features or safety concerns.
Aftercare: Cleaning Up
Once you’ve finished edging, it’s time to tidy up. I usually take a rake or broom and gather the grass clippings. Not only does this keep your yard looking neat, but it also prevents clippings from smothering your grass.
If you have mulch or flower beds nearby, I often toss the clippings into those areas, where they can break down and add nutrients back into the soil. Just make sure they don’t create a thick mat that could block air and moisture.
Maintenance Tips for Your Weed Wacker
To keep your weed wacker in top shape for future edging jobs, follow these maintenance tips:
- Clean the Line: After each use, check the trimmer line for wear. If it’s frayed or broken, replace it to ensure optimal performance.
- Check the Fuel: If you use a gas-powered model, make sure to use fresh fuel. Old fuel can cause starting issues and affect performance.
- Store Properly: After cleaning, store your weed wacker in a cool, dry place, away from direct sunlight.
Final Thoughts: Edging with a Purpose
Using a weed wacker for edging has become one of my favorite gardening tasks. It’s incredible how a little effort can dramatically enhance the appearance of my yard. The satisfaction of seeing those clean lines and defined edges is hard to beat!
So, if you’re looking to elevate your landscaping game, I encourage you to give edging with a weed wacker a shot. With a little practice and the right techniques, you’ll not only enjoy the process but also take pride in a well-kept yard that reflects your love for gardening.
Ready to Edge?
Now that you’re armed with all the knowledge you need, why not grab that weed wacker and give it a whirl? I promise you’ll enjoy the transformation as much as I do. Happy edging!