How to Use a Scarifier to Improve Your Landscape
You’ve probably got your trusty lawnmower and maybe even a weed eater for good measure. But have you ever heard of a scarifier? No, it’s not something out of a horror movie. It’s actually a powerful tool that many homeowners tend to overlook, even though it can work wonders for your lawn.
Once you get the hang of using a scarifier, you’ll wonder how you ever maintained your yard without it.
I remember when I first heard about a scarifier—it felt like some well-kept gardener’s secret. But as soon as I gave it a whirl, my landscape looked fresher, cleaner, and more vibrant. Have you been debating whether to rent or buy one? It’s worth it. In this guide, I’ll walk you through how to use this game-changing tool and show you how it can breathe new life into your lawn.
What Exactly Is a Scarifier?
To put it simply, a scarifier—also known as a dethatcher—is like the lawn’s version of a skincare exfoliator. Just like we shed dead skin cells, lawns build up dead organic material, too. This layer of debris, called thatch, can suffocate your lawn, preventing water, air, and nutrients from reaching the roots. Thatch buildup can make your grass look dull, tired, and lifeless, no matter how much water and fertilizer you throw at it.
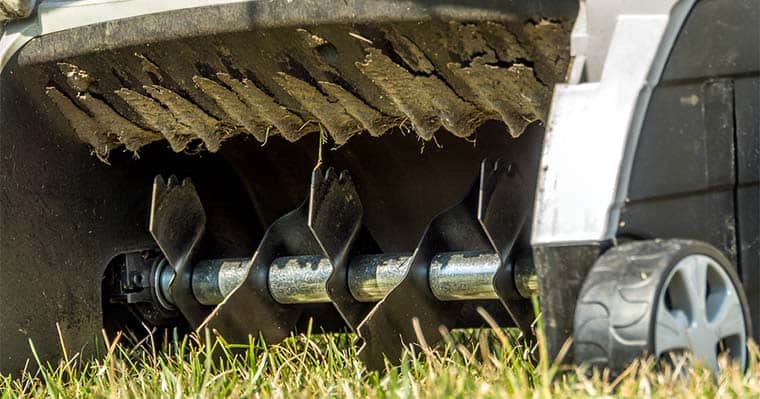
A scarifier works by digging into the thatch layer and pulling it up. Like a lawnmower bag, it doesn’t neatly collect it for you. Instead, it breaks the thatch into small pieces, which eventually decompose into the soil. Trust me, the results are worth the effort. Your grass will thank you with greener blades and deeper roots.
Why Does Thatch Matter?
Thatch may not seem like a big deal at first. It’s just dead grass and plant matter, right? But here’s the kicker: too much thatch can choke your lawn. It sits between the soil and the healthy grass, blocking vital nutrients and water from penetrating. As a result, your lawn may struggle to thrive, leaving it more prone to diseases and pests. Over time, this can turn your lush, green yard into a patchy mess.
So, if you want a lawn that looks like it belongs in a gardening magazine, removing that thatch is key. This is where the scarifier steps in, taking your lawn care game to the next level.
Preparing Your Lawn: The First Steps
Before you even think about firing up the scarifier, there’s a little prep work to be done. Trust me, these few extra steps can make all the difference in how effective your scarifying session will be.
- Rake the Debris First off, grab a rake. Yes, a good old-fashioned rake. You’ll want to remove any large debris like branches, twigs, or leaves that could get in the way. Running the scarifier over debris won’t necessarily damage the machine, but it won’t make your job any easier either. Clearing the lawn first gives the scarifier a clear shot at the thatch, making the whole process smoother and more effective.
- Mow the Grass After raking, it’s time to cut the grass. You don’t want it too long, but also not too short. The sweet spot lies between 2 and 3 inches in height. In the summer months, I lean toward leaving it a bit taller—closer to 3 inches. But when fall and winter roll around, I cut it down to about 2 inches. This ensures that the scarifier isn’t overwhelmed and can really dig into that thatch layer with ease.
Adjusting and Using the Scarifier
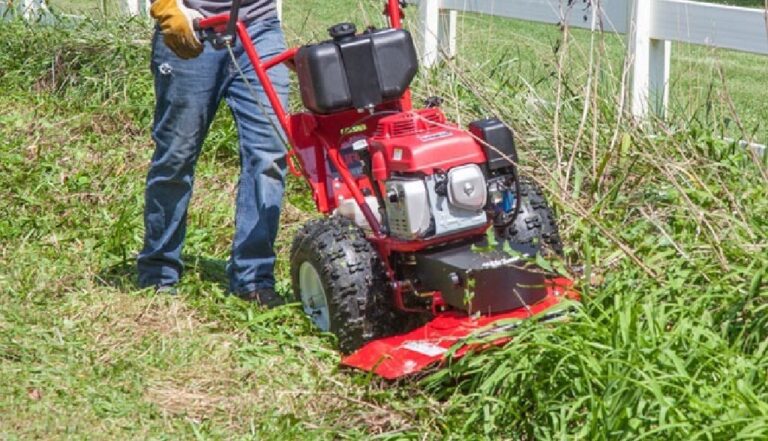
Now that your lawn is prepped, it’s time to get that scarifier out. If you’ve never used one before, don’t worry—it’s a lot like pushing a lawnmower, but with a bit more bite.
- Adjust the Height Before you start, adjust the scarifier to its highest setting. Most scarifiers come with adjustable height controls, and it’s always best to start high. You can always lower it as needed, but starting low could dig too deep and damage your lawn. The idea is to gradually remove the thatch without tearing up your grass roots.
- Run the Scarifier Over the Lawn Now for the fun part! Push the scarifier across your lawn in the same way you would a lawnmower. Depending on how much thatch has built up, you might need to make a few passes. Pay attention to areas where you see heavy thatch buildup—those are the spots you’ll want to focus on.
A scarifier is thorough, but you don’t have to run it over your entire lawn unless the thatch is everywhere. Target the problem areas first, and you’ll notice the difference almost immediately.
| Step | Action | Purpose |
| Rake Debris | Remove large debris like branches and twigs | Clear the lawn for better scarification |
| Mow the Lawn | Cut grass to 2-3 inches | Reduce workload on the scarifier for more effective use |
| Adjust Scarifier | Set to highest height | Prevent lawn damage and start with light dethatching |
| Run Scarifier | Push across problem areas | Remove thatch and improve lawn health |
Aftercare: Post-Scarification Cleanup
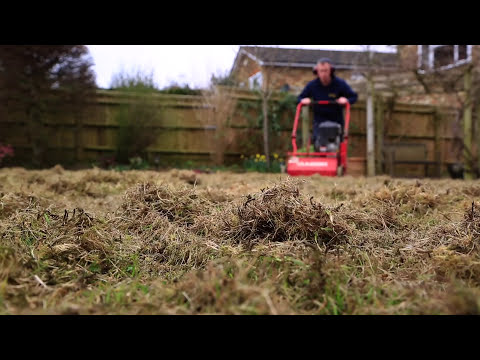
Once you’ve gone over the lawn with the scarifier, you’ll be left with a decent amount of debris—especially if it’s been a while since the last time your lawn was dethatched. I recommend raking up any loose thatch that’s still sitting on top of your grass. You can compost it or toss it, depending on your garden setup.
Now that the lawn can breathe again, give it some love. After scarifying your grass, watering it helps it recover faster and absorb nutrients more efficiently. If you’re planning to fertilize, now is the perfect time to do so. Open roots allow your grass to absorb more nutrients and grow thicker and greener.
When Should You Scarify?
Timing matters when it comes to scarifying. I’ve found the best times to scarify are during the growing seasons—spring and early fall. This is when your grass is actively growing and can recover quickly from the dethatching process. Scarifying in the heat of summer or the dead of winter could stress the grass and cause more harm than good.
Scarify once a year at most, unless you have a particularly thatchy lawn. Too much dethatching can damage your grass instead of helping it.
Final Thoughts: A Tool Worth Using
Using a scarifier might seem like just one more step in lawn care, but it’s a step that can make a world of difference. I remember the first time I scarified my lawn—it was like peeling back the layers and letting my yard finally breathe. The grass grew back thicker and healthier, with a vibrancy that it hadn’t shown in years.
If you’re serious about having a healthy, green lawn, a scarifier is a tool you should consider adding to your arsenal. It’s not as flashy as a new mower or as fun as planting new flowers, but it’s one of the best-kept secrets to achieving a flawless lawn.