How to Sterilize Soil for Microgreens Successfully (Step-by-Step Guide)
Welcome to the world of microgreens, where tiny greens pack a powerful nutritional punch! Whether you’re a seasoned gardener or just starting on your green-thumb journey, growing microgreens at home is an exciting and rewarding experience. But, like any delicate endeavor, it requires the right care and attention from the very beginning.
If you want your microgreens to flourish and thrive, then sterilizing the soil is an absolute must. Yes, it may sound a bit intimidating, but fear not! We’ve got you covered with our easy-to-follow, step-by-step guide on how to sterilize soil for microgreens successfully.
By the time you finish reading this article, you’ll be armed with the knowledge and confidence to create a clean, nutrient-rich environment that will set the stage for an abundant microgreens harvest. So, roll up your sleeves, get ready to dig in, and let’s dive into the world of soil sterilization!
Introduction to Microgreens and Soil Sterilization
Microgreens, the vibrant and nutrient-rich young shoots of edible plants, have captured the attention of health-conscious individuals and culinary enthusiasts alike. As these miniature powerhouses of flavor and nutrition gain popularity, the importance of a clean and fertile growing medium cannot be overstated. This is where the concept of soil sterilization steps onto the stage, ensuring the optimal environment for these tender seedlings to thrive.
Microgreens, often no taller than a couple of inches, pack a mighty punch in terms of flavor, color, and nutrition. These miniature versions of fully grown plants are harvested at an early stage, right after the first true leaves emerge. Bursting with essential vitamins, minerals, and antioxidants, microgreens offer a concentrated dose of goodness that can elevate salads, sandwiches, and dishes to a new level.
Creating a nurturing environment for microgreens begins with the soil they call home. Soil sterilization, a process that involves eliminating harmful pathogens, pests, and weed seeds from the soil, ensures a clean slate for these delicate shoots.
This meticulous procedure minimizes the risk of diseases and pests that could impede the growth of microgreens. By prioritizing soil sterility, gardeners lay a solid foundation for healthy, vibrant microgreens to flourish, making each harvest a testament to the symbiotic relationship between meticulous care and bountiful rewards.
Understanding Soil Contaminants and Pathogens

Before we dive into the sterilization process, let’s shine a light on the lurking adversaries: soil contaminants and pathogens. These include nemeses like bacteria, fungi, pests, and weed seeds. They might be tiny, but their impact can be monumental. Contaminants compete with your microgreens for nutrients, water, and space, leading to stunted growth and compromised quality.
Imagine trying to run a marathon with a rock in your shoe. Soil contaminants are the rock for your microgreens. They hinder nutrient absorption, impede water uptake, and create stress for the young seedlings. The result? lackluster growth, poor color development, and less flavorful microgreens.
You’re aiming for microgreens that pop with color and burst with flavor. Contaminated soil can shatter that dream. Pathogens can not only affect taste but also lead to safety concerns. By sterilizing the soil, you’re not just ensuring remarkable flavors but also providing a shield against potential health risks.
Methods of Soil Sterilization
1. Heat Sterilization
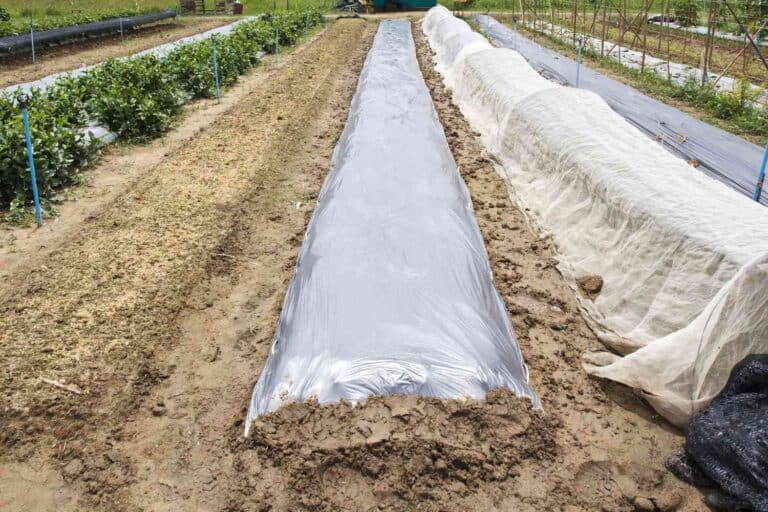
Heat, a formidable ally against contaminants, comes in various forms for soil sterilization. Baking soil in the oven, solarization under the sun, and steam treatments all work towards the same goal: annihilating harmful organisms. These methods are akin to a controlled burn, ridding the soil of unwanted guests.
More: Soil Sterilization by Heat: What Is Baking Temperature?
2. Chemical Sterilization
Chemical sterilization, like a surgical procedure, is precise and effective. Hydrogen peroxide and bleach are the most common chemical agents for this purpose. These chemicals target and neutralize pathogens, leaving your soil sanitized and ready to nourish microgreens.
3. Non-Chemical Approach
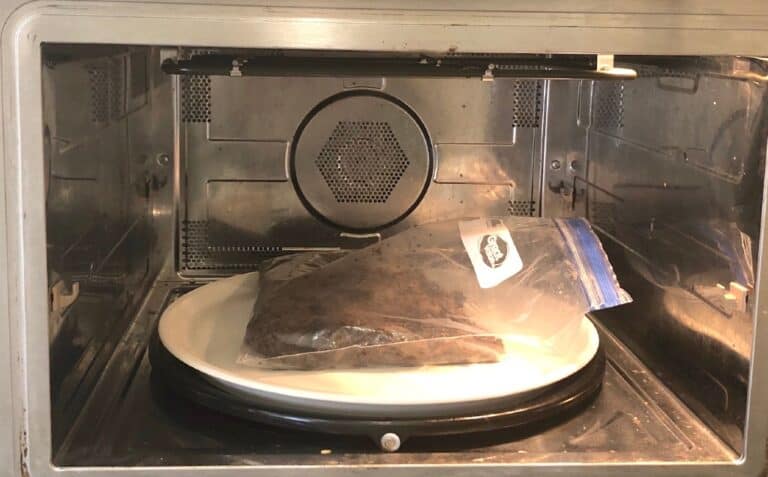
For those who prefer a more natural route, non-chemical methods offer a path. The microwave’s radiation zaps contaminants, while boiling water floods the soil with heat. These techniques provide a chemical-free alternative, safeguarding both your microgreens and your environmental concerns.
Pros and Cons
Like any choice in life, each sterilization method comes with its pros and cons. Heat sterilization offers thoroughness but requires time and energy. Chemical methods are effective but demand careful handling. Non-chemical options provide eco-friendliness but might be less exhaustive. Choosing the right method depends on your preferences, resources, and commitment to a thriving microgreens garden.
How to Sterilize Soil for Microgreens (Step-by-Step Guide)
One effective method for sterilizing soil is by using a microwave. This quick and convenient technique helps eliminate harmful pathogens and unwanted organisms that could hinder your microgreens’ growth. Here’s a step-by-step guide on how to sterilize soil for microgreens using a microwave:
1. Choose the Right Soil
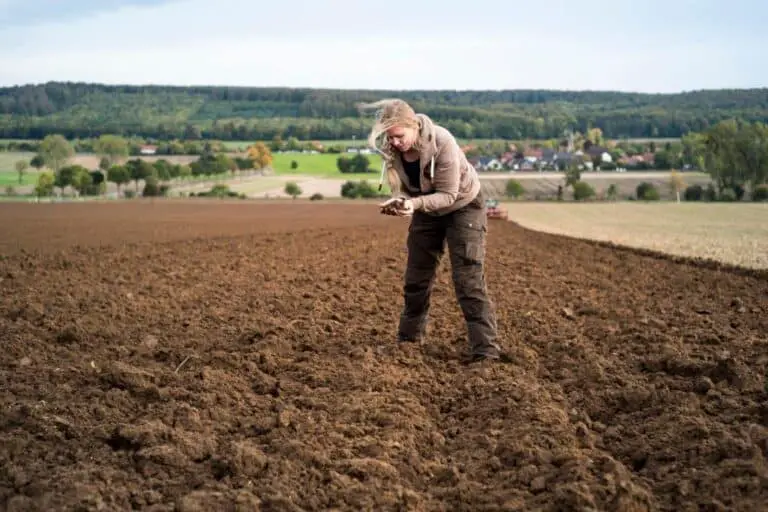
Selecting the right soil is the first step towards successful sterilization. Opt for high-quality, well-draining potting mix that is free from chemical additives and synthetic fertilizers. A peat-based mix with added perlite works well for most microgreens. Avoid using garden soil, as it may contain unwanted pathogens and debris that are difficult to eliminate entirely.
2. Gather Your Supplies
Before you begin, gather all the necessary supplies. You will need:
- Microwave-safe container with a lid (avoid using plastic)
- Water
- Soil thermometer
- Microwave oven
3. Fill the Container
Fill the microwave-safe container with the potting mix, leaving some space at the top to prevent spillage during sterilization. Use a container that is large enough to hold the amount of soil you need for your microgreens.
4. Moisten the Soil
Add water to the soil until it’s evenly moistened. Be careful not to soak the soil, as excessive moisture can lead to the growth of mold and fungi. A good rule of thumb is to achieve a texture similar to that of a damp sponge.
5. Cover the Container
Place the lid on the container, leaving a small gap to allow steam to escape during the sterilization process. This prevents pressure from building up inside the container and causing potential damage.
6. Microwave the Soil
Now it’s time to sterilize the soil in the microwave. The microwave is an efficient and convenient way to kill harmful pathogens. Refer to the table below for specific microwave settings based on the amount of soil you’re sterilizing:
| Amount of Soil | Microwave Time | Power Level |
| Less than 2 cups | 2-3 minutes | High |
| 2-4 cups | 4-6 minutes | High |
| 4-6 cups | 6-8 minutes | High |
7. Check the Temperature
Once the microwave process is complete, use a soil thermometer to check the temperature at the center of the soil. It should reach at least 180°F (82°C) to effectively kill off any harmful organisms.
8. Cool and Store
After sterilization, allow the soil to cool down before transferring it to a clean, airtight container. Stored properly, the sterilized soil should be stored in safe and clean places.
Post-Sterilization Soil Treatment
Imagine your microgreens’ roots as explorers in a new land, searching for nourishment. Beneficial microbes and soil amendments play the role of welcoming hosts, providing nutrients and a nurturing environment. These tiny allies enhance soil structure, aid in nutrient absorption, and promote healthy growth.
After the battlefield of sterilization, it’s time to rebuild. Beneficial microbes are the architects of a thriving soil ecosystem. Think of them as the unsung heroes, diligently working to improve soil structure, enhance nutrient availability, and suppress harmful pathogens. Reintroduce them to your soil to create a harmonious environment for your microgreens.
Just as your body craves a balanced diet, your soil yearns for essential nutrients. Soil amendments, such as compost or organic matter, are the nutrients your soil needs to regain its vitality. These amendments restore fertility, improve drainage, and enhance water-holding capacity, creating the perfect sanctuary for your microgreens to flourish.
Choosing the Right Containers and Seeds
Containers are the microgreens’ homes, and just like house-hunting, you want the perfect fit. Choose containers with proper drainage to prevent waterlogging. Consider shallow trays or containers with good aeration to encourage healthy root growth.
Seeds are the stars of the show, and selecting the right ones sets the stage for success. Factors like growth time, flavor, and appearance all play a role. Research different microgreens varieties to find ones that align with your preferences and desired outcomes.
In the world of microgreens, seed quality reigns supreme. High-quality seeds ensure consistent and robust growth. Look for reputable seed suppliers to guarantee viability, germination rates, and freedom from contaminants.
Maintaining Long-Term Soil Health for Microgreens
Cultivating thriving microgreens goes beyond initial growth; it hinges on sustaining long-term soil health. A robust soil foundation ensures consistent vitality and yields, making thoughtful maintenance paramount.
First, embrace crop rotation. Alternating microgreen varieties prevents soil depletion and reduces the risk of pests and diseases becoming entrenched. Secondly, harness the power of cover crops. Intercropping with plants like clover or buckwheat enhances soil structure, retains moisture, and adds valuable organic matter through natural decomposition.
Furthermore, adopt a judicious approach to watering. Overwatering can suffocate the soil and invite fungal growth, while underwatering impedes nutrient absorption. Employ a drip irrigation system for precise moisture control. Regularly monitor soil pH and nutrient levels, adjusting as needed to cater to microgreens’ evolving demands. In the quest for sustainable success, it’s crucial to treat soil as a living, evolving entity that requires dedicated care to ensure microgreens flourish over the long haul.
Conclusion
Sterilizing soil for microgreens is a crucial step that ensures a healthy and thriving harvest. By following this step-by-step guide, you can eliminate harmful pathogens and provide your microgreens with the best possible growing conditions. Remember to choose the right soil, gather the necessary supplies, and follow the recommended microwave settings for your desired amount of soil. With proper care and attention, you’ll be well on your way to enjoying a bountiful and delicious crop of microgreens right from your own kitchen! Happy growing!
FAQs on Freeze-Drying as a Technique for Soil Sterilization
Why is soil sterilization important for microgreens?
Soil sterilization eliminates harmful pathogens and contaminants that can hinder microgreens’ growth, ensuring a healthier and more productive harvest.
Can I use my garden soil for microgreens without sterilization?
Using garden soil without sterilization increases the risk of introducing contaminants that can harm microgreens. It’s recommended to sterilize or use a sterile growing medium.
Is chemical sterilization safe for microgreens?
Chemical sterilization can be effective, but residues may affect microgreens or the environment. Follow recommended dosages and consider natural alternatives if possible.
How frequently should I sterilize the soil for successive microgreens batches?
The sterilization frequency depends on factors like contamination risk, soil quality, and the specific microgreens being cultivated. As a general guideline, sterilize between batches or as needed.
Can I sterilize soil in the microwave?
Yes, microwaving soil is a viable sterilization method, but it requires careful monitoring to ensure even heating and prevent soil overheating or burning.
Can I sterilize soil naturally without using heat or chemicals?
Yes, you can use solarization, which involves covering moist soil with clear plastic to heat it using the sun’s energy, effectively killing pathogens and weed seeds.

