Reviving Your Bay Tree in Pot: A Step-by-Step Guide to Bring It Back to Life
I’ve always found something magical about bay trees. Maybe it’s the way they can transform a humble stew into a fragrant feast or how they bring a Mediterranean vibe to any patio. But if you’re anything like me, you’ve also faced the heartbreak of watching your beloved bay tree struggle in its pot.
One minute, it’s thriving with glossy green leaves, and the next, it’s looking more like a Charlie Brown Christmas tree. Don’t fret—I’ve been there, and I’ve got your back. Let’s roll up our sleeves and get that bay tree back on track.
Understanding Bay Tree in Pot
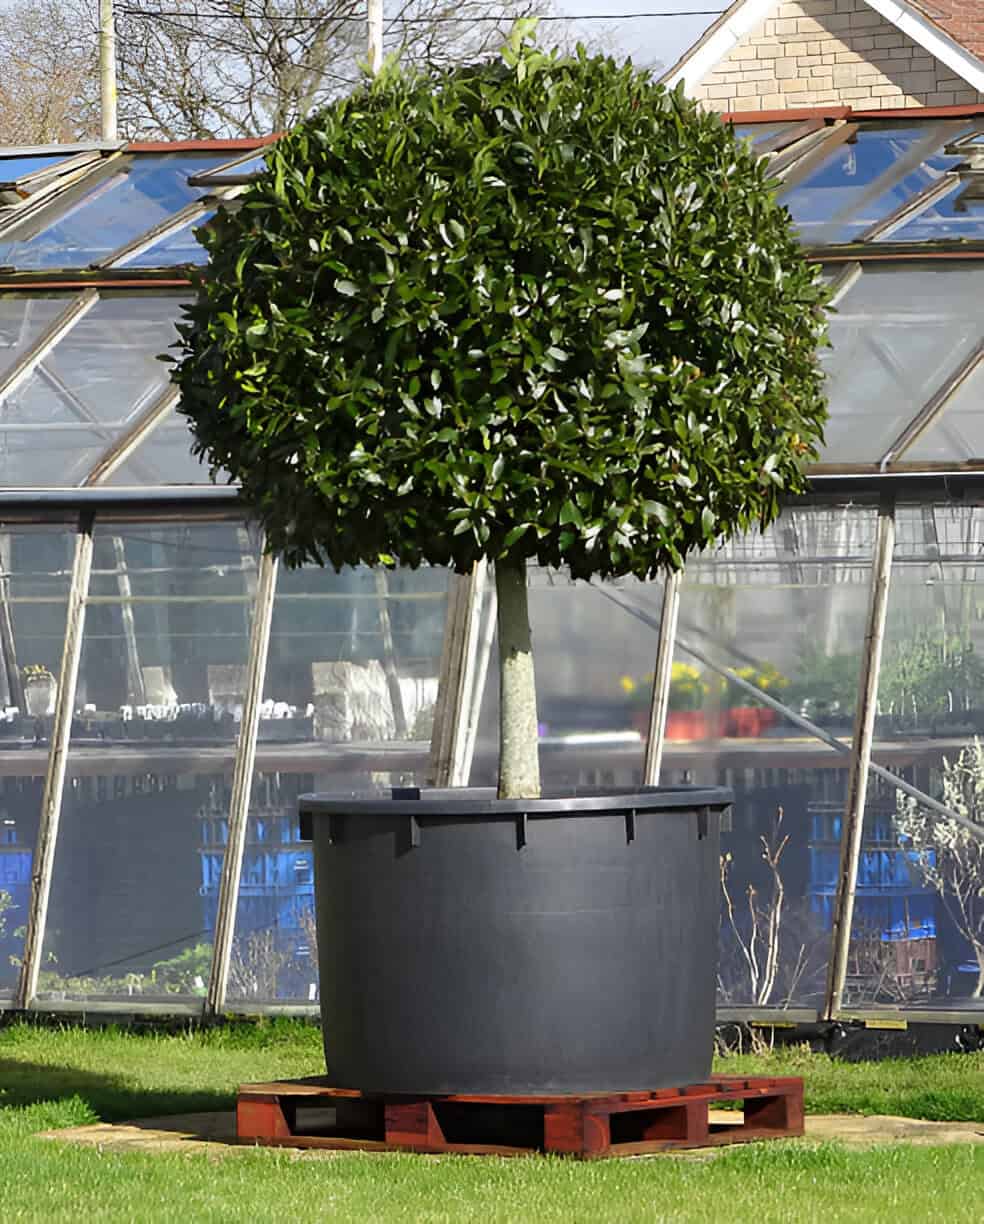
A potted bay tree, also known as bay laurel, is a favorite for home cooks and gardeners alike. Its glossy green leaves add a touch of elegance to patios and kitchens while providing fresh seasoning for countless dishes. Keeping a bay tree healthy in a pot takes a bit of know-how.
These trees prefer well-draining soil and a container with good airflow around the roots. They thrive in full sun but appreciate some shelter from harsh winds and extreme heat.
To check if your bay tree is healthy, watch for signs like lush green leaves and steady new growth. Yellowing leaves, root rot, or drooping branches often mean it needs more care.
| Growing Tip | What to Do |
| Drainage | Use a pot with drainage holes |
| Sunlight | Place in full sun with some shelter |
| Watering | Water when top soil feels dry |
With the right setup, your potted bay tree will thrive year-round.
Why Do Potted Bay Trees Struggle?
First things first—why do these resilient-looking trees even need saving in the first place? Bay trees in pots can be divas. They love well-draining soil, but not too dry. They crave sunlight but not the blazing afternoon sun. And let’s not even get started on their dislike for frost! When your bay tree starts to look sad, it’s usually a cry for help. Whether it’s yellowing leaves, drooping branches, or a general vibe of neglect, it’s time to play plant detective. Is it thirsty? Overwatered? Root-bound? Knowing what’s going wrong is half the battle, so let’s dig into those clues.
Step 1: Assess the Situation
The first step in reviving your bay tree is to assess the situation. Grab a cup of coffee, sit next to your tree, and take a good look. Are the leaves yellow or brown? Is the soil dry, or does it feel soggy?
Sometimes, you might even spot critters making a home on those sad-looking leaves. All these signs point to the underlying issues: overwatering, underwatering, poor drainage, lack of sunlight, or pest infestations. A little detective work here goes a long way.
- Soil Check: Stick your finger about an inch into the soil. If your tree feels extremely dry, it may be suffering from parching. If it’s wet and heavy, overwatering could be the culprit.
- Leaf Inspection: Brown, crispy leaves? Likely a sunburn or underwatering. Yellow leaves? Could be poor drainage or a nutrient deficiency.
- Pot Condition: Is your pot too small? A root-bound bay tree will struggle no matter how well you water or feed it.
| Read: Sweet Bay Magnolia (Magnolia Virginiana): Plant Care and Growing Guide |
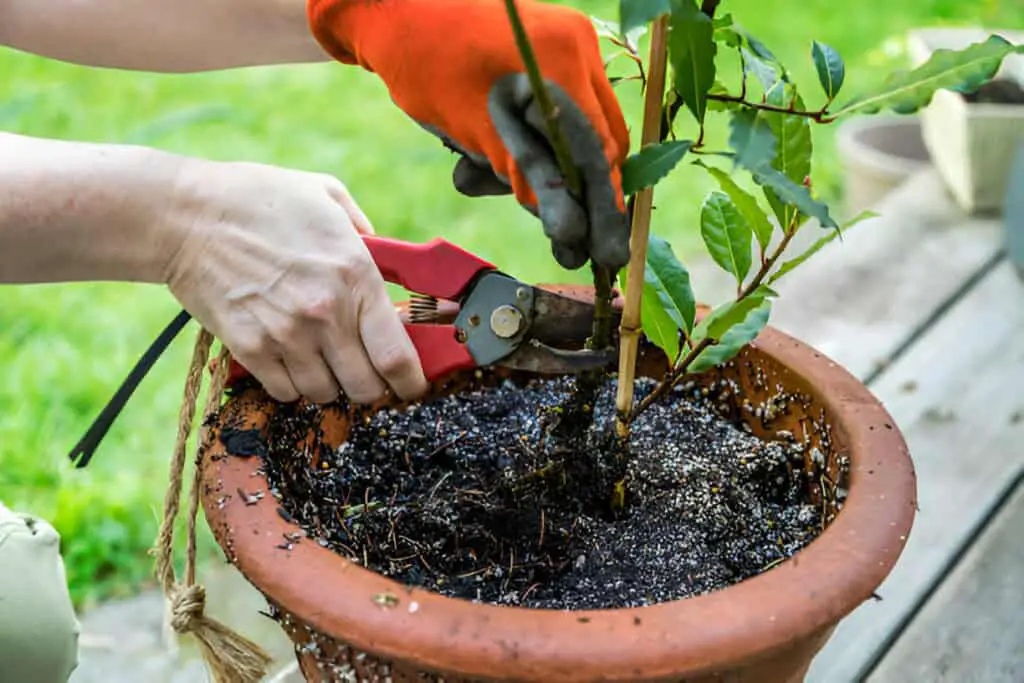
Step 2: Re-Potting and Soil Adjustment
Once you’ve identified the problem, it’s time to roll up your sleeves and get your hands dirty—literally. If you suspect the pot is the issue, consider repotting your bay tree into a slightly larger container with good drainage.
I once made the mistake of using a pot without holes, and boy, did I pay the price! Bay trees despise sitting in waterlogged soil, so choose a pot with ample drainage holes and fresh, well-draining soil. I like to mix a bit of perlite or sand into regular potting soil to ensure my bay tree roots can breathe.
- Choosing the Right Pot: Go for a pot that’s just a couple of inches wider than the current one. Too much space can cause water retention, leading to root rot.
- Soil Mix: Use a well-draining mix. I usually go for a blend of potting soil, sand, and perlite—think 60% potting soil, 20% sand, and 20% perlite.
| Pot Size | Recommended Soil Mix | Drainage Level |
| 2 inches larger | 60% potting soil, 20% sand, 20% perlite | High |
| 4 inches larger | 50% potting soil, 25% sand, 25% perlite | Medium |
Step 3: Watering Wisely
Watering can be a bit of a Goldilocks scenario—not too much, not too little, but just right. Bay trees like their soil to be consistently moist but not soggy. After repotting, water the tree thoroughly and then let the top inch of soil dry out before the next watering.
I keep a little reminder on my phone to check the soil every few days. Over the years, I’ve learned that using a moisture meter saves a lot of guesswork, especially in those awkward seasons when you’re not sure if it’s too warm or too cool.
- Water Deeply: When watering, make sure to do it deeply so that water reaches the bottom roots. A shallow sprinkle won’t cut it for bay trees.
- Drain Excess Water: Always empty the saucer under the pot after watering. Standing water can lead to root rot faster than you can say “wilted leaves.”
Step 4: Sunlight and Placement
Bay trees are sun worshippers, but even they have their limits. While they thrive in bright light, they can’t handle direct, scorching sun for long hours, especially when they’re in pots. I found a sweet spot on my patio that gets morning sun and afternoon shade, and my bay tree has never been happier. If you’re moving your tree, do it gradually to avoid shocking it with a sudden change in light levels.
- Optimal Light: Aim for 6-8 hours of bright, indirect sunlight. Avoid placing your bay tree directly against a hot, south-facing wall.
- Seasonal Moves: During winter, consider moving your potted bay tree indoors or to a sheltered spot to protect it from frost.
| Check out: Compact Rosebay Rhododendron: Plant Care and Growing Guide |
Step 5: Feed and Prune
Let’s talk food—plant food, that is. Your bay tree needs a steady diet of nutrients, especially when it’s potted. A balanced, slow-release fertilizer works wonders. I usually feed my bay tree in spring and summer with a fertilizer that’s high in nitrogen. Pruning is another game-changer. It not only shapes your tree but also encourages new growth. Snip away any dead, diseased, or crossing branches to give your bay tree a fresh start.
- Feeding Schedule: Fertilize every 6-8 weeks during the growing season with a balanced fertilizer. Skip the feeding in fall and winter.
- Pruning Tips: Always prune in early spring or after the risk of frost has passed. Use clean, sharp shears to make neat cuts.
| Season | Fertilizer Type | Pruning Advice |
| Spring | Balanced, slow-release | Prune lightly, shape the canopy |
| Summer | Nitrogen-rich | Prune dead or diseased branches |
| Fall/Winter | None | Avoid heavy pruning |

Step 6: Dealing with Pests
Bay trees can attract unwanted guests like aphids, scale, and spider mites. I once found my tree covered in a sticky residue—sure enough, aphids had made themselves at home. A good rinse with a hose followed by a neem oil spray usually does the trick for most pests. Keep an eye on your tree, especially during the growing season, and act quickly if you see any signs of infestation.
- Aphids and Scale: Remove with a strong blast of water or use insecticidal soap.
- Spider Mites: Treat with neem oil or a mixture of dish soap and water sprayed on the affected areas.
Conclusion: Stay Patient and Persistent
Reviving a struggling bay tree in a pot isn’t a one-and-done deal. It takes patience, observation, and a bit of trial and error. But trust me, there’s nothing quite like seeing those first new shoots of growth after you’ve put in the effort. So, hang in there, give your bay tree the care it needs, and soon enough, it’ll reward you with lush foliage and that unmistakable bay aroma that’s perfect for the kitchen and the soul.