How to Prevent New Sod From Drying Out (Keep Fresh and Hydrated)
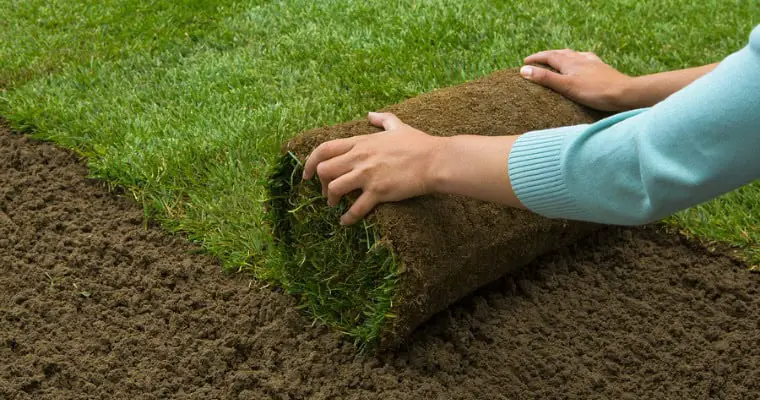
When I first laid sod in my yard, I was filled with excitement. I could already envision a lush, green lawn where my kids could play and my friends could gather for barbecues. However, I quickly learned that the journey to that perfect lawn came with its own set of challenges. One of the biggest hurdles?
Keeping that new sod from drying out. Just like a new plant in a garden, fresh sod needs extra attention to thrive. So, grab your watering can, and let’s dive into how to keep your sod hydrated and happy.
Understanding Your New Sod
New sod is a bit like a toddler—it requires a lot of care and attention to flourish. When you install sod, you essentially introduce a new living organism to your yard. Fresh sod consists of grass that has been cut from a mature lawn, along with its roots and soil.
During the first few weeks after installation, the sod undergoes a critical process called “establishment.” This period is essential for the sod to root itself into the ground and adapt to its new environment.
Table 1: Key Factors Affecting New Sod Health
| Factor | Description |
| Soil Type | The type of soil can affect moisture retention. |
| Weather Conditions | Hot sun and wind can quickly dry out sod. |
| Watering Schedule | Frequency and amount of water are crucial. |
| Sod Type | Different grasses have varying water needs. |
Why Watering Matters
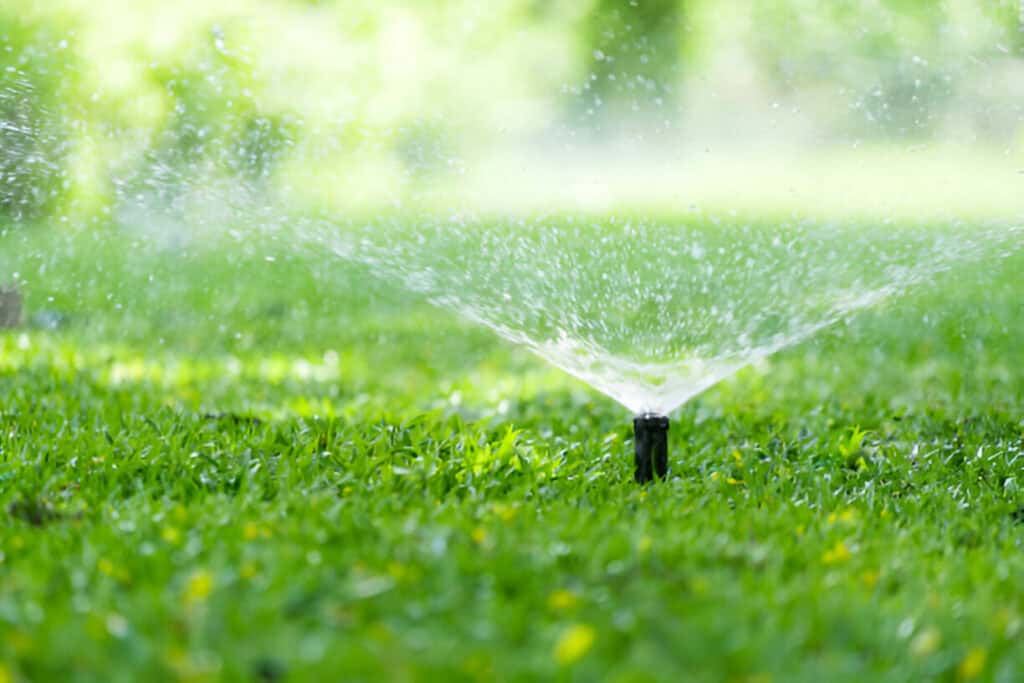
Proper watering is the lifeblood of new sod. It’s all about creating a healthy environment where those tender roots can dig in and grow. When you first lay sod, the grass blades are still in shock. They’ve just been uprooted from their previous home, and they need time to recover.
If you don’t keep the sod adequately watered, you risk losing it to drought stress, which can lead to yellowing, wilting, or even death of the grass. Nobody wants to watch their investment go up in smoke, right?
The Watering Schedule
Finding the right watering schedule is like finding the perfect rhythm in a song—too much, and you drown; too little, and the music fades. For new sod, aim to keep the topsoil consistently moist for the first two to three weeks. Here’s what I’ve found works best:
- Days 1-3: Watering twice a day is ideal. I usually do it in the morning and late afternoon to ensure the sod stays hydrated without getting scorched by the midday sun.
- Days 4-14: Gradually reduce your watering to once a day, still ensuring that the sod gets about 1 inch of water per week.
- After 14 days: By this point, the roots should start establishing themselves. I shift to watering every two to three days, depending on weather conditions.
Table 2: Suggested Watering Schedule
| Days | Frequency | Water Amount |
| Days 1-3 | Twice daily | Light misting |
| Days 4-14 | Once daily | 1 inch per week |
| After Day 14 | Every 2-3 days | Adjust based on weather |
Choosing the Right Time to Water
Timing is everything. I’ve learned that watering in the early morning or late afternoon works wonders. When the sun’s blazing high, watering can lead to evaporation before the sod absorbs the moisture. This not only wastes water but also leaves your sod parched.
In the mornings, the grass has time to soak up the moisture before the heat sets in. If you need to water in the evening, do it early enough to allow the grass to dry before nighttime to prevent fungal diseases.
Factors Influencing Water Needs
As I became more familiar with my sod, I realized that several factors can influence how much water it needs. For instance, the type of grass you choose matters. Kentucky bluegrass, for example, tends to need more water than fescue. Additionally, if the weather is particularly hot and windy, your sod will need extra attention.
Wind can dry out the surface quickly, so I often check my sod on windy days and give it a little more love.
Soil Preparation: The Foundation of Success
Before even laying sod, proper soil preparation is crucial. Think of it as laying a solid foundation for a house. If the foundation is weak, the house won’t stand strong. I always ensure my soil is well-aerated and rich in organic matter.
Amending the soil with compost helps retain moisture and provides nutrients that support the new sod. This extra step makes a world of difference when it comes to keeping that sod hydrated.
Mulching Techniques
Adding a layer of mulch around the edges of your sod can be a game-changer. Mulch acts like a protective blanket, retaining moisture in the soil while preventing weeds. While I keep mulch away from the sod’s edges to allow it to breathe, using it strategically in flower beds or alongside sidewalks helps maintain moisture levels without overcrowding.
Aerate Before Laying
Aerating your soil before laying sod is a game changer for achieving a lush, green lawn. This process involves perforating the soil with small holes, which allows air, water, and nutrients to penetrate deeper. While many people associate aeration with seeding, it plays a crucial role in sod installation as well. By creating a welcoming environment for your new grass, you set the stage for healthy growth right from the start.
When you aerate the soil, you’re essentially giving it a little facelift. The small holes help hold the sod in place, ensuring that it makes good contact with the soil. This not only encourages faster rooting but also promotes healthier grass growth. Think of it as giving your new lawn a head start in the race toward a vibrant and robust appearance.
The real magic happens with the root systems of the sod. By allowing the roots to extend deeper into the aerated soil, you enhance their ability to absorb moisture effectively. This means that when the sun beats down or when the weather turns dry, your sod will have a better chance of accessing the water it needs to stay healthy.
Lower the pH
Lowering the pH level of your soil is a crucial step in keeping newly laid sod healthy and hydrated. Most sod varieties thrive in slightly acidic conditions, which typically means a pH range of about 6 to 7.
When the soil is too alkaline, it can hinder the sod’s ability to absorb water and nutrients effectively, leaving it vulnerable to drying out. Think of your sod as a plant on a tightrope; if the soil’s pH tilts too far toward the alkaline side, it risks falling off balance and struggling to flourish.
To get the most out of your sod, it’s essential to test your soil’s pH before laying it down. You can easily purchase a soil testing kit from your local garden center or send a sample to a lab for a more comprehensive analysis. If your soil’s pH reads above 7, consider applying soil amendments like sulfur or peat moss, which can help lower the pH.
Incorporating these amendments into your soil a few weeks before laying the sod allows time for the changes to take effect, setting a solid foundation for your new lawn.
While soil can adapt to a range of conditions, a well-balanced pH creates the ideal environment for your sod to thrive. With the right acidity, your sod can access the moisture it needs without unnecessary stress. So, take the time to prepare your soil properly; it’s like giving your lawn a cozy blanket that keeps it warm and nourished, ensuring it stays lush and vibrant throughout the seasons.
Keep an Eye on the Weather
Weather can be as unpredictable as a cat on a hot tin roof. Monitoring local forecasts helps me anticipate any extreme conditions that might require extra care for my sod. During particularly dry spells, I may need to step up my watering game. Conversely, after a heavy rain, I might hold off for a couple of days to avoid overwatering. Keeping a close eye on the sky can save me from unnecessary headaches down the road.
Signs of Stress
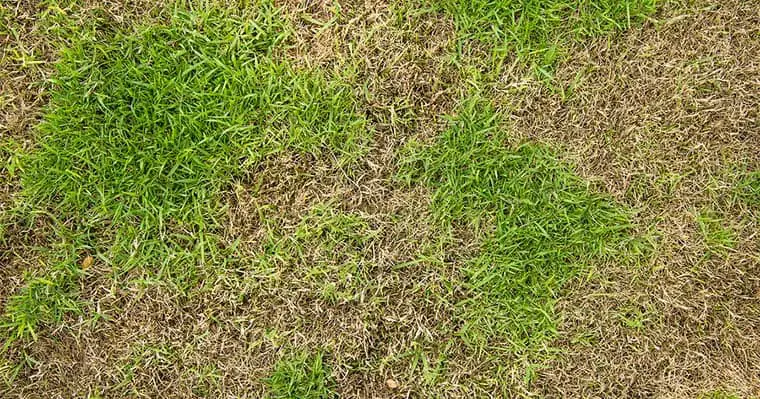
Being proactive is key. Learning to spot the signs of stress in new sod is critical for its survival. If I see the grass turning yellow, wilting, or developing brown patches, I know it’s time to take action. Similarly, if I notice footprints lingering on the grass, it’s a clear sign that it’s time to water. Staying vigilant allows me to address any issues before they escalate.
Table 3: Signs of Sod Stress
| Sign | Possible Cause |
| Yellowing grass | Lack of water or nutrients |
| Wilting grass | Overwatering or drought |
| Footprints remain | Soil too dry |
Fertilization: Timing is Everything
While it’s important to keep sod hydrated, I’ve found that fertilizing it properly also plays a vital role in its overall health. Using a starter fertilizer high in phosphorus helps promote root growth during those early days. However, I wait about two to three weeks after installation before applying fertilizer. This allows the sod to settle in without overwhelming it with nutrients right away.
Conclusion: A Flourishing Future
In the end, keeping new sod from drying out isn’t rocket science, but it does require a bit of commitment and awareness. With the right watering schedule, soil preparation, and vigilance, I’ve managed to cultivate a vibrant lawn that I can enjoy for years to come. Every step, from choosing the right time to water to recognizing the signs of stress, contributes to the overall health of my sod.
So, roll up your sleeves and give your new sod the love it deserves. Remember, it’s not just grass; it’s the foundation of a beautiful outdoor space where memories are made. Happy gardening!


