How to Move a Plum Tree Without Killing It: Transplanting Step-by-Step
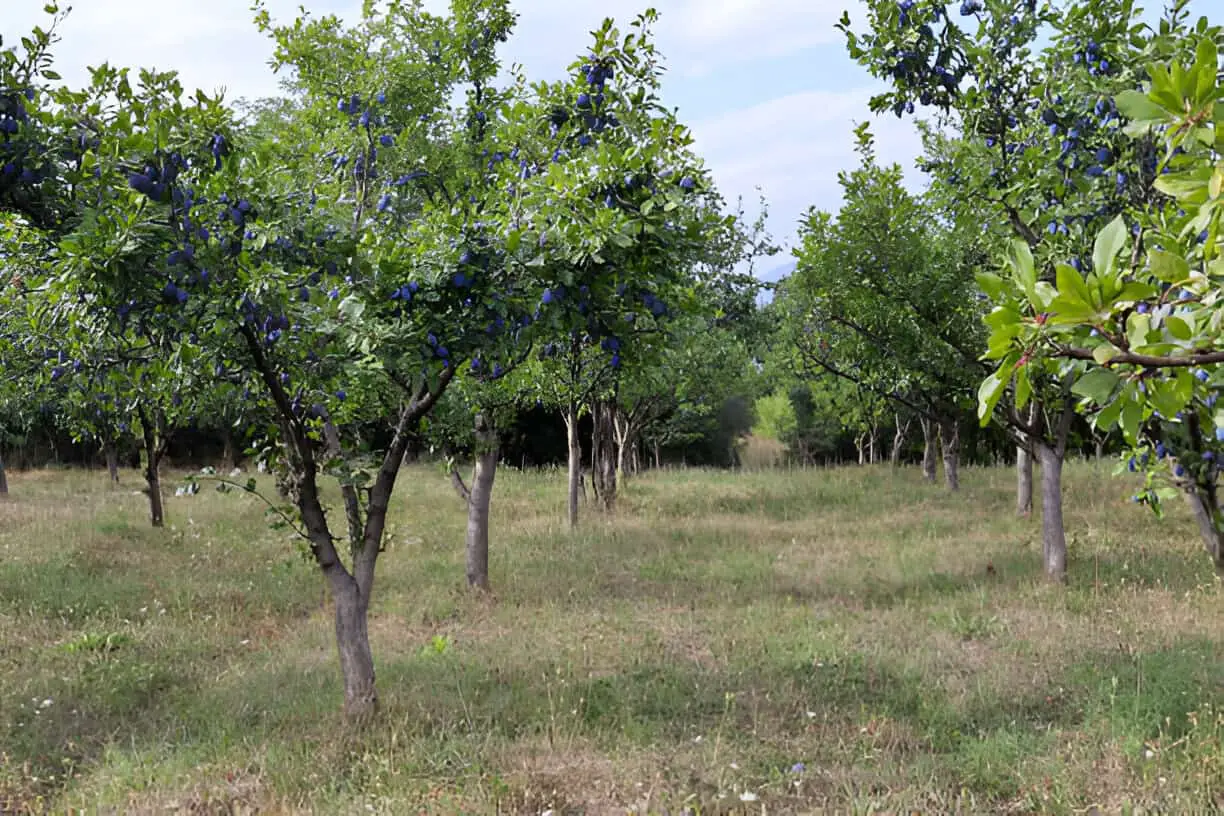
I never thought I’d find myself digging up a tree I’d watched grow for years, but life (and landscaping) has a way of throwing curveballs. When the time came to relocate my beloved plum tree, it felt less like gardening and more like performing delicate surgery. Its roots were deep, its branches wide, and every leaf felt like it held a memory. Moving it felt like trying to shift a sleeping giant without waking it grumpy. But as intimidating as it seemed, I found that—with patience and the right know-how—the process could be smoother than expected.
Have you ever stood over a shovel, second-guessing whether your plum tree will survive the move? You’re not alone. Transplanting any tree can feel risky, especially one as cherished and finicky as a plum. But there are proven steps and timing tricks that can make the journey less stressful—for both you and the tree.
In this post, I’ll walk you through exactly how to transplant a plum tree safely and successfully. You’ll learn when to move it, how to protect the roots, and how to settle it into its new spot with care. If you want to avoid transplant shock, leaf loss, or worse—this guide will give you the confidence to move with no regret.
Preparing for the Move: Timing is Everything
When it comes to moving a plum tree, timing can make or break the entire process. I discovered this firsthand when I made the rookie mistake of attempting a transplant during the sweltering summer months. The intense heat put the tree under unnecessary stress, leading to wilted leaves and stunted growth.
The best time to transplant a plum tree is during its dormant period, which usually falls in late fall or early spring. During these times, the tree is essentially “asleep,” which significantly reduces the stress associated with being uprooted and relocated.
Table: Ideal Transplanting Seasons
| Season | Dormant Periods | Tree Stress Level |
| Late Fall | High | Low |
| Early Spring | High | Low |
| Summer | Low | High |
Choosing the right season ensures the tree has the best chance of settling into its new location with minimal shock, paving the way for healthy growth and a successful transplant.
| Read: Are Plum Trees Messy? Here’s What You Need to Know Before Planting One |
Gathering Your Tools: The Tree Mover’s Toolkit
Ensure you have the necessary tools before you begin. Here’s a list of what you’ll need:
- Shovel
- Pruning shears
- Burlap or a tarp
- Watering can
- Mulch
Having these tools on hand will make the process smoother and more efficient.
Best Location to Relocate a Plum Tree
Choosing the best location to relocate a plum tree is key to its long-term health and fruit production. Plum trees love sunlight, so aim for a spot that gets at least 6 to 8 hours of direct sunlight each day. A sunny, open area not only helps the tree thrive but also boosts fruit quality.
Good air circulation is also essential to reduce the risk of fungal diseases. Avoid cramped corners or low-lying areas where cold air or moisture may linger. Instead, choose a slightly elevated space with good drainage to prevent root rot.
Here’s a quick location guide:
| Requirement | Ideal Condition |
| Sunlight | 6–8 hours full sun |
| Soil Drainage | Well-drained, loamy soil |
| Air Circulation | Open space with steady airflow |
| Protection | Shelter from strong winds |
Planting near a south-facing wall can help protect young trees from cold winds while keeping them warm through early spring.
Pruning the Tree: A Necessary Haircut
Pruning might seem counterintuitive when you’re about to move a tree, but trust me, it’s crucial. Trim back about a third of the branches. This reduces the tree’s water demand, helping it cope better in its new spot. Think of it as giving the tree a fresh haircut before its big move.
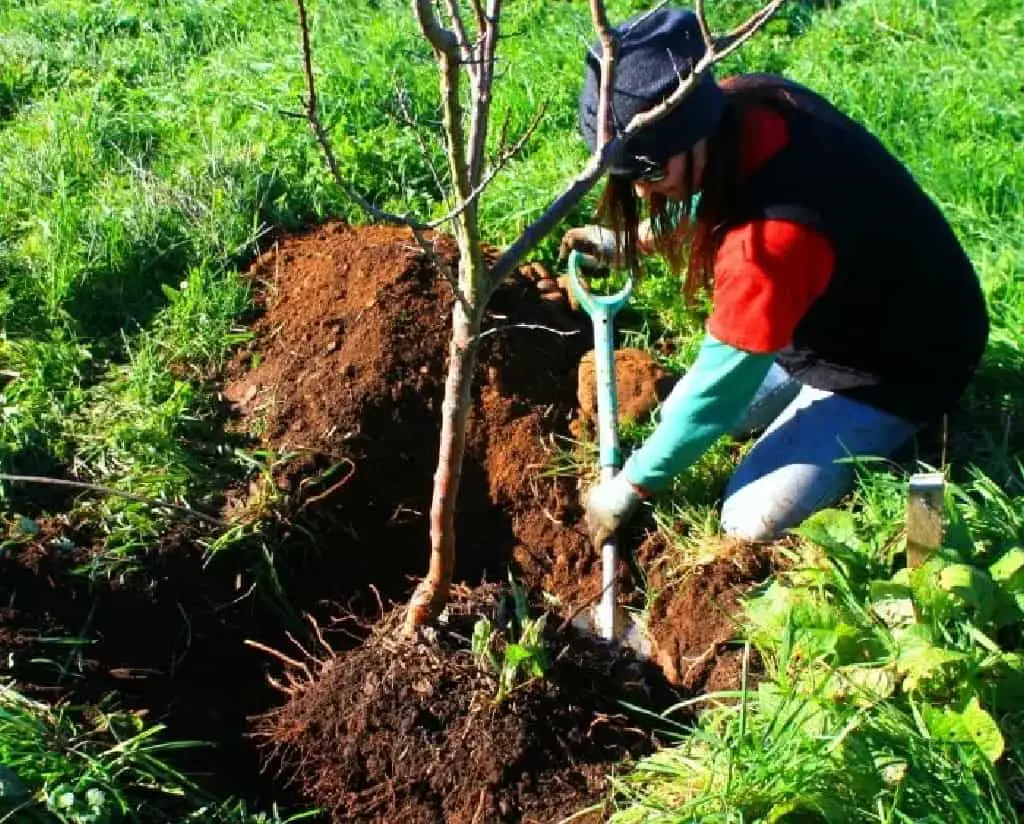
Digging Up the Tree: The Big Uproot
Now comes the heavy lifting—literally. Start by digging a trench around the tree, about two feet from the trunk. The goal is to get as much of the root ball as possible. Here’s how to do it:
- Dig a Trench: Create a circular trench around the tree, about two feet deep.
- Loosen the Roots: Gently wiggle the tree to loosen the roots from the soil.
- Lift the Tree: Carefully lift the tree from its hole, keeping the root ball intact.
Table: Root Ball Size Guidelines
| Tree Size | Root Ball Diameter | Root Ball Depth |
| Small (under 5ft) | 12-18 inches | 12 inches |
| Medium (5-10ft) | 18-24 inches | 18 inches |
| Large (over 10ft) | 24-36 inches | 24 inches |
Transporting the Tree: Keeping It Safe
Once you’ve freed your plum tree, the next challenge is getting it to its new location without damaging the roots. Lay the tree on a tarp or burlap to protect the root ball. This step is like wrapping a precious gift; you want to make sure it arrives in perfect condition.
Replanting the Tree: A New Beginning
When you get to the new location, dig a hole that’s twice as wide but the same depth as the root ball. This gives the roots room to spread out comfortably. Place the tree in the hole, making sure it’s upright. Then, backfill the hole with the soil you removed, pressing it down gently to eliminate air pockets.
Watering and Mulching: The Final Touches
Right after replanting, give the tree a deep watering to help settle the soil around the roots. Adding a layer of mulch around the base of the tree helps retain moisture and keeps the roots cool. It’s like tucking your tree in with a cozy blanket.
Plum Tree Post-Move Care: Helping Your Tree Thrive
After moving your plum tree to its new home, the real work begins. It’s essential to give it extra attention in the first few weeks to ensure it settles in properly. One of the most critical aspects of post-move care is watering. Your tree will need regular hydration to help its roots recover from the transplant shock. Aim to water deeply and consistently, keeping the soil moist but not soggy.
Keep a close watch on your plum tree during this period of adjustment. Look for signs of stress, such as yellowing leaves, wilting, or drooping branches. These can indicate that your tree is struggling to adapt. If you notice any of these issues, it’s a signal to adjust your care routine. Adjusting the water frequency or adding a little more shade may be beneficial in certain situations.
Quick Tips for Post-Move Care:
- Water deeply, especially during dry spells.
- Avoid overwatering—ensure good drainage.
- Monitor for yellowing or wilting leaves.
- Adjust care based on tree’s response.
With patience and proper care, your plum tree will thrive in its new environment.
Conclusion: A Happy, Healthy Plum Tree
Although moving a plum tree may seem like a daunting task, adopting the right approach can guarantee a successful transplant. Remember, timing is key, preparation is essential, and post-move care will help your tree thrive in its new home. While each tree presents unique challenges, the satisfaction of witnessing its flourishing in its new location makes it all worthwhile.
FAQs on Moving a Plum Tree
Here are five frequently asked questions (FAQs) related to moving a plum tree, with concise answers and keywords included:
How long does it take for a plum tree to recover after transplanting?
Recovery can take a few weeks to a few months. Ensure regular watering and monitor for stress signs like wilting leaves.
Can I move a mature plum tree, or should I only transplant younger trees?
It’s possible to move a mature tree, but it’s more challenging. Younger trees have a better chance of adapting to the new location.
What is the best soil type for replanting a plum tree?
Plum trees thrive in well-draining, loamy soil rich in organic matter. Avoid waterlogged areas to prevent root rot.
How deep should I dig the hole for transplanting my plum tree?
The hole should be as deep as the root ball but twice as wide to allow roots to spread comfortably.
Is mulching necessary after transplanting a plum tree?
Yes, mulching helps retain moisture, regulate soil temperature, and reduce weed competition around the tree.