How to Build DIY Hobby Ventilation System for your Small Greenhouse
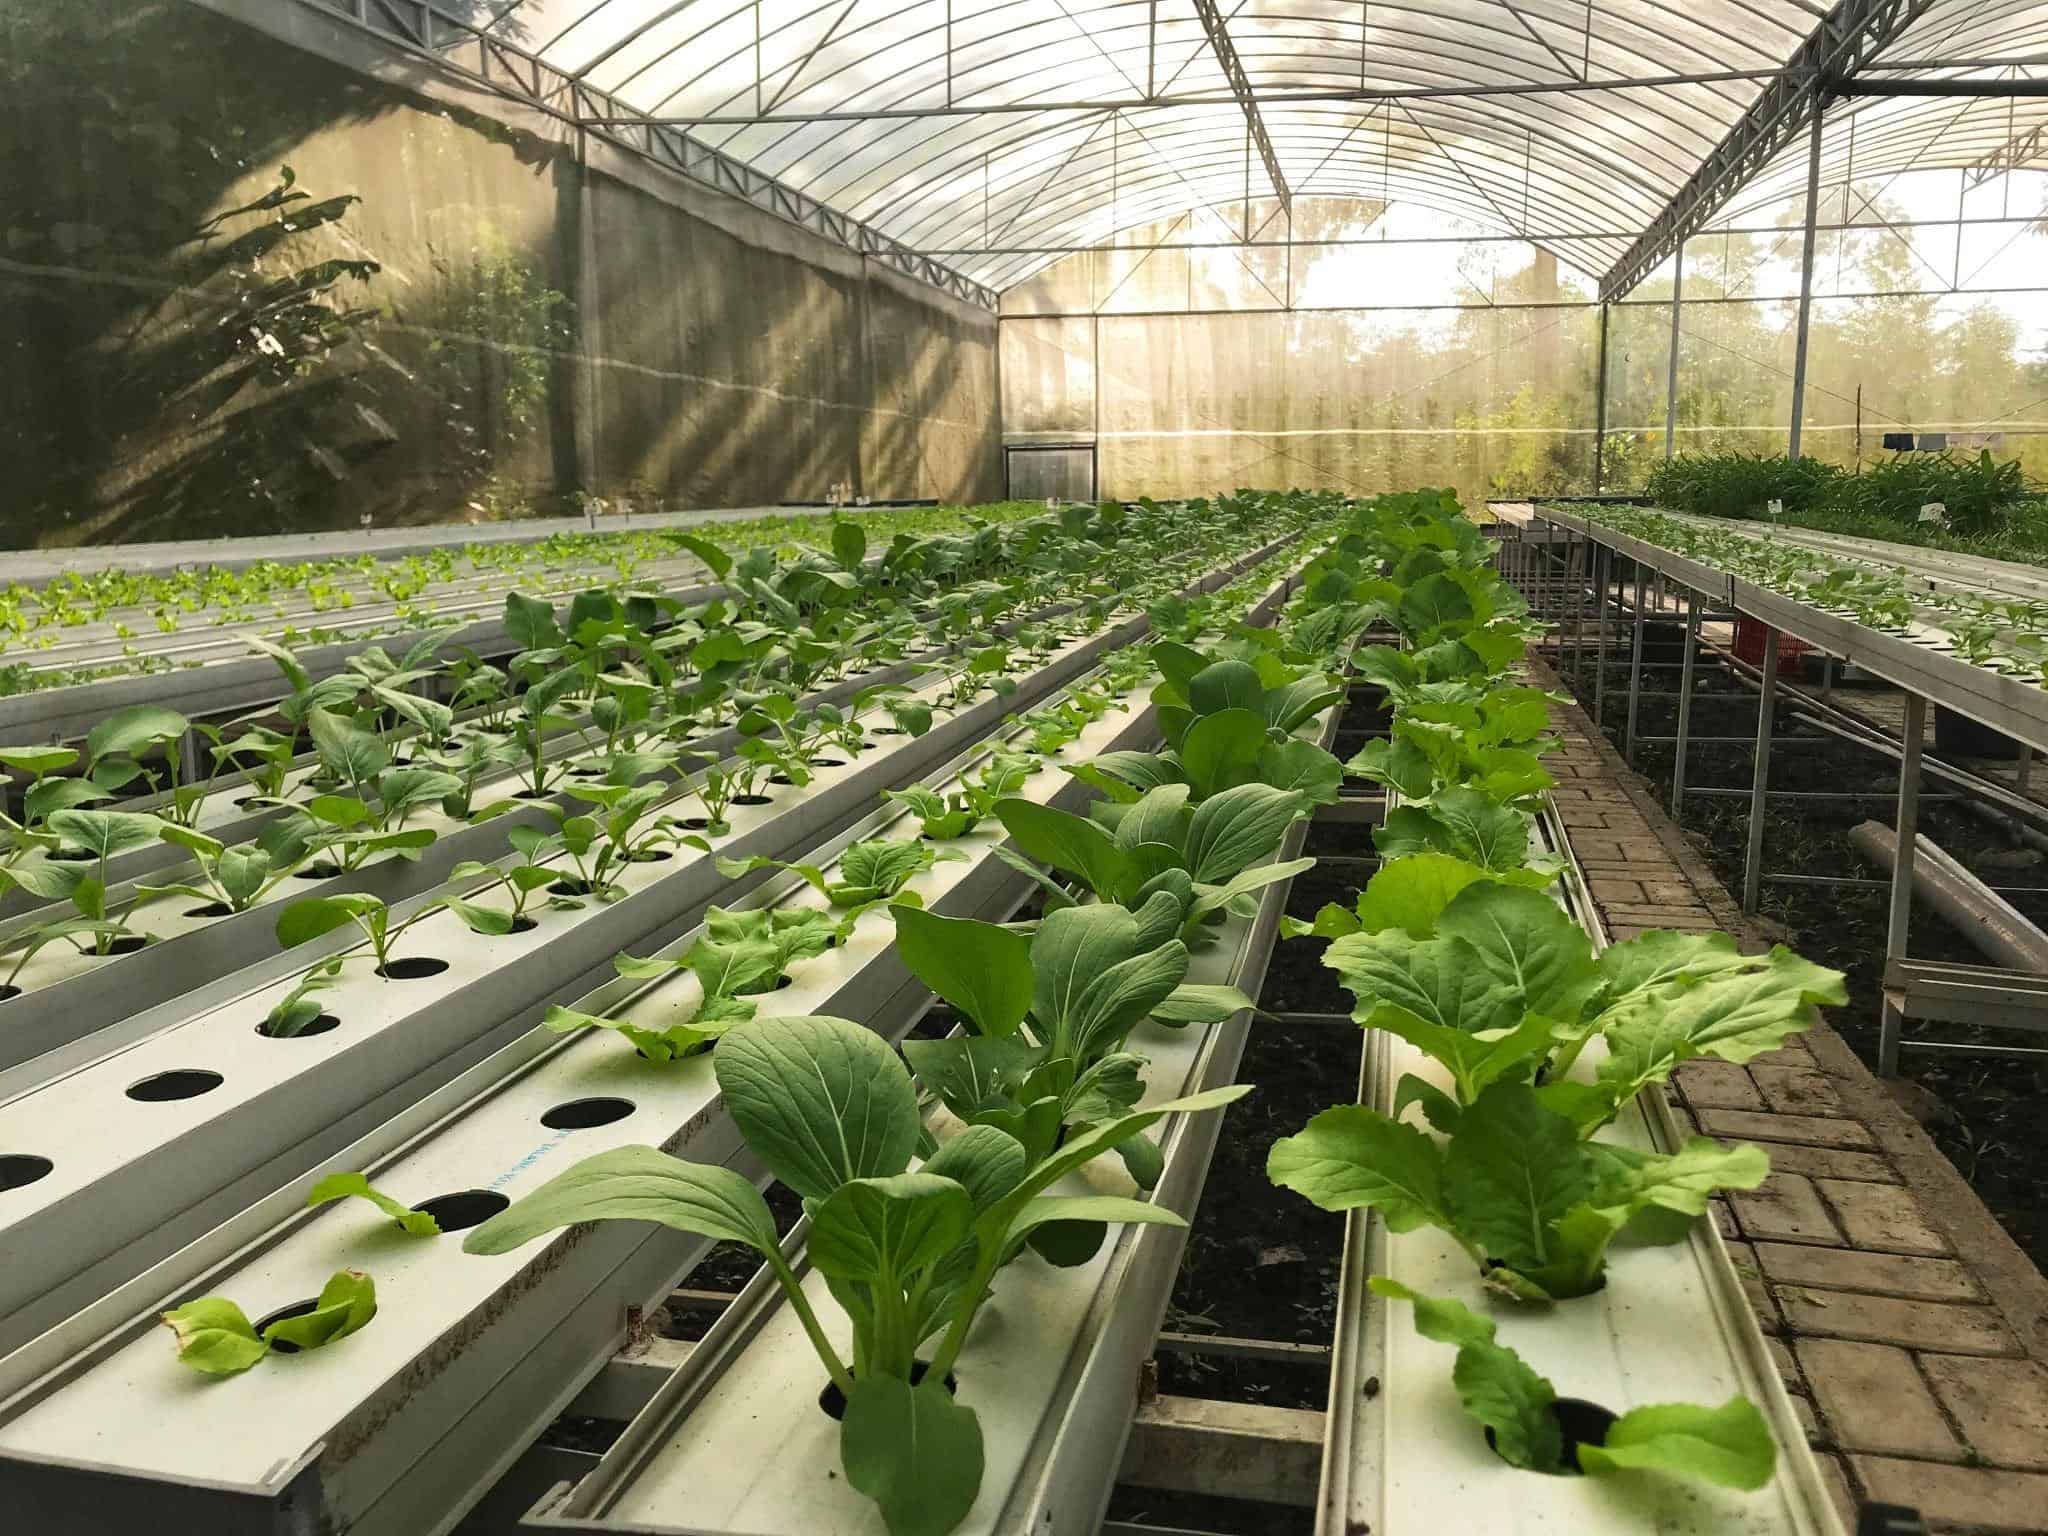
If you have a small greenhouse for your hobby gardening, you know how important it is to maintain proper ventilation. A well-ventilated greenhouse can keep your plants healthy and thriving. But, buying a commercial ventilation system can be costly.
The good news is that you can create your own DIY ventilation system without breaking the bank.
In this article, we’ll show you how to build a simple and effective hobby ventilation system for your small greenhouse. You can make it using cheap materials that are easy to find.
Why Does a Small Greenhouse Need Ventilation?
Before we dive into how to build a DIY hobby ventilation system, let’s first understand why ventilation is crucial for small greenhouses. A well-ventilated greenhouse helps control temperature and humidity. These factors are vital for your plants’ growth and health.
Having a small, well-ventilated greenhouse has several benefits. It helps plants grow in the best conditions possible by letting fresh air flow and keeping the temperature and humidity levels stable.
This can lead to healthier and more robust plants with higher yields. Additionally, a well-ventilated greenhouse can reduce the risk of plant diseases and pests, which can help reduce the need for harmful pesticides.
Furthermore, a well-ventilated greenhouse can also provide a more comfortable working environment for the gardener. It allows for fresh air to circulate and reduces the risk of heat stress, making it easier to work for longer periods.
Poor ventilation causes moisture and carbon dioxide to build up. This buildup can cause fungal diseases, stunted growth, and plant death.
| Read: Will Baking Soda Kill Fungus in Soil? |
DIY Hobby Ventilation Vs Commercial Store Bought Ventilation
To ventilate a hobby greenhouse, you have two options: DIY or store-bought ventilation. Every choice has pros and cons, and picking the best one depends on a number of things, such as your budget, time, and personal taste.
DIY hobby ventilation systems are an attractive option for many gardeners because they allow for customization and creativity. With a DIY system, gardeners can design and build a ventilation system that meets their specific needs and requirements.
This gives gardeners the freedom to make the most of their tools and space, no matter how big or small their greenhouse is. DIY systems are also usually less expensive than store-bought ones because they can be made with materials and tools that are easy to find.
However, building a DIY hobby ventilation system requires time, effort, and technical know-how. Gardeners need some mechanical or engineering skill. They need this to design and install a working ventilation system. In addition, DIY systems can have mistakes and malfunctions. These can harm plant health and yield if not fixed quickly.
On the other hand, commercial store-bought ventilation systems offer a convenient and reliable solution for hobby greenhouse owners. Professionals designed and built these systems, making sure they would last and work properly. Ventilation systems from the store also tend to have advanced features. These include sensors, timers, and controls that make it easier to keep plants in the best conditions for growth.
But, store-bought ventilation systems can be expensive. This is especially true for high-end models with advanced features. These systems can also be limiting in terms of customization, as gardeners have to choose from a limited range of models and features.
| Read: How To Sterilize Soil in a Greenhouse |
Materials Needed to Build DIY Hobby Ventilation
To build your DIY hobby ventilation system, you’ll need the following materials:
- 12-volt computer fan
- Power source (12-volt battery or AC adapter)
- PVC pipe (3-inch diameter)
- PVC elbow fittings (3-inch diameter)
- Wire nuts
- Screws
- Drill
- Screwdriver
Steps to Build a DIY Hobby Ventilation System
Now that you have your materials, follow these simple steps to build your DIY hobby ventilation system:
- Determine the placement of your ventilation system. You want to place it in a location that allows for optimal air circulation throughout your greenhouse.
- Measure and cut your PVC pipe to the desired length. The length will depend on the size of your greenhouse and the placement of your ventilation system.
- Attach the PVC elbow fittings to the ends of the PVC pipe. These fittings will help direct the airflow in the direction you want it to go.
- Drill a hole in the center of your PVC pipe that’s the same diameter as your computer fan.
- Insert the computer fan into the hole you just drilled, making sure it fits snugly.
- Connect the wire nuts to the computer fan wires and the power source wires.
- Attach the PVC pipe to your greenhouse using screws and a screwdriver. Make sure it’s securely fastened and level.
- Connect the power source to the computer fan and turn it on. You should feel a steady stream of air flowing through your ventilation system.
Tips for Optimizing Your DIY Hobby Ventilation System
Congratulations! You now have a functional DIY hobby ventilation system for your small greenhouse. But to ensure that it’s working at its best, here are some tips to keep in mind:
- Clean your ventilation system regularly. Dirt and debris can accumulate in your system, reducing its efficiency. Use a soft brush or compressed air to clean your system.
- Test your ventilation system regularly. Check the airflow and make adjustments as necessary. You may need to adjust the placement of your system or the angle of the PVC elbow fittings to optimize airflow.
- Use a timer to control your ventilation system. You don’t need to have your ventilation system running all the time. Use a timer to turn it on and off at specific intervals, depending on the temperature and humidity levels in your greenhouse.
Conclusion
Building your own DIY hobby ventilation system for your small greenhouse is a cheap and simple solution. It can help keep your plants healthy and thriving. You only need a few cheap materials and a bit of know-how. With them, you can make a ventilation system. It will control temperature and humidity, stop fungal diseases, and boost air quality.
Remember to test your system regularly and make adjustments as needed to ensure that it’s working at its best. Happy gardening!

