How Do You Keep the Bottom of a Backyard Shed from Rotting?
A backyard shed is like a loyal friend—it holds your tools, shields your lawnmower, and might even double as your weekend workshop. But if you don’t protect it, especially the bottom, it can rot away faster than an old tree stump in a rainstorm. Moisture, pests, and poor airflow all conspire to turn your sturdy structure into a crumbling mess.
So, how do you keep the bottom of your shed from rotting? It’s all about smart building choices, proper maintenance, and a few protective tricks. Let’s break it down step by step.
Why Do Shed Floors Rot?
Before we dive into solutions, let’s pinpoint the culprits behind shed rot.
1. Ground Moisture
Soil holds moisture, and when your shed sits directly on the ground, that moisture slowly seeps into the wood, leading to decay, mold, and warping.
2. Poor Airflow
Lack of ventilation traps damp air under your shed. Over time, this stagnant moisture turns your shed floor into a breeding ground for rot and mildew.
3. Inadequate Drainage
If water pools around your shed after every rainstorm, you’re asking for trouble. Standing water accelerates rot and invites unwanted pests like termites.
4. Lack of Protective Coatings
Raw, untreated wood doesn’t stand a chance against moisture. Without sealants or protective barriers, wood soaks up water like a sponge.
Best Ways to Keep Your Shed Floor Dry and Rot-Free
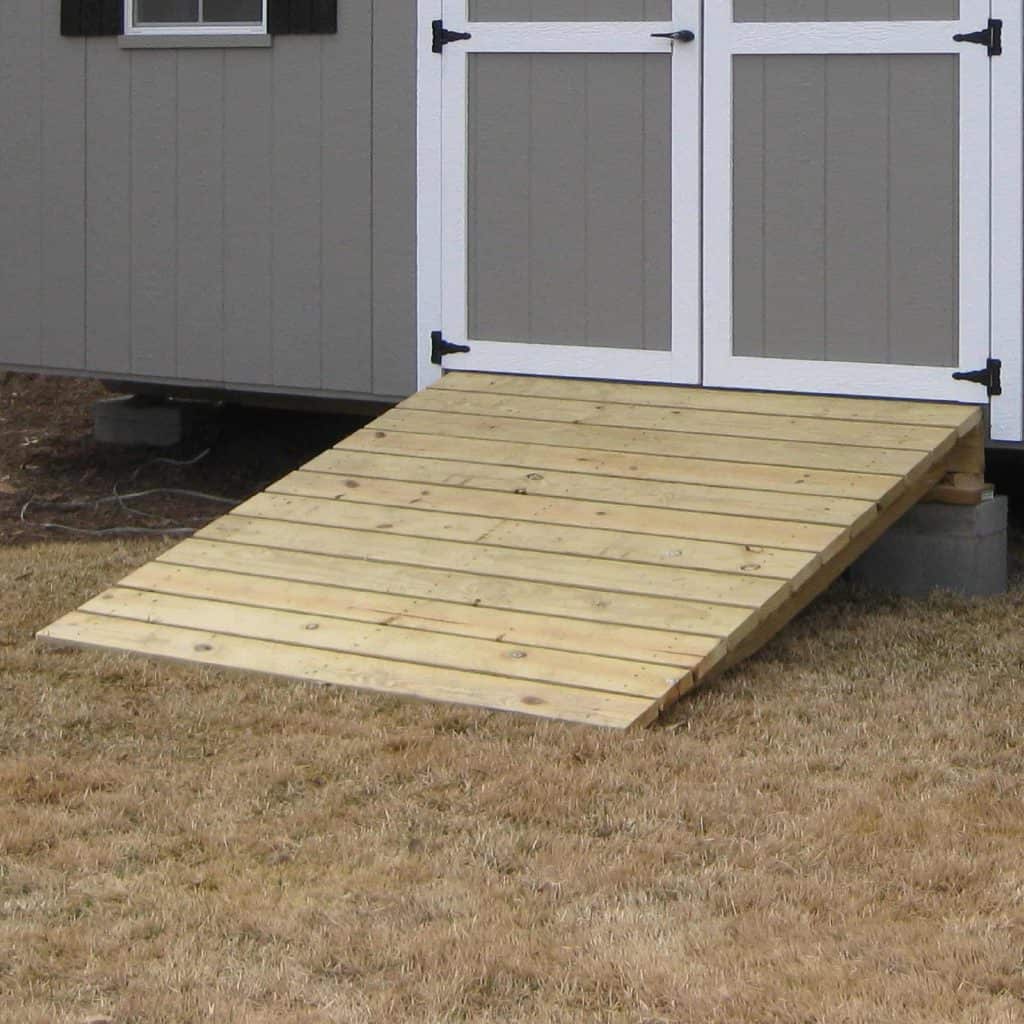
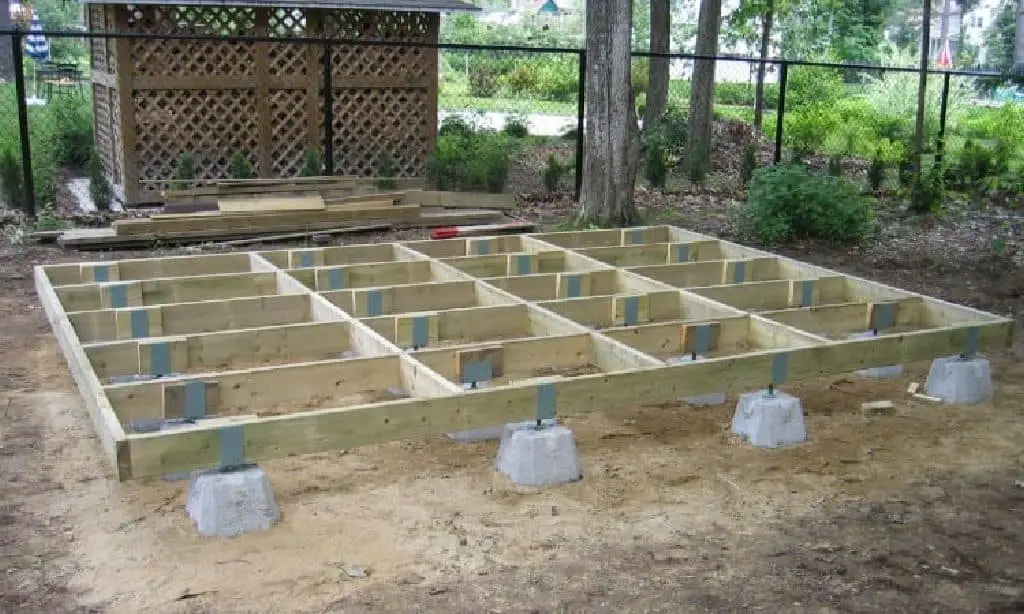
1. Elevate Your Shed
One of the simplest ways to protect your shed floor is to raise it off the ground. This reduces direct contact with moisture and improves airflow underneath.
| Elevation Method | Recommended Clearance | Best For |
| Concrete Slab | 2-4 inches | Permanent sheds |
| Gravel Pad | 4-6 inches | Drainage & stability |
| Concrete Blocks | 6-12 inches | Uneven ground |
| Skid/Foundation Beams | 12-18 inches | High moisture areas |
| Piers/Sonotubes | 12-24 inches | Heavy snowfall regions |
✔ Pro Tip: If you already have a shed sitting flat on the ground, you can still lift it with jacks and place blocks or skids underneath for better protection.
2. Improve Drainage Around the Shed
Even if your shed is elevated, you don’t want water pooling around its base.
- Slope the Ground Away – Ensure the land around your shed slopes away at least 6 inches over 10 feet.
- Install a Gravel Base – A 3-4 inch layer of crushed gravel below your shed helps drain water efficiently.
- Use Gutters and Downspouts – Direct roof runoff away from the shed’s foundation.
- French Drains – If you have a persistently wet yard, a French drain can redirect excess water away.
3. Choose Rot-Resistant Materials
Not all wood is created equal. If you’re building or replacing shed flooring, opt for moisture-resistant materials:
| Material | Rot Resistance | Durability |
| Pressure-Treated Plywood | High | 20+ years |
| Composite Decking | Very High | 25+ years |
| Cedar or Redwood | Moderate | 15+ years |
| Untreated Plywood | Low | 5-10 years |
✔ Pro Tip: If you already have untreated wood, apply a waterproofing wood sealer to your sheds to extend its lifespan.
4. Add a Moisture Barrier
If you want to go the extra mile, install a moisture barrier between the shed and the ground.
- Plastic Sheeting or Vapor Barrier – A heavy-duty plastic sheet under a gravel base prevents moisture from rising.
- Roofing Felt – Laying roofing felt between wooden beams and flooring adds another layer of protection.
- Foam Board Insulation – If you use your shed year-round, insulation can also reduce condensation buildup.
✔ Pro Tip: If your shed already has signs of moisture, install vents or a dehumidifier to dry it out before adding a barrier.
5. Maintain Proper Ventilation
Ventilation is the unsung hero of moisture control. A well-ventilated shed reduces humidity and extends the life of the floor.
- Install Foundation Vents – These allow airflow under the shed and prevent moisture buildup.
- Add Ridge and Soffit Vents – If your shed has a solid roof, adding these vents improves airflow.
- Use Mesh Screens – If your shed sits high off the ground, cover the gap with wire mesh to keep critters out while allowing air to circulate.
✔ Pro Tip: If your shed still feels humid, place buckets of charcoal or moisture-absorbing packets inside to soak up excess dampness.
6. Seal and Waterproof the Shed Floor
Even if you do everything else right, you still need to seal the shed floor to make it truly rot-resistant.
- Apply a Wood Preservative – Use an oil-based sealant or wood preservative to protect against moisture.
- Paint or Stain the Floor – A high-quality outdoor-grade paint or stain adds an extra layer of defense.
- Use Rubber Mats or Flooring Tiles – If you store heavy equipment, consider using moisture-resistant flooring on top of your wood floor.
✔ Pro Tip: Reapply sealant every 2-3 years for maximum protection.
What If Your Shed Floor Is Already Rotting?
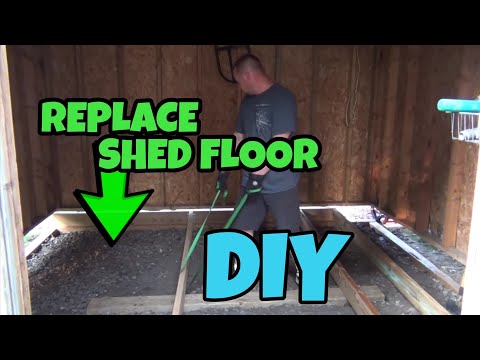
If you’ve spotted signs of rot, don’t panic. Here’s how to salvage your shed:
- Assess the Damage – If the rot is localized, you might only need to replace a few boards.
- Cut Out and Replace Rotten Sections – Use a circular saw to remove the damaged wood and replace it with treated plywood.
- Reinforce with a Moisture Barrier – After repairs, install a gravel base, vapor barrier, or treated skids.
- Seal and Protect – Apply a waterproof sealant to prevent future damage.
The Bottom Line
A little prevention goes a long way. Keeping your shed floor dry is all about smart construction, drainage management, and ongoing maintenance. Whether you’re building a new shed or trying to save an old one, these steps will help you keep rot at bay and your shed standing strong for years to come.
So grab a level, roll out some gravel, and give your shed the solid foundation it deserves. Your tools—and your future self—will thank you!