Growing Cabbage in a 5-Gallon Bucket: Tips for Success
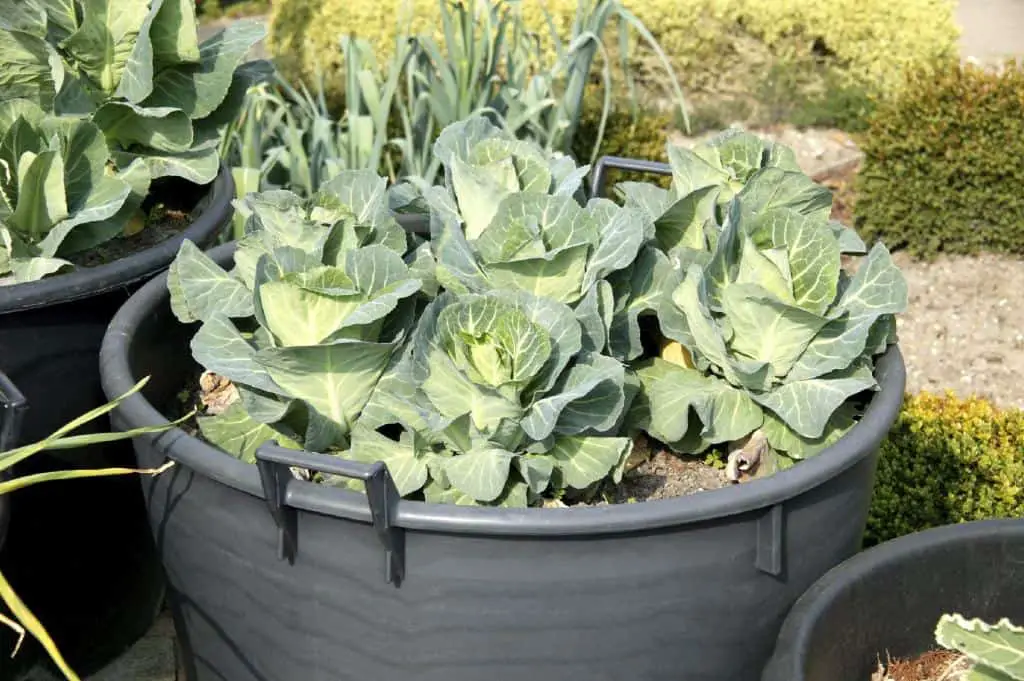
When I first decided to grow cabbage in a 5-gallon bucket, I felt like I was tackling a giant puzzle with missing pieces. It seemed like an odd choice—cabbage usually takes up quite a bit of space. But the more I thought about it, the more excited I got about the challenge.
Growing cabbage in a bucket might sound unconventional, but with a bit of know-how, it can be a surprisingly rewarding experience. So, if you’re wondering whether it’s possible and how to go about it, grab your gardening gloves, and let’s dive in!
Why a 5-Gallon Bucket?
You might ask, “Why choose a 5-gallon bucket for growing cabbage?” Well, sometimes, it’s all about thinking outside the box—literally!
A 5-gallon bucket offers a manageable size for small spaces and allows you to grow your own veggies even if you’re short on garden real estate. It’s a bit like using a tiny kitchen appliance to cook up a gourmet meal—unexpected, but effective!
Here’s why a bucket might work:
- Space Efficiency: Ideal for urban or patio gardens.
- Mobility: Easy to move around if you need to adjust sunlight exposure.
- Controlled Environment: Easier to manage soil quality and watering.
Preparing the Bucket

Before diving into planting, let’s get that bucket ready. Preparation is key—think of it as setting the stage before the big performance.
- Choose the Right Bucket: A 5-gallon bucket is standard, but make sure it’s clean and has no cracks. I used one from a home improvement store, and it worked perfectly.
- Drainage Holes: Drill several small holes in the bottom. Think of them as tiny escape routes for excess water. Without them, your cabbage roots could drown—definitely not what you want!
- Add Gravel: Place a layer of gravel at the bottom before adding soil. This helps with drainage and prevents the holes from clogging. It’s like laying a foundation before building a house.
- Soil Mix: Use a high-quality potting mix or a blend of compost, peat moss, and perlite. Cabbages need rich, well-draining soil, and a good mix provides the nutrients and texture they crave.
Planting the Cabbage
Planting cabbage in a bucket requires a bit of finesse. Here’s how I approached it:
- Seed or Seedlings?: You can start from seeds or buy seedlings. I opted for seedlings because they give you a head start. If starting with cabbage seeds, sow them in a smaller container first.
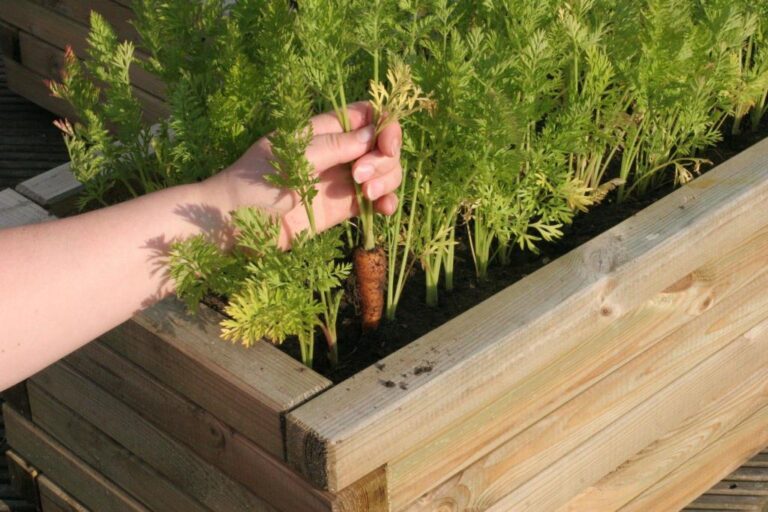
- Spacing: Cabbage needs room to grow, so plant just one seedling per bucket. Imagine your cabbage as the star of a one-person show—no need for co-stars!
- Planting Depth: Plant the seedling at the same depth it was in its original pot. Too deep, and it might struggle; too shallow, and the roots could be exposed.
- Watering: Water the plant well after planting. Cabbages love consistent moisture but dislikes soggy soil. It’s a bit like finding the perfect balance in a recipe.
Cabbages Care and Maintenance

Now that your cabbage is settled in, it’s time for some TLC. Growing cabbage in a bucket is like taking care of a pet—it needs regular attention.
- Watering: Keep the soil moist but not waterlogged. I check my bucket daily and water when the top inch of soil feels dry. It’s like checking on a sleeping baby.
- Fertilizing: Cabbage plants are hungry plants. I feed mine with a balanced fertilizer every 4–6 weeks. Think of it as giving them a nutritious snack.
- Sunlight: Place your bucket in a sunny spot where it gets at least 6 hours of sunlight a day. If you’re growing indoors, use grow lights to mimic natural sunlight. Your cabbage will bask in the glow!
- Pest Control: Keep an eye out for pests like aphids or cabbage worms. I use organic pest control methods like neem oil or insecticidal soap. It’s a bit like using a gentle deterrent for pesky neighbors.
Related: How Much Does a Cabbage Head Weigh?
Troubleshooting Common Issues
Even with the best care, things can go awry. Here are some common issues I’ve encountered and how to handle them:
- Leggy Plants: If your cabbage seedlings look tall and spindly, they might not be getting enough light. Adjust the placement or grow lights to give them more sunshine.
- Yellowing Leaves: This can indicate overwatering or nutrient deficiency. Check the soil moisture and consider adding a balanced fertilizer.
- Small Heads: If your cabbage heads are smaller than expected, it might be due to overcrowding or insufficient nutrients. Ensure proper spacing and regular feeding.
Here’s a quick troubleshooting table:
| Issue | Possible Cause | Solution |
| Leggy Plants | Lack of light | Increase light exposure |
| Yellowing Leaves | Overwatering/Nutrient Deficiency | Adjust watering, add fertilizer |
| Small Heads | Overcrowding/Nutrient Deficiency | Ensure proper spacing, feed regularly |
Harvesting Your Cabbage
The moment you’ve been waiting for—harvesting! Once your cabbage heads are firm and reach the desired size (usually 6–8 inches in diameter), it’s time to pick them. Cut the head off at the base with a sharp knife, leaving a few outer leaves for protection. It’s like unwrapping a present—you’ve worked hard, and now it’s time to enjoy the reward.
Enjoying the Fruits of Your Labor
Growing cabbage in a 5-gallon bucket might have seemed like a quirky idea, but it’s been one of the most satisfying gardening projects I’ve tackled. I’ve enjoyed crisp, homegrown cabbage in salads, stir-fries, and even fermented into sauerkraut. Each bite reminds me of the joy of nurturing a plant from a tiny seedling to a full-grown vegetable.
So, if you’re contemplating growing cabbage in a bucket, don’t let the size fool you. With the right care and a bit of ingenuity, you can have a thriving cabbage crop right on your patio or balcony. Happy gardening, and may your cabbage heads be as big as your ambitions!