Can You Grow Taro Bought from the Grocery Store?
Have you ever wanted to grow your own taro, starting from tubers bought at your local grocery store? Imagine cultivating this versatile and nutritious plant in your own garden or even indoors.
In this article, we will explore the fascinating journey of growing taro from grocery store tubers. You’ll find step-by-step instructions on how to propagate and care for taro. You’ll also get tips for improving growth conditions. And you’ll learn about the joy of harvesting fresh taro.
Are you a seasoned gardener looking to expand your edible garden? Or are you a beginner eager to explore new plants? This guide will give you the knowledge and confidence to grow taro at home.
Can You Grow Taro Bought from the Grocery Store?
Yes, you can grow taro bought from the grocery store. Taro, a starchy root vegetable, is a staple in many cuisines worldwide. Known for its rich flavor and versatility, taro can be used in a variety of dishes, from savory stews to sweet desserts.
If you’ve ever wondered whether you can grow taro from the grocery store, the answer is yes! This simple guide will walk you through the process of transforming store-bought taro into a flourishing garden crop.
Understanding Taro
What is Taro?
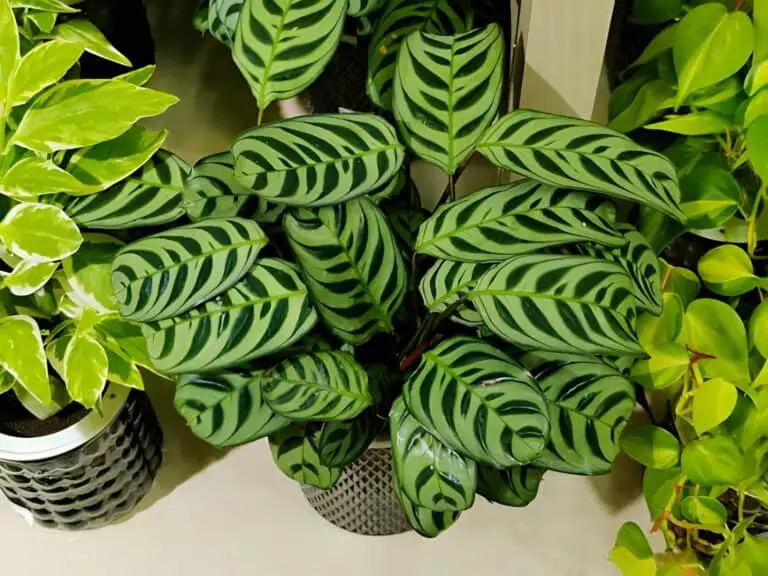
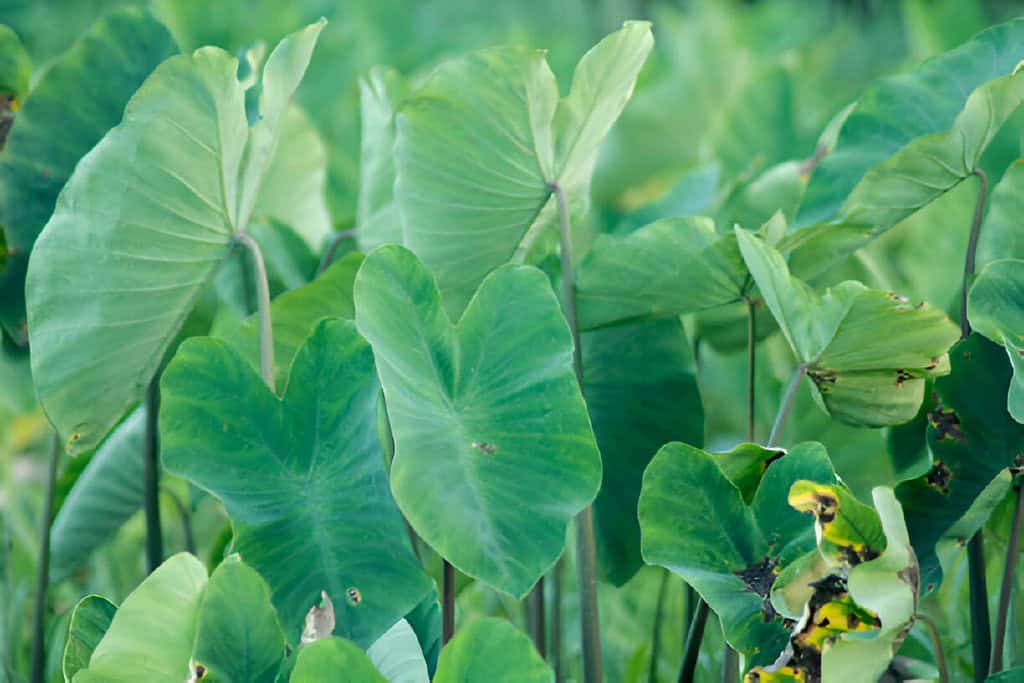
Taro (Colocasia esculenta) is a tropical plant grown primarily for its edible corms (tuberous roots) and leaves. It has been cultivated for thousands of years in regions such as Southeast Asia, Africa, and the Pacific Islands.
Nutritional Benefits of Taro
Taro is not only delicious but also packed with nutrients:
- High in Fiber: Aids digestion and promotes gut health.
- Rich in Vitamins: Contains vitamins A, C, and E.
- Mineral Content: Provides potassium, magnesium, and iron.
- Low in Fat: A healthy addition to a balanced diet.
Materials Needed
Before starting your taro-growing journey, gather the following materials:
- Taro corms: Select fresh, healthy corms from the grocery store.
- Planting containers: Pots or trays for starting indoors.
- Potting mix: A well-draining mix is ideal.
- Garden tools: Trowel, gloves, and watering can.
- Mulch: To retain moisture and suppress weeds.
Selecting and Preparing Taro Corms
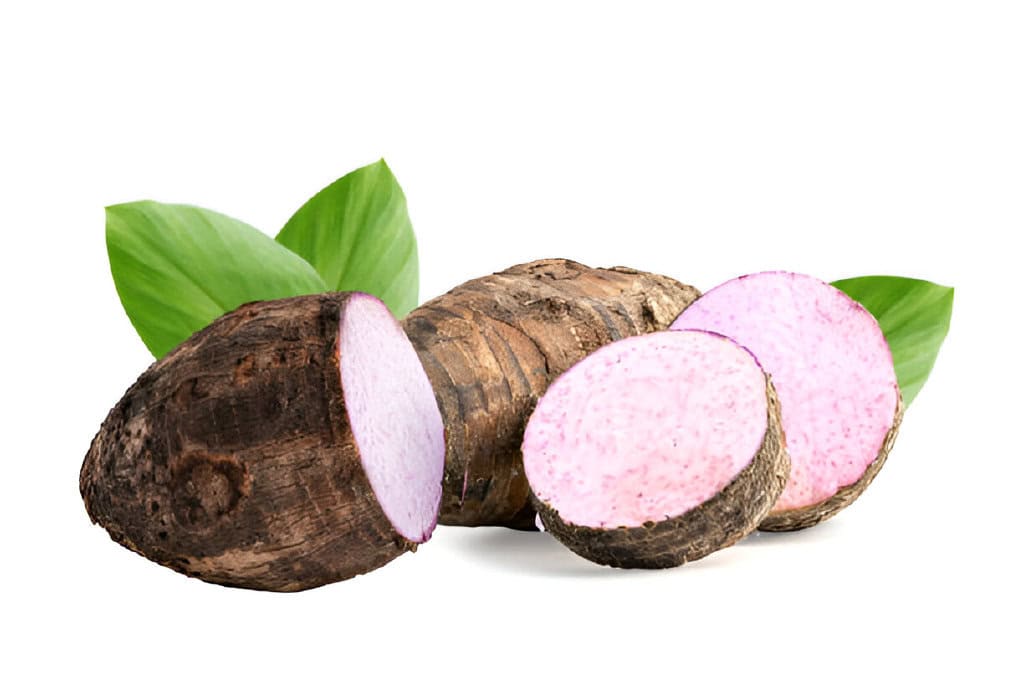
Choosing the Right Corms
When selecting taro corms from the grocery store, look for the following characteristics:
- Firmness: Choose corms that are firm to the touch.
- No Sprouts: Avoid corms with visible sprouts.
- No Mold: Ensure there are no signs of mold or rot.
Preparing the Corms
- Rinse: Wash the corms thoroughly to remove any soil or debris.
- Dry: Allow the corms to air dry for a day or two in a cool, dry place.
Planting Taro
Starting Indoors
- Planting Time: Begin the process 4-6 weeks before the last expected frost.
- Containers: Fill pots or trays with a well-draining potting mix.
- Planting Depth: Plant the corms 2-3 inches deep with the bud facing up.
- Watering: Water the soil thoroughly, ensuring it is evenly moist.
Transplanting Outdoors
- Timing: Transplant the seedlings outdoors after the last frost when the soil temperature is consistently above 65°F (18°C).
- Site Selection: Choose a location with partial shade and well-draining soil.
- Soil Preparation: Amend the soil with organic matter to improve fertility and drainage.
- Spacing: Plant the seedlings 18-24 inches apart in rows 36-48 inches apart.
Direct Sowing
- Timing: In warmer climates, taro can be planted directly in the garden after the last frost.
- Planting Depth: Plant the corms 2-3 inches deep with the bud facing up.
- Watering: Keep the soil consistently moist but not waterlogged.
Caring for Taro Plants
Watering
- Consistency: Taro plants require consistent moisture. Water regularly, especially during dry periods.
- Mulching: Apply mulch around the plants to retain moisture and suppress weeds.
Fertilizing
- Initial Feeding: Incorporate compost or a balanced fertilizer into the soil at planting time.
- Side Dressing: Apply a side dressing of compost or a balanced fertilizer every 4-6 weeks.
Weeding
- Regular Maintenance: Keep the area around the plants free of weeds to reduce competition for nutrients and water.
- Mulching: Use mulch to help suppress weeds and retain soil moisture.
Pest and Disease Management
- Common Pests: Watch for aphids, spider mites, and nematodes. Use organic insecticides or natural predators to control infestations.
- Diseases: Prevent fungal diseases by ensuring good air circulation and avoiding overhead watering.
Harvesting Taro
Signs of Readiness
Taro is typically ready to harvest 7-12 months after planting. The leaves will start to yellow and die back, indicating that the corms are mature.
Harvesting Technique
- Digging Up: Use a garden fork or shovel to gently lift the corms from the soil.
- Cleaning: Brush off excess soil and trim the leaves.
- Curing: Allow the corms to air dry for a few days to cure before storing.
Storing Taro Corms
- Storage: Store taro corms in a cool, dry place. Properly cured corms can last for several months.
- Freezing: For longer storage, consider freezing the corms.
Using Homegrown Taro
Cooking Taro
- Peeling: Peel the corms to remove the tough outer skin.
- Cooking Methods: Boil, steam, or bake taro corms until tender.
- Recipes: Use taro in soups, stews, curries, or as a mashed side dish.
Culinary Uses
- Savory Dishes: Add taro to soups, stews, and stir-fries.
- Sweet Treats: Use taro in desserts like taro pudding or taro ice cream.
- Snacks: Make taro chips by thinly slicing and frying the corms.
Troubleshooting Common Issues
Poor Germination
- Causes: Low soil temperature or poor-quality corms.
- Solution: Use fresh, healthy corms and ensure the soil temperature is above 65°F (18°C).
Slow Growth
- Causes: Insufficient sunlight, poor soil nutrition, or inadequate watering.
- Solution: Ensure plants get partial shade. Add compost to the soil. Keep the soil moist.
Yellowing Leaves
- Causes: Overwatering, nutrient deficiencies, or pest infestations.
- Solution: Adjust watering practices, apply balanced fertilizer, and monitor for pests.
Rotting Corms
- Causes: Waterlogged soil or planting corms too deep.
- Solution: Improve soil drainage and ensure proper planting depth.
Advanced Growing Techniques
Succession Planting
To ensure a continuous harvest, plant new corms every 2-3 weeks during the growing season. This is called succession planting. This technique helps you avoid a glut of taro all at once and extends your harvest period.
Companion Planting
Grow taro alongside compatible plants to enhance growth and deter pests. Good companions include beans, corn, and ginger. Avoid planting near potatoes and other nightshades, as they can attract similar pests.
Seed Saving
- Selecting Plants: Choose the healthiest plants with the best corms for seed saving.
- Harvesting Seeds: Follow the same harvesting and cleaning process as for eating corms.
- Storing Seeds: Keep seeds in a cool, dry place for planting in the next season.
Conclusion
Growing taro from the grocery store is a rewarding and straightforward process. By following this simple guide, you can transform store-bought corms into a thriving garden crop.
You may want to grow taro to improve your cooking or for its health benefits. Homegrown taro is a great addition to your garden. Remember to choose healthy corms, provide consistent care, and enjoy the fruits of your labor. Happy gardening!