How to Grow Mushrooms at Home Using Store-Bought Mushrooms
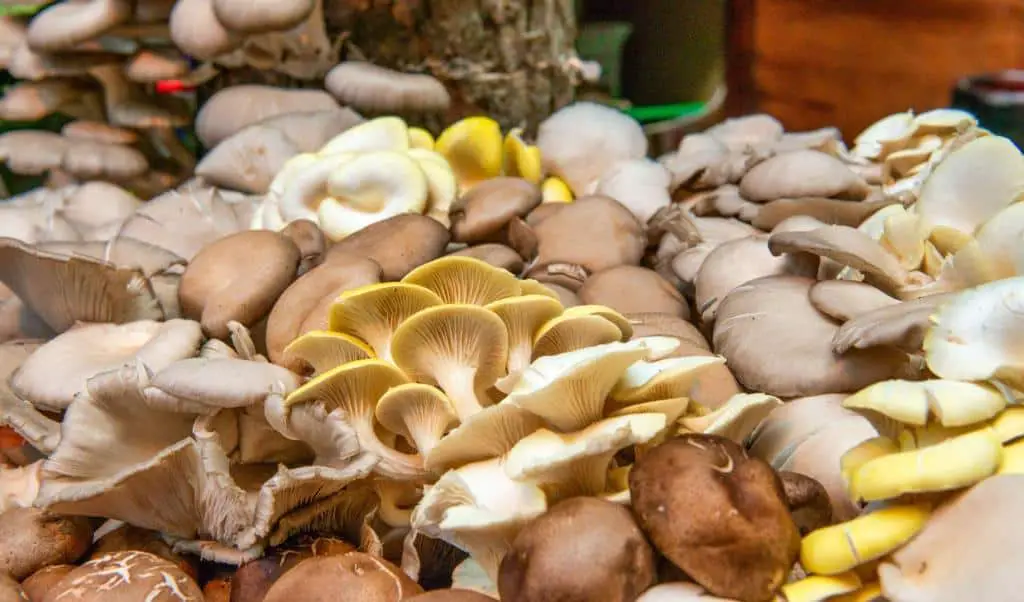
Have you ever wondered if those mushrooms sitting in your fridge could be the start of your own homegrown fungi farm? Growing mushrooms at home using store-bought mushrooms is not only possible but also a fun and rewarding project.
Growing mushrooms at home can be a rewarding and fun experience. It gives you a fresh supply of tasty mushrooms. It also lets you understand the fascinating process of fungal growth. With store-bought mushrooms, you can easily start your own mushroom garden without the need for specialized spores or kits.
This article will guide you through simple steps. They will transform your store-bought mushrooms into a thriving crop. This will help you enjoy the freshest mushrooms possible at home.
Understanding the Basics of Mushrooms
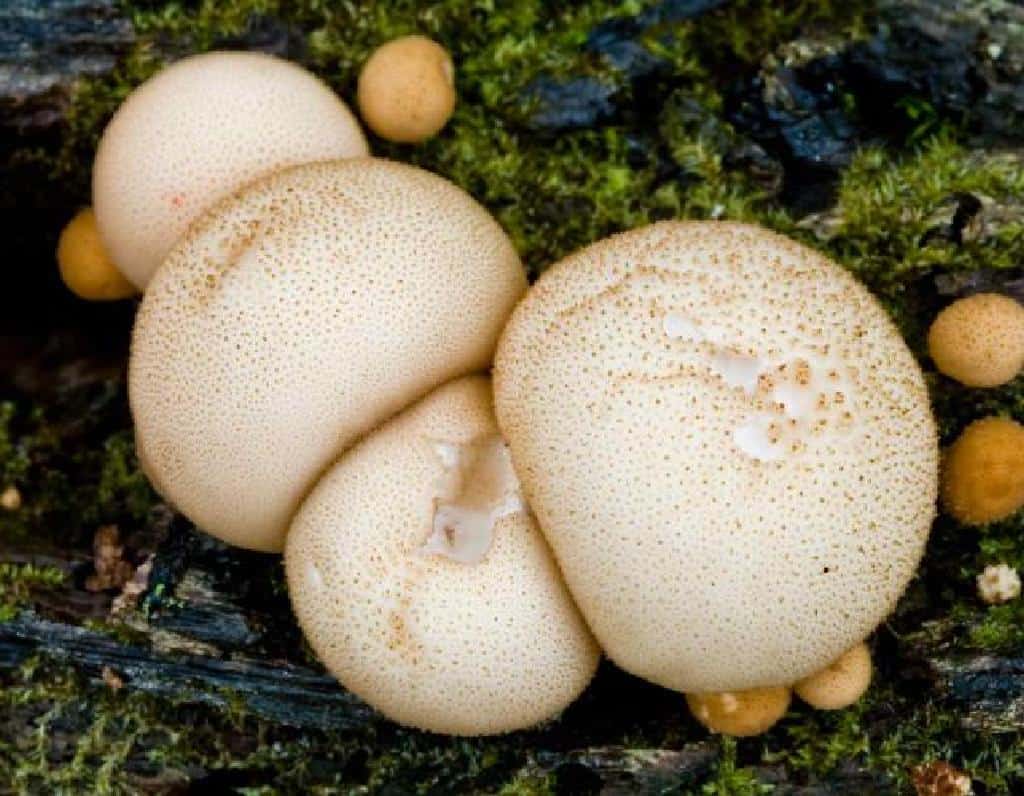
Before diving into growing mushrooms at home, you must understand a few key concepts about these fascinating fungi. Mushrooms are unique in the plant world as they are the fruiting bodies of fungi, which means they produce spores for reproduction. Plants rely on sunlight for photosynthesis. But, mushrooms thrive in dark, humid places. This characteristic makes them ideal for indoor cultivation.
Mushrooms have a distinct biology. The part of the body we commonly eat is called the fruiting body. It’s the visible portion that emerges from the substrate and is harvested for culinary useUnderth the surface, mushrooms grow through a network of fine filaments called mycelium. This mycelium acts like the fungus’s root system. It spreads through the substrate to absorb nutrients and support the growth of fruiting bodies.
Choosing the Right Store-Bought Mushrooms to Grow
Selecting the right store-bought mushrooms to grow at home is a critical step in your cultivation journey. Not all mushrooms are equally suitable for regrowth, so it’s important to know which varieties work best.
The most commonly grown mushrooms from stores include white button, cremini, portobello, and oyster mushrooms. These types are more likely to have viable spores and mycelium that can be propagated.
When choosing mushrooms, ensure they are fresh and in good condition. Look for mushrooms that are firm, not dried out, and free of any signs of mold or decay. Fresh mushrooms are more likely to have healthy mycelium, which is crucial for successful growth. For beginners, oyster mushrooms are especially recommended. They grow fast and can adapt to many conditions.
Understanding the life cycle of mushrooms is also beneficial. Store-bought mushrooms contain spores, which are essentially the seeds of the mushroom world. These spores can develop into new mycelium if provided with the right environment. This process uses fresh mushroom tissue to start the mycelium growth. The mycelium will eventually produce new fruiting bodies.
| Also see: Different Types of Puffball Mushrooms |
Materials You’ll Need
To get started, gather the following materials:
- Store-bought mushrooms: Choose mushrooms with visible gills, such as button mushrooms, shiitake, or oyster mushrooms.
- Cardboard or straw: These materials provide a substrate for the mushrooms to grow on.
- Plastic container: A container with a lid will help maintain humidity.
- Spray bottle: To keep the environment moist.
- Scissors or knife: For cutting the mushrooms and substrate.
How to Grow Mushrooms at Home Using Store-Bought Mushrooms (Step-by-Step)
To begin, you’ll need a clean, sterile environment to prevent contamination. Use the tissue culture method, where a small piece of the mushroom cap or stem is placed on a nutrient-rich agar medium. This encourages the mycelium to grow. You can then transfer it to a suitable substrate, like straw, sawdust, or a mushroom kit. With patience and care, you can watch your store-bought mushrooms grow into a thriving harvest.
1. Preparing the Substrate
The substrate acts as a food source for the mycelium. Cardboard is an excellent choice because it retains moisture well and is easy to find. Here’s how to prepare it:
- Cut the cardboard: Cut the cardboard into strips or small pieces to increase the surface area.
- Soak the cardboard: Soak the pieces in water until they are thoroughly saturated. This can take a few hours.
- Layer the cardboard: Place the soaked pieces in your plastic container, creating a moist, compact layer.
Alternatively, you can use straw as your substrate. Simply cut it into small pieces and soak it in water for several hours before placing it in the container.
2. Preparing the Mushrooms
Now that your substrate is ready, it’s time to prepare the mushrooms. Follow these steps:
- Select the mushrooms: Choose fresh, store-bought mushrooms with visible gills underneath the caps.
- Cut the stems: Using a knife or scissors, cut the stems close to the caps. The goal is to expose the gills, where the spores are located.
- Place the stems on the substrate: Arrange the mushroom stems on top of the prepared substrate in the plastic container.
3. Creating the Ideal Environment
Mushrooms need a dark, humid environment to grow. Here’s how to create the perfect conditions:
- Cover the container: Put the lid on the plastic container to retain moisture. If your container doesn’t have a lid, you can cover it with plastic wrap.
- Keep it dark: Place the container in a dark, cool area such as a closet or basement.
- Maintain humidity: Use a spray bottle to mist the substrate daily, keeping it consistently moist but not waterlogged.
4. Watching the Growth
Over the next few weeks, you’ll start to see signs of growth. Initially, the mycelium will spread through the substrate, appearing as white, thread-like filaments. This stage is crucial, as a strong mycelium network will produce healthy mushrooms.
- Check regularly: Open the container every few days to mist the substrate and check the progress.
- Adjust conditions if needed: If the substrate dries out, increase the frequency of misting. If it becomes too wet, open the container for a short period to allow excess moisture to evaporate.
5. Harvesting Your Mushrooms
Once the mycelium has fully colonized the substrate, you’ll start to see small mushrooms, called pins, forming. These will grow rapidly, and within a few days, they’ll be ready to harvest.
- Harvesting: Use a sharp knife or scissors to cut the mushrooms at the base. Be gentle to avoid damaging the mycelium network.
- Repeat the process: After harvesting, maintain the humidity and darkness to encourage another flush of mushrooms.
| Read: Growing Enoki Mushrooms from Store Bought |
Troubleshooting Common Issues
Growing mushrooms can sometimes present challenges. Here are some common issues and solutions:
- Mold: If you notice green or black mold, it indicates contamination. Remove the affected area and ensure you maintain proper humidity without overwatering.
- Slow growth: If the mushrooms aren’t growing as expected, it could be due to insufficient humidity or improper temperature. Adjust the conditions and be patient.
- Dry substrate: If the substrate dries out, mist more frequently and ensure the container is properly covered to retain moisture.
Tips for Success
To enhance your mushroom-growing experience, consider these additional tips:
- Start with easy varieties: Oyster mushrooms are particularly beginner-friendly due to their robust mycelium and quick growth.
- Experiment with substrates: While cardboard and straw are great options, you can also try other organic materials like coffee grounds or sawdust.
- Monitor temperature: Mushrooms generally prefer temperatures between 55-70°F (13-21°C). Use a thermometer to ensure optimal conditions.
Benefits of Growing Mushrooms at Home
Growing mushrooms at home offers numerous benefits beyond the joy of gardening. Here are a few:
- Freshness: Home-grown mushrooms are fresher and more flavorful than store-bought ones.
- Sustainability: Growing your own mushrooms reduces reliance on commercial farming. It often involves much transport and packaging.
- Educational: The process provides a hands-on learning experience about fungi and their role in the ecosystem.
- Cost-effective: Once you get started, growing mushrooms at home can save money compared to buying them from the store.
Nutritional Value of Mushrooms
Mushrooms are not only delicious but also highly nutritious. They are low in calories and packed with essential nutrients. Here’s a quick overview of their nutritional benefits:
| Nutrient | Amount per 100g | % Daily Value* |
| Calories | 22 | 1% |
| Protein | 3.1g | 6% |
| Carbohydrates | 3.3g | 1% |
| Fiber | 1g | 4% |
| Vitamin D | 7.9mcg | 39% |
| Selenium | 9.3mcg | 13% |
*Mushrooms are a good source of B vitamins, such as riboflavin, niacin, and pantothenic acid. These vitamins play vital roles in energy production and overall health.
Culinary Uses for Home-Grown Mushrooms
Once you’ve successfully grown your mushrooms, there are endless culinary possibilities. Here are some popular ways to enjoy them:
- Sautéed Mushrooms: Simply sauté your fresh mushrooms in butter or olive oil with garlic and herbs for a quick, tasty side dish.
- Mushroom Soup: Use your home-grown mushrooms to make a rich, creamy soup. They add depth and flavor to any broth-based soup.
- Mushroom Risotto: Incorporate your mushrooms into a luxurious risotto. Their earthy flavor complements the creamy texture of the dish.
- Stuffed Mushrooms: Remove the stems and fill the caps with cheese, herbs, and breadcrumbs for a delightful appetizer.
Final Thoughts
Growing mushrooms at home using store-bought mushrooms is an enjoyable and rewarding process. With the right materials and conditions, you can cultivate a fresh supply of delicious mushrooms right in your home. Whether you’re a novice gardener or an experienced green thumb, this guide provides everything you need to get started.
So, why wait? Start your mushroom-growing adventure today and enjoy the fruits of your labor in your favorite dishes. Not only will you have a constant supply of fresh mushrooms, but you’ll also gain a deeper appreciation for these remarkable fungi. Happy growing!

