Grow Artichoke From Store Bought: Easy Guide to Plant
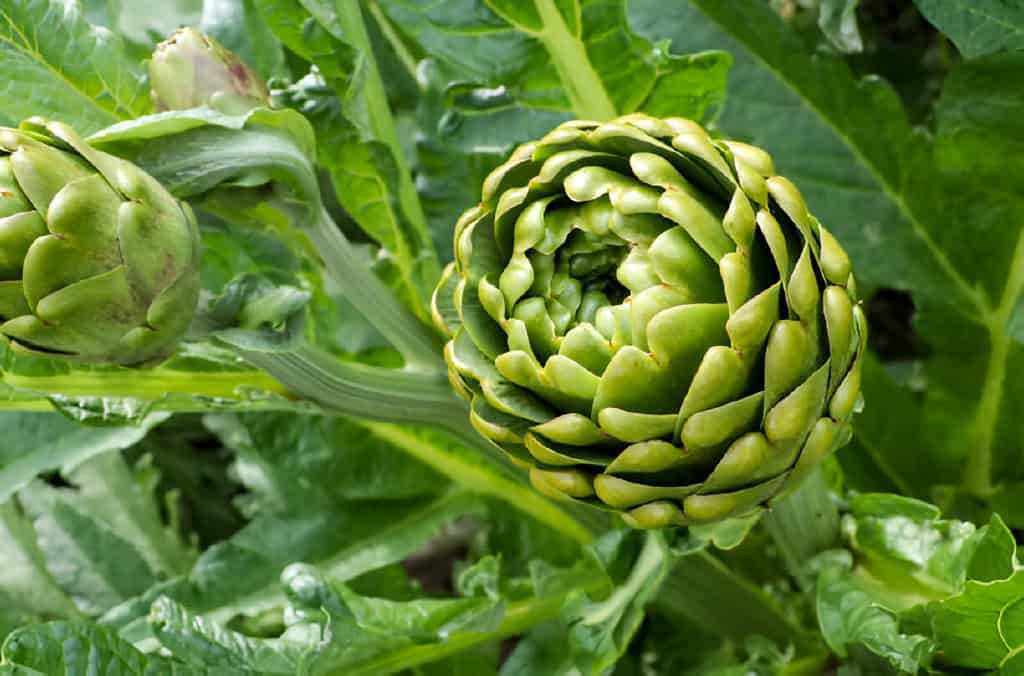
Growing artichokes from store-bought plants is rewarding. It offers the joy of fresh, homegrown produce. Artichokes, known for their unique flavor and versatility, can be an excellent addition to any home garden.
Whether you’re a seasoned gardener or a beginner, this guide will walk you through the easy steps to grow artichokes from store-bought plants. It will ensure a bountiful harvest.
In this article, we’ll guide you through a straightforward process on how to grow artichokes from store-bought sources. It does not matter if you are a seasoned gardener looking to expand your skills or a novice interested in sustainable gardening. This guide will give you essential tips and techniques for growing artichokes at home.
By the end, you’ll be equipped with the knowledge to enjoy your own homegrown artichokes straight from the garden to the table.
Selecting the Right Artichoke
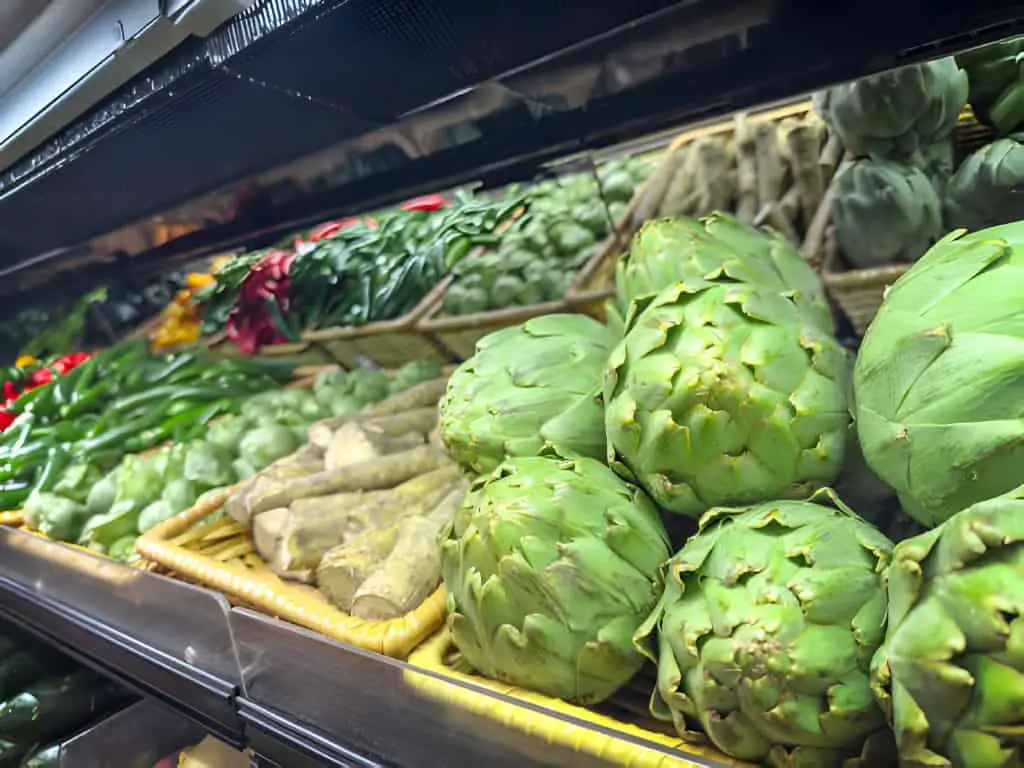
The first step in growing artichokes from store-bought plants is selecting the right variety. Artichokes come in several varieties, including the Green Globe, Purple of Romagna, and Imperial Star.
When purchasing, look for healthy plants with vibrant green leaves and no signs of disease. The plant should be robust and well-developed, as this will increase your chances of a successful transplant.
Choosing the Right Growing Medium to Replant Artichoke from Grocery Store
When choosing the right soil to replant grocery store artichokes, consider their needs. Artichokes thrive in a loose, well-draining soil that is rich in organic matter. The ideal mix has potting soil, compost, and sand. They make the soil fertile and ensure good drainage. This balance prevents waterlogging and encourages healthy root development.
Using a table to outline the components of the growing medium can be helpful:
| Component | Purpose |
| Potting Soil | Provides structure and nutrients |
| Compost | Adds organic matter and nutrients |
| Sand | Enhances drainage |
Artichokes prefer a slightly acidic to neutral soil pH, ranging from 6.5 to 7.5. Testing your soil’s pH with a home testing kit can help you make necessary adjustments. If the soil is too acidic, adding lime can raise the pH, while sulfur can lower it if the soil is too alkaline.
Incorporating organic mulch on top of the soil can further benefit your artichoke plants. Mulch helps retain moisture, regulate soil temperature, and suppress weeds. As it breaks down, it also adds valuable nutrients to the soil. Regularly refreshing the mulch layer ensures continued benefits throughout the growing season.
Preparing the Plant
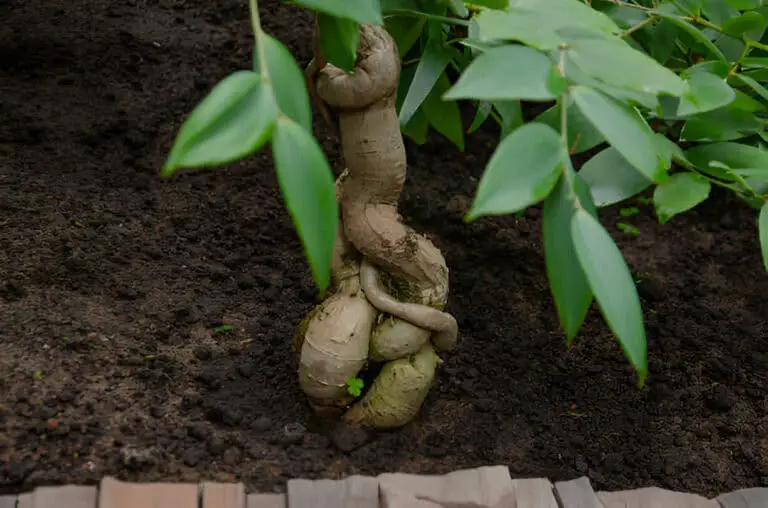
Once you have your artichoke plant, it’s essential to prepare it for planting. Start by gently removing it from the pot, taking care not to damage the roots. If the roots are tightly bound, gently tease them apart to encourage better growth once planted. Inspect the plant for any pests or diseases, and treat accordingly. Soaking the root ball in water for a few hours can also help reduce transplant shock.
Planting Your Artichoke
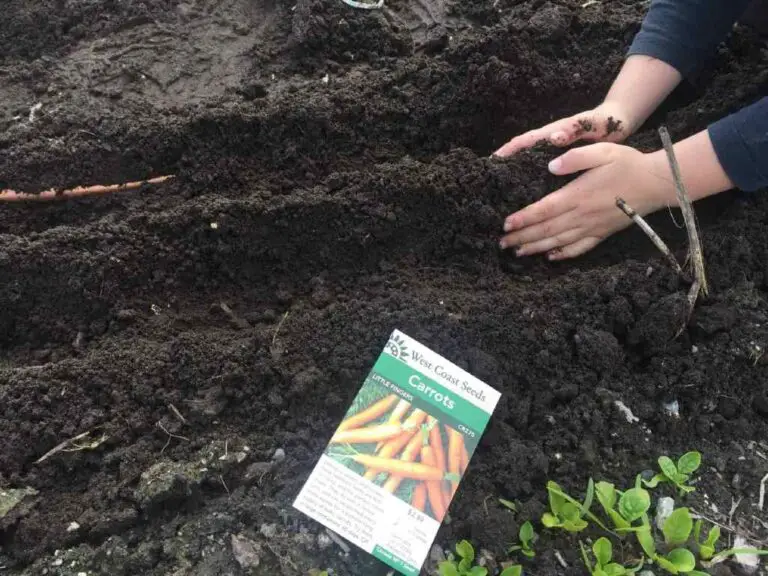
Artichokes thrive in well-drained soil with plenty of organic matter. Choose a sunny spot in your garden that receives at least six hours of direct sunlight daily. Dig a hole twice as wide and just as deep as the plant’s root ball. Place the plant in the hole, ensuring that the crown is just above the soil level. Fill the hole with soil and gently firm it around the plant. Water thoroughly to help settle the soil and eliminate air pockets.
Planting Table
| Step | Description |
| Location | Sunny spot with at least six hours of direct sunlight |
| Soil | Well-drained soil rich in organic matter |
| Hole Size | Twice as wide and just as deep as the root ball |
| Planting Depth | Crown should be just above soil level |
| Watering | Water thoroughly after planting to settle soil and remove air pockets |
Caring for Your Artichoke
Proper care is crucial for the healthy growth of your artichoke plant. Regular watering is essential, especially during dry spells. Mulching around the plant can help retain moisture and suppress weeds. Artichokes are heavy feeders, so apply a balanced fertilizer every few weeks to promote vigorous growth. Watch out for pests such as aphids and snails, and take appropriate measures to control them.
Care Checklist
- Watering: Keep soil consistently moist, especially in dry weather.
- Mulching: Apply mulch to retain moisture and prevent weeds.
- Fertilizing: Use a balanced fertilizer every few weeks.
- Pest Control: Monitor for pests and treat as necessary.
Harvesting Your Artichokes
Knowing when and how to harvest your artichokes is key to enjoying the best flavor and texture. Artichokes are typically ready to harvest when the buds reach a good size and are still tightly closed. Use a sharp knife to cut the artichoke about an inch below the bud. If left unharvested, the buds will open and become less tender. Regular harvesting encourages the plant to produce more buds.
Harvesting Tips
- Timing: Harvest when buds are large and tightly closed.
- Cutting: Use a sharp knife to cut an inch below the bud.
- Frequency: Regular harvesting promotes more bud production.
Troubleshooting Common Problems
Growing artichokes can come with its share of challenges. Yellowing leaves may indicate overwatering or nutrient deficiencies. Pests like aphids can be managed with insecticidal soap or neem oil. If the plant seems stunted, ensure it’s getting enough sunlight and nutrients. Regularly check the plant for signs of disease and address issues promptly to keep your artichoke healthy.
Common Problems Table
| Problem | Cause | Solution |
| Yellowing Leaves | Overwatering or nutrient deficiency | Adjust watering, apply balanced fertilizer |
| Aphids | Pest infestation | Use insecticidal soap or neem oil |
| Stunted Growth | Lack of sunlight or nutrients | Ensure adequate sunlight and apply fertilizer |
| Disease | Various | Regular monitoring and prompt treatment |
Conclusion
Growing artichokes from store-bought plants is an accessible and enjoyable way to add a unique vegetable to your garden. You can grow fresh artichokes by choosing healthy plants, preparing them well, and giving them the right care. This guide covered all the key steps. It goes from planting to harvesting. It ensures a successful gardening experience. So, get started with your artichoke plant today and look forward to delicious, homegrown produce.
FAQs About Growing Artichokes
How long does it take for artichokes to mature?
Artichokes typically take 85-100 days to mature after transplanting.
Can artichokes be grown in containers?
Yes, artichokes can be grown in large containers. Ensure the container is at least 24 inches in diameter and has good drainage.
What are the signs of a healthy artichoke plant?
Healthy artichoke plants have vibrant green leaves, strong stems, and produce large, tightly closed buds.
How often should I water my artichoke plants?
Water artichoke plants consistently, keeping the soil moist but not waterlogged. During dry periods, increase watering frequency.
What pests should I watch out for?
Common pests include aphids, snails, and slugs. Regular inspection and prompt treatment can help manage these pests effectively.

