How to Germinate Seeds for Hydroponics: A Step-by-Step Guide
When I first dove into the world of hydroponics, I had a lot to learn. I mean, the idea of growing plants without soil? It felt like I was defying nature. But as I rolled up my sleeves and experimented, I realized that hydroponics is less about breaking rules and more about bending them.
One of the most satisfying parts? Germinating seeds for hydroponics. There’s a certain magic in watching a tiny seed transform into a thriving plant without a speck of soil. If you’re like me, always up for a hands-on gardening adventure, let me walk you through the steps that make seed germination in hydroponics a breeze.
Why Grow From Seeds?
Sure, using clippings and clones can save you time—clipping and rooting a clone lets you skip right past germination. But where’s the fun in that?
Growing from seeds brings a world of benefits to your hydroponic setup. For starters, it’s cheaper. Instead of spending money on pre-rooted cuttings, you can buy a packet of seeds for a fraction of the cost. Plus, seeds offer a wider variety of plant species, letting you pick and choose exactly what you want to grow.
And let’s not forget about the joy of cultivating something from scratch or even creating your own hybrids. There’s nothing quite like the satisfaction of seeing a plant thrive from a seed you sowed with your own hands.
Getting Started: Choosing the Right Medium
To kick off your seed germination, starter cubes are your best friend. I’ve tried a few methods, but using starter cubes made from rockwool quickly became my go-to.
These handy cubes come pre-cut and even have pre-tapped holes perfect for planting seeds. They come in various sizes. Use 1″x1″ cubes for standard use. They’re great for most plants. For bigger root balls, use 1.5″x1.5″ or 2″x2″ cubes.
Here’s a quick look at the options:
| Cube Size | Use Case |
| 1”x1” | Standard use, best value |
| 1.5”x1.5” | Moderate root development |
| 2”x2” | Robust root balls |
I learned pretty quickly that it’s best to keep these cubes connected in strips when cutting them to fit your grow tray. Just grab a utility knife or scissors and carefully slice through the webbing between the cubes. This way, the cubes don’t tip over and damage the delicate sproutlings inside. Lay them in your tray horizontally, matching the width of your tray—maybe five 2” cubes across or ten 1” cubes.
| Also read: When to Start Feeding Hydroponic Seedlings |
Preparing the Cubes
Now, here’s a key step you don’t want to skip: pre-soaking the rockwool. Dunk those cubes in water for at least five minutes. This soak primes the cubes and sets the stage for rapid germination.
If you want to take it a step further, place the soaked cubes on a warming mat. Think of this mat as an incubator for your seeds—it speeds up germination like nothing else. It’s not strictly necessary, but believe me, the time saved is worth it.
Once the cubes are soaked, drain any excess water from the tray. You want the cubes moist, not swimming.
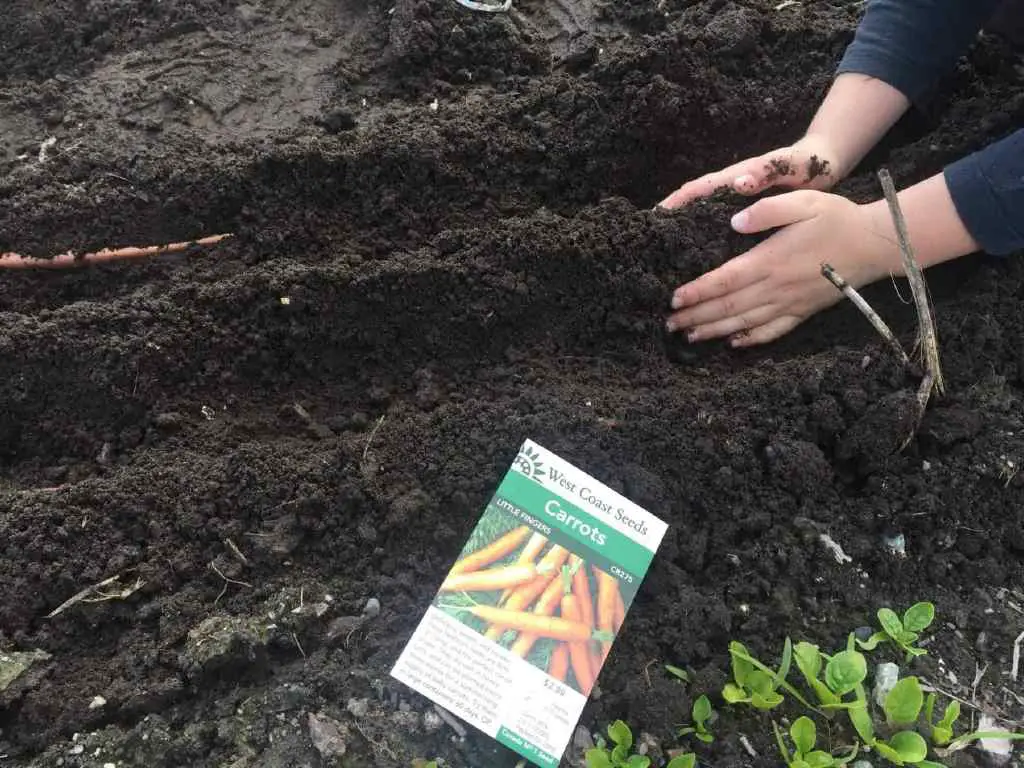
Planting Your Seeds
Planting the seeds is where the magic starts. You’ll want to place each seed into the pre-tapped hole in the rockwool cube. I usually use the slender end of a chopstick to nudge the seeds into place—it’s like playing Operation, only the stakes are fresh herbs or vegetables! You could use a toothpick or skewer, but the key is to be gentle. How many seeds per cube?
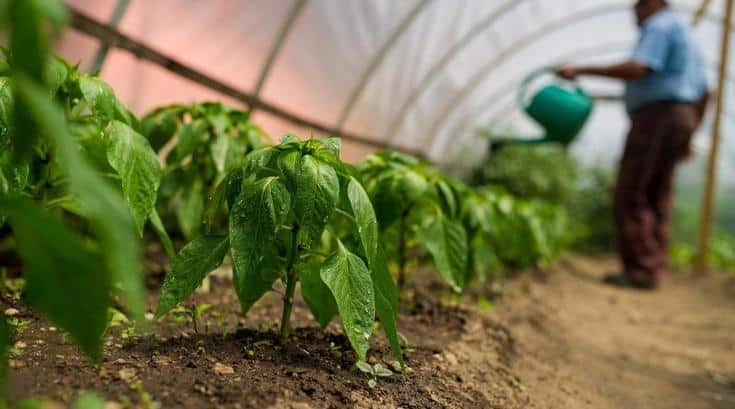
It depends on what you’re growing. Small seeds, like those from lettuce, can be sown three or four per cube. For larger seeds, like peppers or tomatoes, one per cube will do the trick.
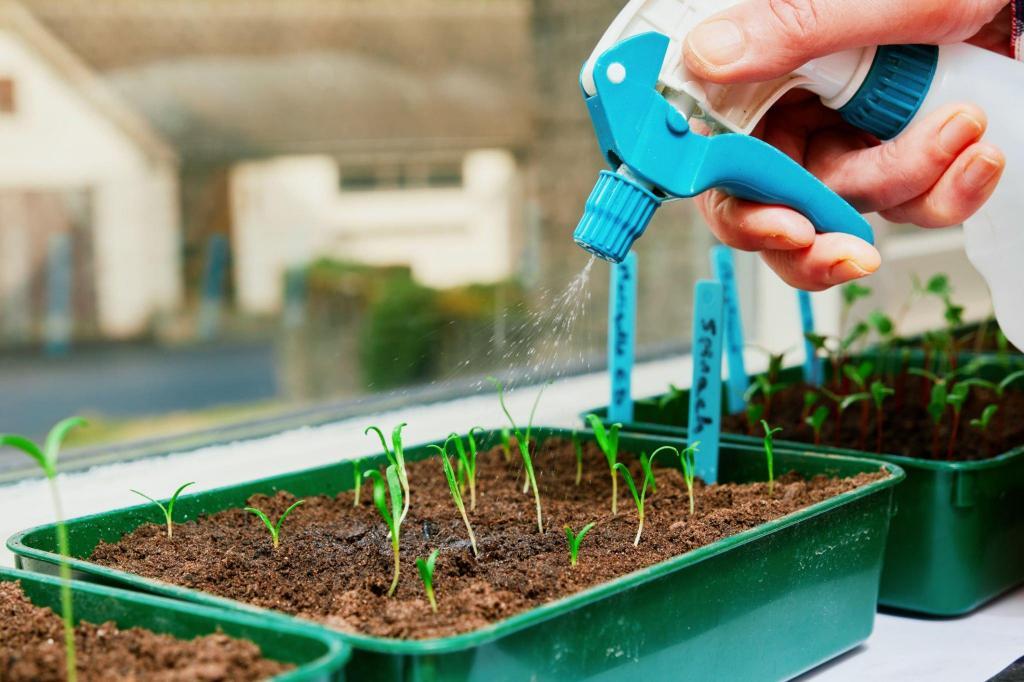
Watering and Waiting
Once your seeds are snug in their cubes, it’s time to turn on that heating mat if you haven’t already. Cover the tray with a clear dome or plastic wrap to create a mini-greenhouse effect—it keeps the humidity high and helps those seeds sprout faster. Now, patience is your best friend.
Water the cubes lightly once a day to keep them moist but not waterlogged. If you’ve sprung for high-quality seeds, you should see little green shoots popping up in each cube within days. After that, the next steps—nutrients, lights, and the rest—are up to you.
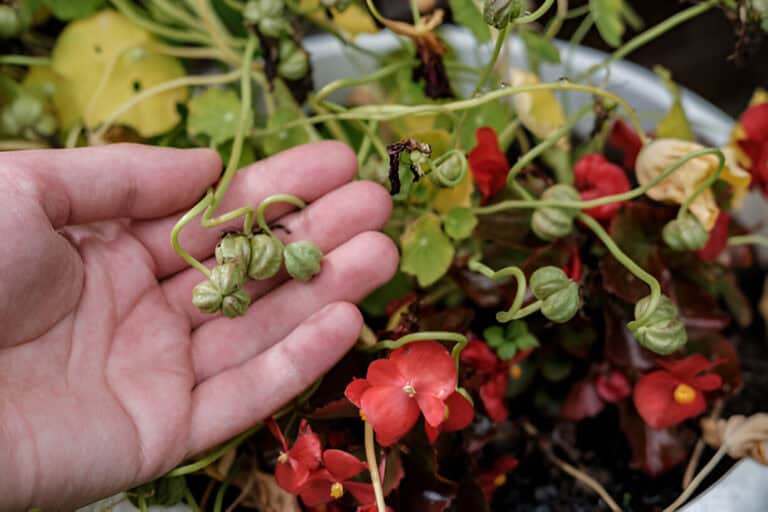
| Related: How to Germinate Borage Seeds Successfully |
A Look at Rapid Rooter Plugs
I’ve been experimenting with Rapid Rooter plugs. They’re a newer, popular option for standalone hydroponic systems. These plugs are like compressed clumps of growing medium preloaded with nutrients. You just drop them into a standard 2” net pot or grow tray, and you’re good to go.
The roots hang down, soaking up all the oxygen and nutrients they need. These plugs fit snugly into a variety of standard hydroponic setups, usually at 1.5” in diameter and 2” tall.
Here’s a quick comparison:
| Medium | Benefits | Considerations |
| Rockwool Cubes | Easy to use, great for germination | Requires soaking, needs careful handling |
| Rapid Rooter Plugs | Pre-loaded with nutrients, easy to plant | Avoid compressing, can be pricier |
One tip: don’t compress the Rapid Rooter plug. I did this once, thinking it would secure the plug better in the pot, but it just restricted the flow of oxygen and nutrients. The roots struggled, and I learned my lesson—let the plug do its job naturally.
Final Thoughts
Germinating seeds for hydroponics is not just about sprouting plants. It’s about the thrill of watching life unfold in unexpected ways. Using rockwool cubes or Rapid Rooter plugs? The process is simple, straightforward, and very rewarding.
Sure, it takes a bit more time than using a clipping. But, the benefits make it worth it. You save money, get variety, and enjoy watching a seed turn into something you can eat. So grab your seeds, get those starter cubes ready, and let the growing begin!
Hydroponics isn’t just a way to grow plants—it’s a way to redefine what’s possible in your garden. So go on, get your hands wet, and see what you can cultivate. Happy growing!