Do You Really Need a Vapor Barrier in Your Shed? The Truth Revealed
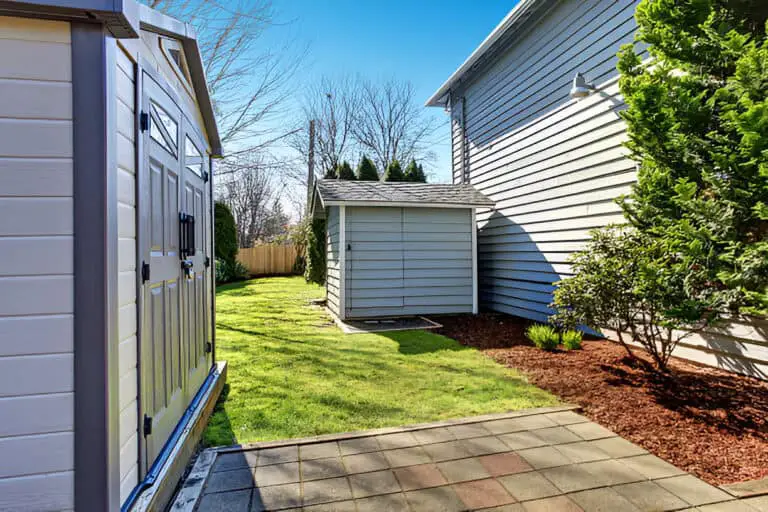
A shed might seem like a simple structure—four walls, a roof, and a door—but moisture can turn it into a musty, moldy mess if you’re not careful. That’s where the idea of a vapor barrier comes in. But do you really need one, or is it just another unnecessary expense?
Let’s dig into the truth about vapor barriers, when they help, and when you can skip them.
What Is a Vapor Barrier?
A vapor barrier is a moisture-blocking layer that prevents water vapor from seeping into your shed’s walls, floor, or ceiling. Typically made from plastic sheeting, foil, or specialized coatings, it acts as a shield against dampness that can cause rot, mold, and insulation damage.
Do You Really Need a Vapor Barrier for Your Shed?
Not every shed needs a vapor barrier, but in some cases, skipping one can lead to long-term problems. Here’s how to decide if your shed needs this extra layer of protection.
1. Consider Your Climate
The biggest factor in whether you need a vapor barrier is your local climate.
| Climate Type | Vapor Barrier Needed? | Why? |
| Dry & Arid (e.g., Arizona) | ❌ No | Low humidity means less moisture to worry about. |
| Moderate (e.g., Midwest) | ⚠️ Maybe | Seasonal moisture changes may require protection. |
| Humid (e.g., Florida) | ✅ Yes | High humidity can cause condensation and rot. |
| Cold & Wet (e.g., Pacific Northwest) | ✅ Yes | Prevents moisture from accumulating inside. |
✔ Pro Tip: If you live in a humid or wet region, a vapor barrier is a must-have to prevent moisture from ruining your shed.
2. What’s Inside the Shed?
What you store in your shed plays a big role in whether you need a vapor barrier.
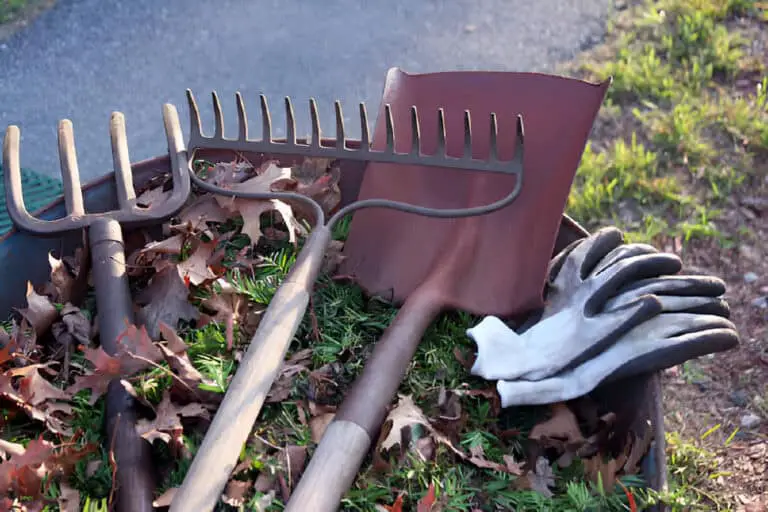
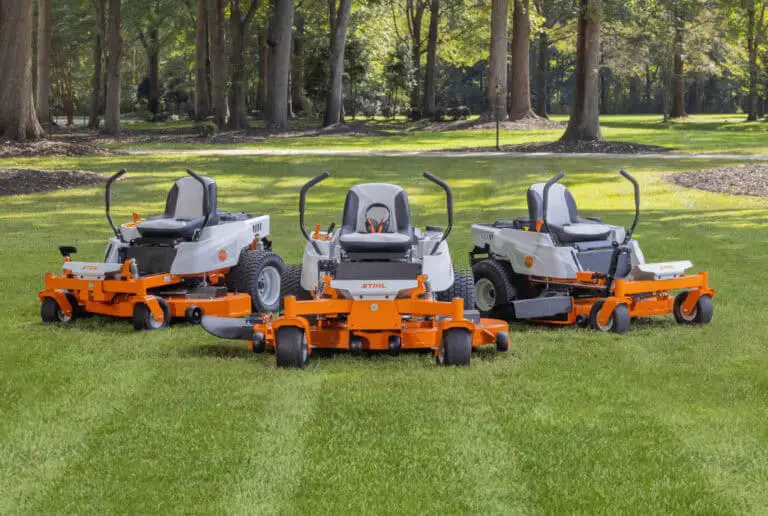
- Garden tools & lawnmowers? Moisture isn’t a huge concern, so you can probably skip it.
- Wood, paper, or fabrics? A vapor barrier helps protect against mildew and mold.
- Electronics or workshop equipment? Moisture buildup can cause rust and damage, so a barrier is a smart choice.
✔ Pro Tip: If you’re using your shed as a workshop, office, or storage for sensitive items, installing a vapor barrier pays off in the long run.
3. Shed Insulation: The Game Changer
If your shed is insulated, a vapor barrier becomes much more important. Insulation can trap moisture, and without a vapor barrier, that trapped moisture leads to mold and rot.
| Shed Type | Insulated? | Vapor Barrier Needed? |
| Basic storage shed | No | ❌ Not necessary |
| Workshop or office | Yes | ✅ Definitely needed |
| Heated/cooled shed | Yes | ✅ Prevents condensation |
✔ Pro Tip: If you plan to heat or cool your shed, a vapor barrier is essential to prevent moisture damage inside the walls.
Where Should You Install a Vapor Barrier?
If you decide to add a vapor barrier, placement matters. Here’s where you should (or shouldn’t) install it.
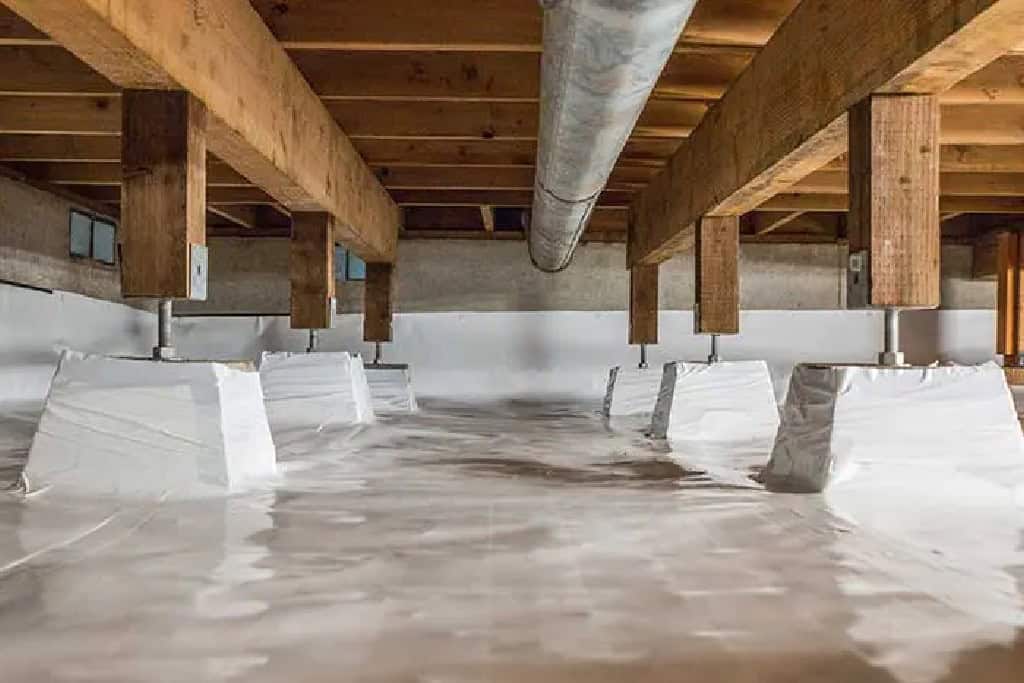
1. Shed Floor – Yes, If Raised or Over Dirt
- If your shed sits on a concrete slab, you don’t need a vapor barrier on the floor.
- If your shed sits over bare ground or on skids, placing a plastic vapor barrier under a gravel base keeps moisture from seeping in.
2. Shed Walls – Yes, If Insulated
- If your shed has insulation, install a vapor barrier on the warm side of the wall (the side facing inside the shed).
- If your shed is uninsulated, the walls don’t need a vapor barrier because air circulation prevents moisture buildup.
3. Shed Roof – No, Unless Fully Heated
- Vapor barriers in the roof can trap condensation if not properly ventilated.
- If your shed has attic-style insulation, use a breathable underlayment instead.
✔ Pro Tip: Good ventilation reduces the need for a vapor barrier, so always consider adding vents to help airflow.
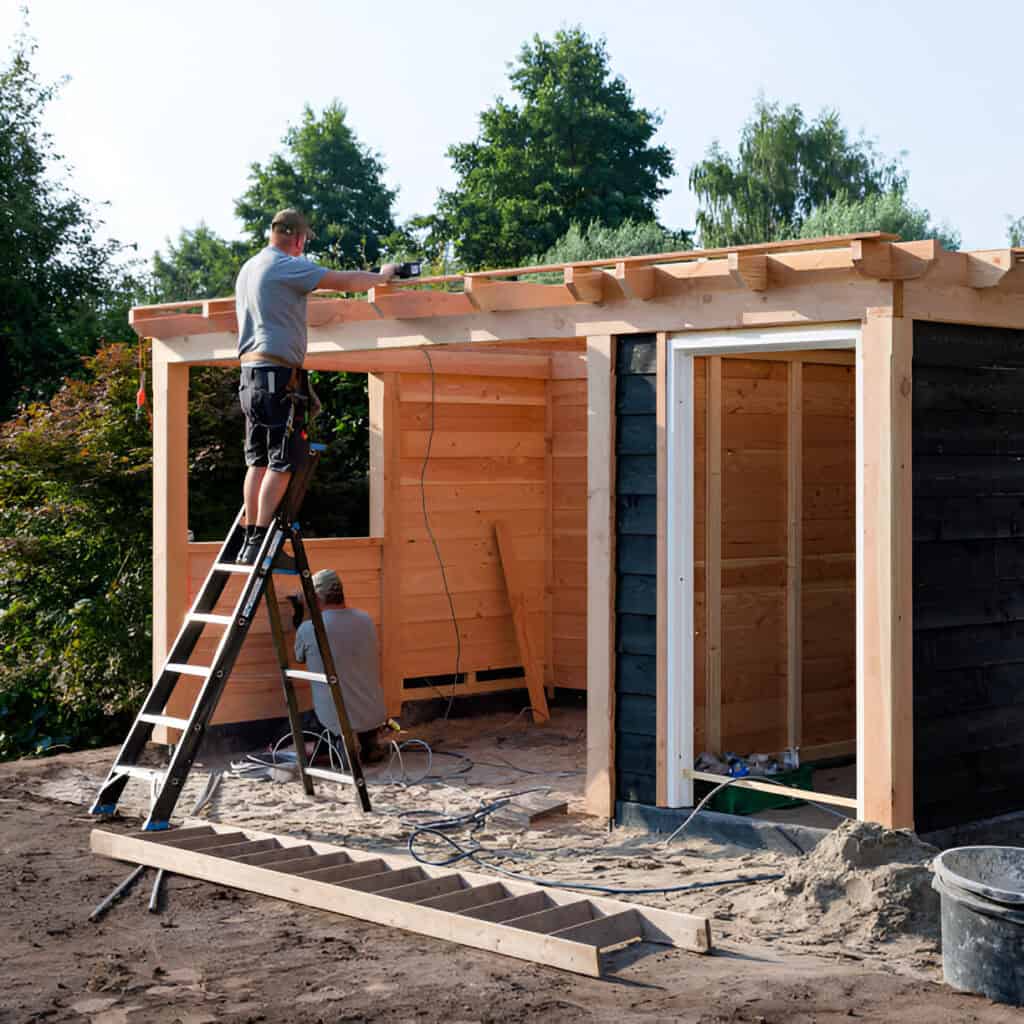
DIY Vapor Barrier Installation Tips
Installing a vapor barrier in your shed can prevent moisture buildup, reduce condensation, and protect your structure from rot. A proper installation ensures long-term durability and keeps your shed interior dry. Here’s a step-by-step guide to help you get started.
Step-by-Step Guide
- Choose the Right Material – Select a polyethylene sheet or foil-faced insulation designed for moisture control.
- Prepare the Surface – Clean and dry shed walls and floor before installation.
- Cut and Attach – Measure and cut the vapor barrier to fit, then secure it with staples or adhesive.
- Seal the Edges – Use waterproof tape to seal seams and prevent moisture leaks.
- Inspect for Gaps – Check for uncovered areas and patch them as needed.
Common Mistakes to Avoid
| Mistake | Why It’s a Problem |
| Using improper materials | Reduces effectiveness |
| Leaving gaps or tears | Allows moisture in |
| Not sealing seams | Weakens protection |
By following these tips, you can install a vapor barrier efficiently and keep your shed in top shape for years.
Maintenance and Monitoring
A well-installed vapor barrier is only effective if maintained properly. Over time, small tears, gaps, or moisture buildup can compromise its performance. Regular upkeep ensures your shed stays dry and protected from rot and mold.
How to Maintain Your Vapor Barrier
- Inspect for Damage – Check for rips, holes, or loose sections, especially after extreme weather.
- Seal Any Gaps – Use waterproof tape or caulk to repair small openings before they worsen.
- Keep the Shed Ventilated – Proper airflow reduces condensation and extends the barrier’s lifespan.
What to Look for Over Time
| Issue | Possible Cause | Solution |
| Condensation on walls | Poor ventilation | Add vents or a dehumidifier |
| Torn sections | Rodents or sharp objects | Patch with strong tape |
| Musty smell | Hidden moisture leaks | Inspect and reseal gaps |
By routinely monitoring your vapor barrier, you can catch small problems before they lead to costly repairs, keeping your shed in peak condition.
Alternative Ways to Manage Moisture in a Shed
If you’re on the fence about a vapor barrier, here are some other ways to keep your shed dry:
1. Improve Ventilation
- Install ridge vents or soffit vents to keep air moving.
- Add louvered vents on opposite walls for cross-ventilation.
- Use solar-powered fans if natural airflow isn’t enough.
2. Use a Dehumidifier or Moisture Absorbers
- If your shed stays damp, a small dehumidifier can help.
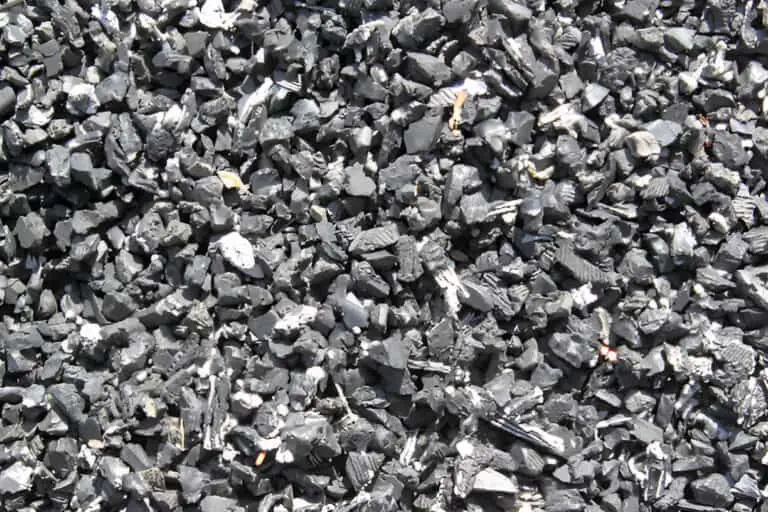
- For a low-cost option, place buckets of charcoal or moisture-absorbing crystals inside.
3. Raise the Shed Off the Ground
- Use gravel, concrete blocks, or a foundation to keep the floor dry.
- Sloping the ground around the shed helps drain rainwater away.
✔ Pro Tip: Prevent water from splashing onto your shed by adding gutters and extending downspouts at least 3 feet away.
Final Verdict: Do You Need a Vapor Barrier?
If your shed is insulated, climate-controlled, or located in a humid region, a vapor barrier makes sense. But if it’s a basic, uninsulated storage space, you can probably skip it and focus on good ventilation and drainage instead.
| Shed Situation | Vapor Barrier Needed? |
| Uninsulated shed in dry climate | ❌ No |
| Insulated shed in moderate climate | ⚠️ Maybe |
| Insulated shed in humid climate | ✅ Yes |
| Heated/cooled shed | ✅ Yes |
| Shed sitting on dirt | ✅ Yes (under floor) |
So, before you rush to the hardware store for rolls of plastic sheeting for sheds, take a good look at your shed’s climate, use, and construction. Sometimes, a little airflow and smart building choices do the trick without the extra layer. But if you’re fighting constant moisture, a vapor barrier might be the secret weapon your shed needs.
What’s your take—have you added a vapor barrier to your shed? Let me know what’s worked (or not worked) for you!