How to Start Building a Retaining Wall: Essential Tips for Beginners
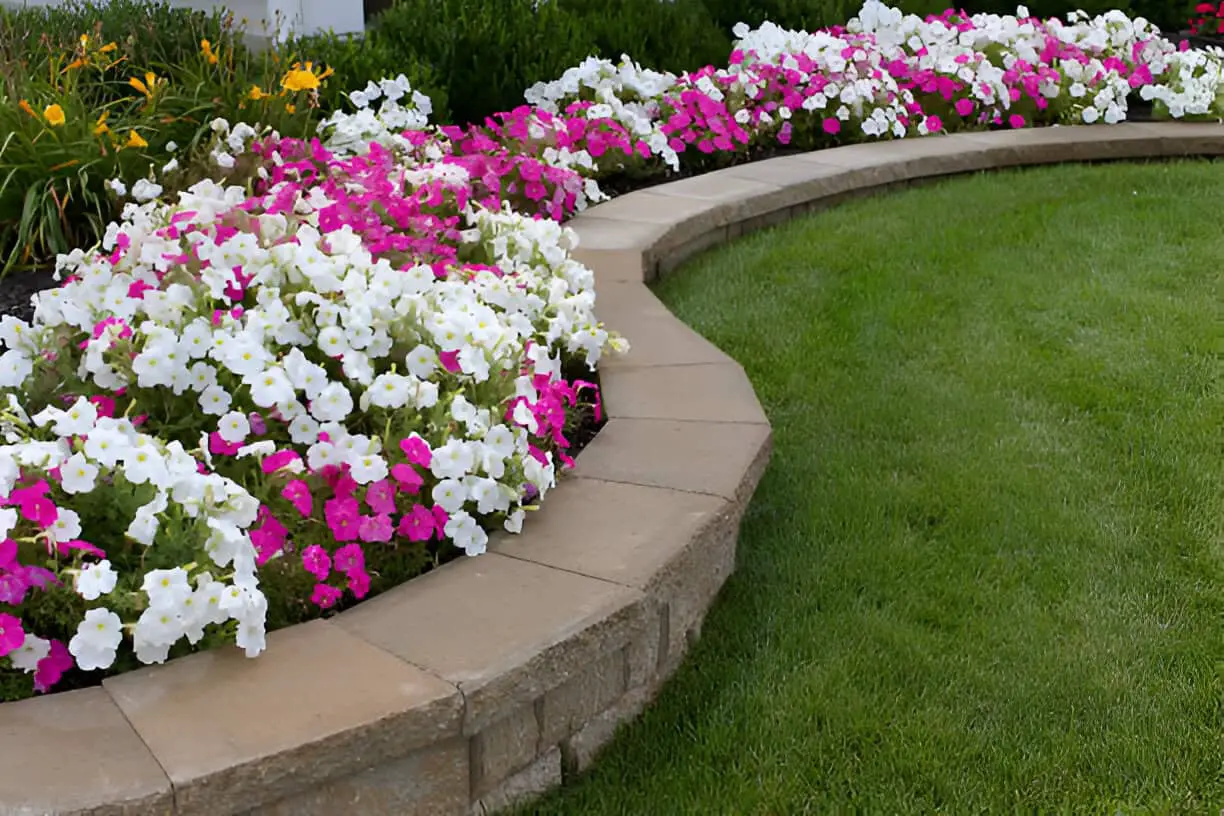
Let’s talk about retaining walls—the unsung heroes of landscaping. They’re more than just pretty barriers; they’re the backbone that keeps your raised garden beds intact and your yard looking sharp. Whether you’re dealing with sloped terrain, trying to prevent soil erosion, or simply adding a touch of elegance to your outdoor space, building a retaining wall is a game-changer.
Let’s break down the process step by step so you can tackle this project like a pro.
Understanding the Purpose of a Retaining Wall
A retaining wall lives up to its name by “retaining” the earth—literally. Without it, mother nature might decide to rearrange your yard, washing away your hard work every time it rains. Imagine building a stunning flower bed on an elevated patch of land. Without a retaining wall, that bed could slowly melt into the lower yard like an ice cube on a hot summer day.
But functionality isn’t the only reason to build one. Retaining walls add texture, depth, and a polished look to any yard. Whether you go for sleek brick, rugged stone, or rustic wood, these walls are a visual treat that can boost your home’s curb appeal. Think of them as the perfect frame for your landscaping masterpiece.
Step 1: Check for Utilities (The Non-Negotiable First Step)
Before you grab a shovel, stop. Do you know what lies beneath your yard? Hidden utilities like gas, water, and electrical lines could turn your project into a disaster faster than you can say “oops.”
Here’s how to stay safe and avoid a costly mistake:
- Call 811: This national hotline connects you to your local utility providers. They’ll send someone out to mark where the underground lines are.
- Contact Your Utility Companies: If you’re unsure, call your water, gas, and electric providers directly. Most companies are happy to help you locate the lines for free.
Pro Tip: Keep those marked spots in mind throughout the project. Better safe than sorry!
Step 2: Do You Need a Permit?
I know—permits can feel like bureaucratic red tape, but it’s better to play by the rules. Depending on your local regulations, you might need a permit for your retaining wall, especially if it’s over a certain height (typically 4 feet).
Here’s what to do:
- Call Your Local Development Office: They’ll let you know if a permit is required.
- Submit Your Plans: Be prepared to show a basic sketch of your project.
- Pay the Fee: Yes, it’s an extra cost, but following the law will save you headaches down the road.
Skipping this step might seem tempting, but trust me, the fines and potential need to tear down your wall aren’t worth it.
Step 3: Design Your Retaining Wall
Now comes the fun part: designing your masterpiece. Before you start laying bricks or stacking stones, take a moment to plan.
Questions to Ask Yourself:
- Where Will It Go? Survey your yard and pinpoint the ideal location.
- How Tall Should It Be? Most retaining walls are between 2 to 4 feet, but taller walls might require additional support or professional help.
- What Material Do You Want? Choose between options like brick, stone, wood, or even concrete blocks.
Pro Tip:
Sketch your design on paper, including height, width, and length. This rough blueprint will act as your roadmap during construction.
Step 4: Gather Your Materials and Tools
Here’s a quick checklist to make sure you’re ready to roll:
| Material/Tool | Purpose |
| Bricks/Stones/Wood | Main building material |
| Gravel | Base layer for drainage and stability |
| Landscape Fabric | Prevents weeds and soil erosion |
| Level | Ensures the wall is even |
| Shovel | Digging the trench |
| Tamping Tool | Compacts the soil |
| Backfill Soil | Supports the wall and raised area |
| Safety Gear | Gloves, goggles, and sturdy shoes |
Having the right tools on hand is like having all the ingredients for a recipe—you’ll avoid unnecessary delays and frustrations.
Step 5: Prepare the Site
Preparation is half the battle. Follow these steps to get your site ready:
- Mark the Area: Use stakes and string to outline where the wall will go.
- Dig a Trench: Excavate a trench that’s about 6-12 inches deep and slightly wider than your wall material.
- Add a Base Layer: Fill the trench with gravel and tamp it down until it’s level. This step is crucial for stability.
Step 6: Build the Wall
Here’s where the magic happens:
- Lay the First Layer: Place your first row of bricks or stones directly on the gravel base. Use a level to ensure everything is even.
- Stack Subsequent Layers: Stagger each layer like bricks in a house for added strength.
- Backfill as You Go: Add soil behind the wall after every layer to keep it secure.
- Add Capstones (Optional): For a polished look, finish with capstones on the top layer.
Pro Tip:
Work slowly and check for levelness often. A crooked wall is a nightmare to fix later.
Step 7: Be Mindful of Trees
Trees add character to your yard, but their roots can be troublemakers during a retaining wall project. Digging too close to roots can damage the tree and potentially kill it.
Here’s how to avoid issues:
- Keep a Safe Distance: Stay at least 3 feet away from mature tree trunks.
- Consult an Arborist: If you’re unsure, a professional can guide you.
Troubleshooting Common Issues
Even with careful planning, hiccups happen. Here’s how to address some common challenges:
| Problem | Solution |
| Wall is Uneven | Remove the layer and re-level the base |
| Soil Erosion | Add landscape fabric and better backfill |
| Water Pooling | Install a drainage pipe behind the wall |
When to Call in the Pros
Sometimes, it’s best to leave the heavy lifting to the experts. If your wall needs to be over 4 feet tall, or if your soil conditions are tricky, hiring a contractor might save you time and stress. Plus, they’ll have the expertise to ensure your wall is built to last.
Final Thoughts
Building a retaining wall isn’t just a landscaping task—it’s a chance to flex your DIY muscles and create something both functional and beautiful. With the right planning, materials, and a little elbow grease, you can transform your yard into a space that’s as sturdy as it is stunning. So, roll up your sleeves, grab your tools, and start building your masterpiece. Your landscape will thank you!

