Is Your Weed Eater Bump Feed Not Working? Here’s How to Diagnose the Problem
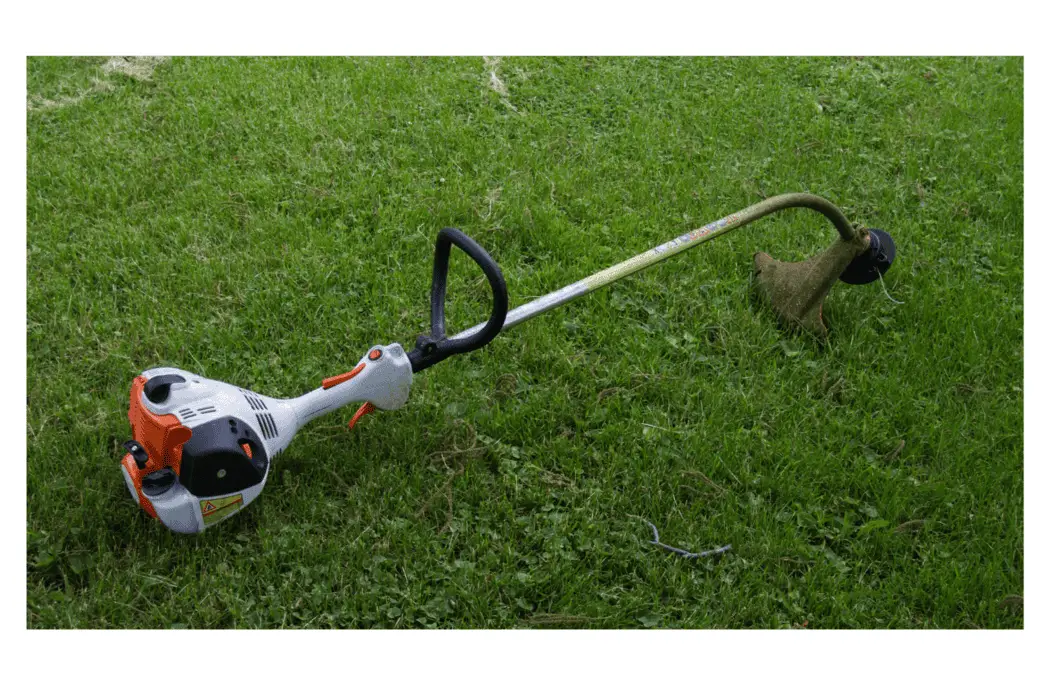
Ah, the smell of fresh-cut grass! There’s nothing quite like it. Every time I fire up my weed eater, it feels like I’m taking charge of my garden, carving out neat lines, and giving my yard the TLC it deserves.
However, nothing throws a wrench into that bliss like a bump feed that decides to throw a tantrum. If your weed eater’s bump feed isn’t working, don’t throw in the towel just yet! Let’s dig into how you can troubleshoot this pesky problem and get back to your gardening glory.
What Is a Bump Feed and Why It Matters
First things first: what exactly is a bump feed? If you’re new to the gardening game or perhaps just getting acquainted with your weed eater, a bump feed mechanism is designed to release more cutting line when you tap the head of the trimmer on the ground.
This nifty feature saves you from the hassle of stopping your work to adjust the line manually. Picture it as a magic wand that lets you keep trimming without missing a beat. When it works, it’s a gardener’s best friend; when it doesn’t, well, it can feel like a bad breakup.
Common Symptoms of a Bump Feed Malfunction
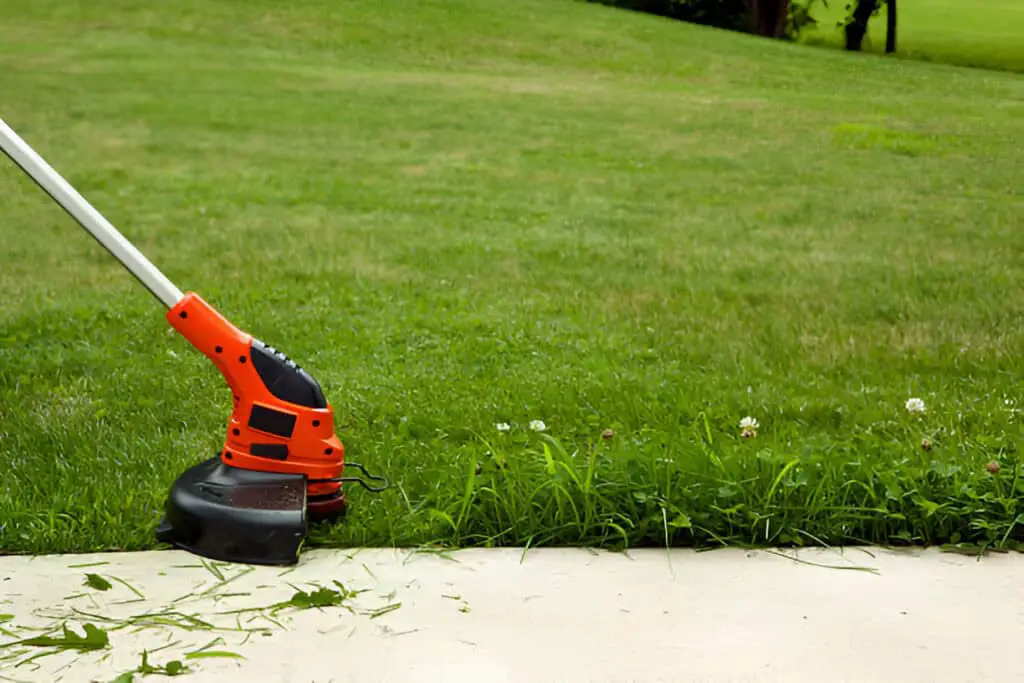
Before we dive into the nitty-gritty, let’s identify the signs that your bump feed is throwing a fit. Here’s a quick list of symptoms that might indicate something’s amiss:
- No Line Release: You tap the head on the ground, but no fresh line emerges. It’s like waiting for a bus that never arrives!
- Line Jams: The line gets stuck in the spool, making it impossible to continue your trimming.
- Line Snapping: If your line keeps snapping, it’s a clear sign that something is off with your setup.
- Poor Cutting Performance: A dull or uneven cut can also signal that the bump feed isn’t doing its job.
If you’re nodding along to any of these, don’t worry. We’ll get to the bottom of it!
Step 1: Inspect the Cutting Line
Let’s start at the beginning: the cutting line. I can’t tell you how many times I’ve overlooked the simplest things in life, only to realize that the solution was right in front of me.
Check for Proper Line Length
Make sure the line length is appropriate. Most bump feeds require a line length of about 10-12 feet. Too short, and it won’t feed properly; too long, and you’ll end up with a tangled mess.
Look for Damage
Inspect the line for frays or damage. A worn line can hinder performance and lead to frequent snapping. If your line looks more like spaghetti than a sleek cutting tool, it’s time to replace it.
Recommended Line Types
Using the right line type can make a world of difference. Here’s a quick reference table for you:
| Line Type | Best For | Thickness |
| Nylon | General use | .065” to .095” |
| Heavy-duty | Tough weeds and grasses | .095” to .130” |
| Spiral-shaped | Reduced noise and vibration | Varies |
Step 2: Examine the Bump Feed Mechanism
Next up is the heart of the issue—the bump feed mechanism itself. This part can sometimes feel like the inner workings of a clock: intricate, yet prone to occasional misfires.
Remove the Head
To get a better look, you’ll want to remove the trimmer head. Most trimmers have a simple release mechanism, but refer to your user manual if you’re unsure. Once you have it off, take a close look at the bump feed mechanism.
Look for Blockages
Sometimes, debris can block the feed mechanism. Grass clippings, dirt, and other garden debris can clog the works. A quick blast from an air compressor or a thorough cleaning with a brush can usually fix this issue.
Check the Spring
The spring inside the bump feed is crucial. It should provide enough tension to release the line when you tap the head. If it’s broken or misplaced, you might need to replace it.
Step 3: Check the Spool
Next, let’s talk about the spool—the part that holds the cutting line. If this is where the problem lies, it could be an easy fix!
Rewind the Line Properly
If you’ve recently replaced the line, make sure it’s wound correctly. If it’s too tight, it won’t feed properly.
Inspect for Damage
Check for cracks or wear on the spool itself. A damaged spool can lead to a world of trouble and may require replacement.
Step 4: Test the Bump Feed
Now that you’ve inspected the line, the bump feed mechanism, and the spool, it’s time for a test run! Reassemble your weed eater, making sure everything is in its right place. Take it out for a spin and see if the bump feed works as intended.
Preventative Measures to Keep the Bump Feed in Shape
Once you’ve sorted everything out, you’ll want to keep your bump feed in tip-top shape. Here are some tips that I swear by:
Regular Maintenance
Make it a habit to check your weed eater regularly. A little prevention goes a long way!
Clean After Each Use
After each trimming session, give your weed eater a quick clean. Removing grass and dirt helps prevent blockages in the future.
Use the Right Line
Always use the correct type and thickness of cutting line for your specific model.
Conclusion: Back to the Garden
There you have it! With these steps, you should be well-equipped to diagnose and fix your weed eater bump feed issues. Once you’ve sorted the problem, you can get back to turning your garden into the envy of the neighborhood.
Gardening can be a labor of love, but having the right tools—and knowing how to use them—makes all the difference. So, grab your weed eater and let’s get back to creating a yard that reflects the beauty of nature. Happy gardening!


