How To Sterilize Potting Soil – 5 Easy at-Home Methods
Wondering about the right way when it comes to how to sterilize potting soil at home? Allow this in-depth guide to help.
Since soil can harbor diseases, pests, and weed seeds, it is always beneficial to sterilize garden soil before planting to guarantee optimal development and health for your plants.
Keep reading this guide to know about the 5 methods you should follow to effectively and safely learn how to sterilize potting soil before planting.
What Is Soil Sterilization?
Soil sterilization is when gardeners disinfect or sterilize their garden soil to prevent or decrease soil-borne insects, pests, weeds, and pathogens.
Soil sterilization is more affordable than treating numerous plant-related problems or losing the whole crop.
Sterilization of soil plays a more significant role when soil propagates stem or shoot cuttings, the transplantation of young plants, and seed germination. Such growth stages increase plant vulnerability if the soil is contaminated with mold, fungal spores, and other dangerous organisms.
Why Sterilize Soil
Learning how to sterilize potting soil will save you money. This is because purchasing a sterile potting soil blend every time you plant seeds is expensive.
Sterilizing potting soil will prevent new seedlings’ from damping-off (when seedlings or cuttings are infected by fungi and end up rotting or wilting).
Tiny insects like fungus gnats typically hide in the soil, causing problems for plants. They are most commonly found in store-bought soil. Soil sterilization can eradicate such harmful insects.
Soil sterilization is all about eliminating a variety of damaging bacteria, viruses, pathogens, and other microorganisms in contaminated soil. They can transfer from one plant to another. Rather than jeopardize the health of your fragile plants, you can eradicate them by sterilizing the soil before planting.
Furthermore, sterilization of soil produces optimal parameters for plant development. Soil sterilization releases nitrate to promote plant growth and also encourages high-quality yield.
Sterilize Soil Before Planting
The ideal way to sterilize potting soil is before planting, as it will become challenging when you cannot move your plants. Also, using unsterilized soil for your plants will increase the risk of contamination.
Soil sterilization is most beneficial when germinating seeds or potting of seedlings or juvenile plants. It is also ideal for repurposing used compost or potting soil or for lowering the chance of infection via pests or weeds.
Seedlings
If you are germinating seeds, you are required to sterilize used soil or use new fertilizer that’s been sterilized commercially. This will help control the hazard of damping off.
Damping is a condition caused by pathogens that kill seedlings before or after germination. You can also prevent other problems that can be caused by deficient soil.
Juvenile Plants
While it seems convenient to house baby plants in pots using old potting soil, there is some risk of contamination from:
- Weeds and weed seeds
- Viruses in the soil
- Nematodes
- Bacteria causing health issues, including blight, damping off, and wilting.
Advantages of Sterilizing Potting Soil At Home
The advantages of sterilizing potting soil at home include:
- Saving money.
- Less harmful than using herbicides and pesticides down the line.
- Helps control pests and diseases.
- Easy to do.
- Saves time compared to getting rid of weeds by hand.
Sterile Potting Soil
If a store-bought potting is labeled as sterilized, you are not required to sterilize it. If you don’t need much potting soil, it’s recommended that you buy already sterilized soil from the market instead of going through the hassle of sterilizing soil at home.
How To Sterilize Soil with 5 Easy Methods
Soil sterilization can be done either by using heat or chemicals. Different strategies will work depending on the quantity of soil you want to sterilize.
For instance, you can use heat or chemical techniques for tiny amounts of soil. However, for large amounts, you should use solarization.
In this article, we have discussed 5 methods of how to sterilize potting soil.
The method you choose will depend on three factors!
The Volume Of Soil You Have
If you need to sterilize a small amount of potting soil, you can use the microwave, oven, and steam methods. If you need to sterilize a large quantity of potting soil like gardens and fields, you will need to go for the solarization method.
The Materials Needed
Some methods of soil sterilization require supplies, like a microwave, an oven, and a pressure cooker. For solarization sterilization, you need a big plastic sheet.
The Labor Involved
Some soil sterilization procedures are more labor-intensive, affecting the method you prefer. It would be nearly impossible to sterilize potting soil of an entire garden in an oven, but you could efficiently sterilize a small amount.
1. How To Sterilize Potting Soil With Chemicals
The primary concept behind chemical soil sterilization is using gas-creating chemicals. The gas emission can infiltrate the soil and destroy bacteria, insects, and pests.
Some of the main chemicals used for soil sterilization are mentioned below!
How To Sterilize Potting Soil With Hydrogen Peroxide
This method can be ideal for new gardeners because it lacks technical expertise.
Take note; hydrogen peroxide can damage your skin and must be diluted with water to use on your soil safely.
The more concentrated the hydrogen peroxide, the smaller the amount you will require.
Here is how to sterilize potting soil with hydrogen peroxide:
- Add water to hydrogen peroxide. The quantity of hydrogen peroxide you require will depend on the solution and the water’s concentration.
- Sprinkle the water mix on the potting soil.
How To Sterilize Potting Soil With Formalin
Formalin is a combination of formaldehyde and water. Formalin is a practical soil sterilization method against fungi like mold, but it does not prevent pests such as small flies and gnats.
Here is how to sterilize potting soil with formalin:
- Thin out formalin with water. The ideal ratio is 1 part formalin to 49 to 50 parts water.
- Carefully soak the potting soil you want to fertilize with diluted formalin. It needs to soak into the potting soil to work correctly. The suggested amount is 5 gallons per square.
- You will have to wait for about 3 to 6 weeks for the soil to be decontaminated and secure to use.
When sterilizing soil with formalin, you will have to wait until temperatures increase. The formalin will not disinfect the soil at low temperatures.
Test The Soil
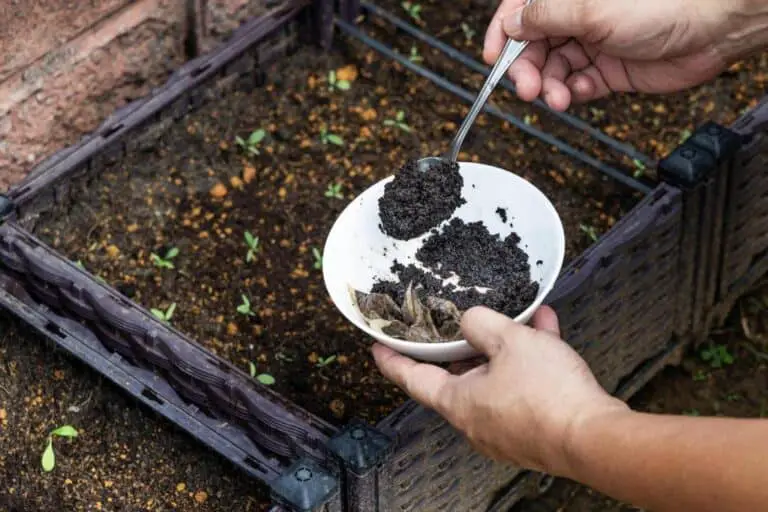
The chemicals used for soil sterilization can also be dangerous to your plants. If you are skeptical and do not want to endanger your plants, the ideal way is to test your potting soil before use.
An uncomplicated method to examine your potting soil is to load a pot with the soil and sprinkle cress seeds. If the seeds sprout and grow, your soil is safe for use.
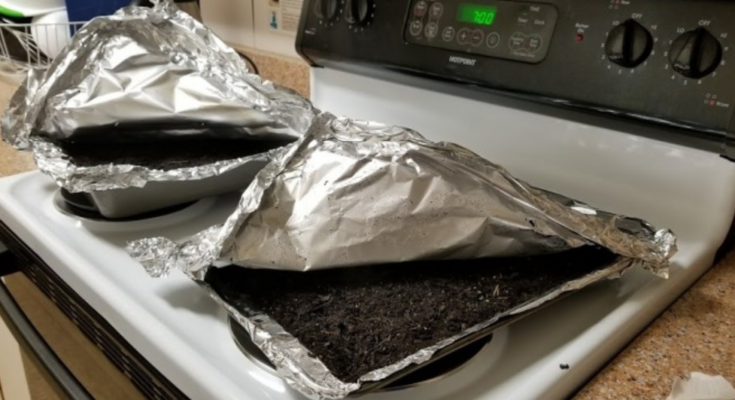
2. How To Sterilize Soil In An Oven
While potting soil sterilization in an oven takes longer, it allows you to do a lot more at once. Sterilizing potting soil in the oven needs an oven-safe box, meat thermometer, and aluminum foil.
Here is how to sterilize potting soil in an oven:
- You have to preheat the oven to 180° F.
- Put soil on your baking pan/sheet. Your soil should not be more than 4 inches deep.
- Moisten the potting soil until it is damp enough to turn it into a ball shape by rolling it in your hands. Make sure there are no lumps.
- Tightly cover your baking pan/sheet with aluminum foil. Jab a hole in foil for the thermometer.
- Place the potting soil in your oven. Please do not allow the potting soil to get hotter than 180°F as it will burn it and create toxins. Use the thermometer to watch the soil temperature.
- Allow the potting soil to heat up in the oven for no less than 30 minutes. You will have to modify the oven’s temperature or open the oven door occasionally to keep the soil at the proper temperature during this whole time.
- Once those 30 minutes are over, take out your heated soil from the oven. Allow it to cool down to room temperature before you use it.
The potent smell of the baked soil will fill your kitchen, so keep your kitchen ventilated during this entire procedure. Due to the time required and the restricted space of the oven, this soil heating method is ideal for small to medium projects.
| Also read: Soil Solarization for Gardens & Landscapes |
How to Sterilize Soil Without Baking
If you aren’t into baking soil to sterilize it and want to prevent the strong smell of warmed-up soil, you can opt for no-baking methods. The no-baking methods include microwaving, using the sun, and steaming.
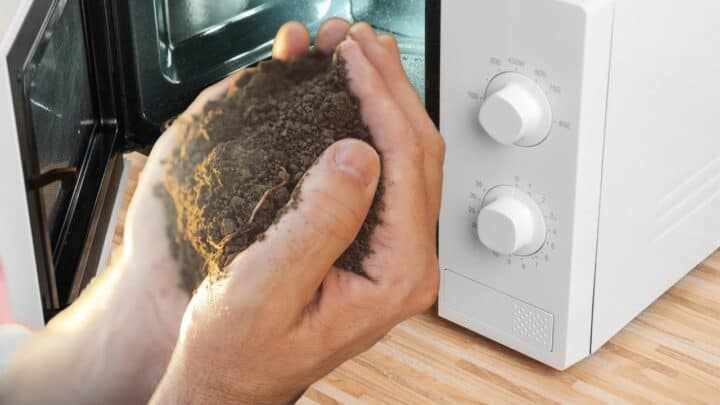
3. Sterilize Soil In Microwave
The most instantaneous way to sterilize soil with heat is to use a microwave that successfully destroys insects and gnats.
In a microwave, you can disinfect a few kilograms of potting soil in a few minutes. Moreover, you are not required to watch the sterilized potting soil as closely as other sterilization heat techniques.
To sterilize potting soil in the microwave, you need a sealable microwave-safe bag or a box with a cover.
Note: Do not use aluminum foil in your microwave!
Here is how to sterilize potting soil in a microwave:
- Stuff a microwave-safe bag or a container with damp potting soil or soil mix.
- Put the cover on the container, jab a few holes for ventilation, and put them in the microwave. If you use a sealable bag, put it in the microwave with the cover open to permit better ventilation.
- Warm up the potting soil in the microwave for about 1 to 2 minutes.
- Check the potting soil with a thermometer to notice if it has achieved the preferred soil temperature of around 180 to 200°F.
- Carry the potting soil out of the microwave. If it is in a box, shut the ventilation holes with tape. If it is in a bag, seal it shut.
- Let the potting soil cool down to room temperature before taking it out of the box or bag.
While soil sterilization in the microwave is effective, it can take up a lot of time depending on the amount of potting soil you want to sterilize. The size of your microwave also matters.
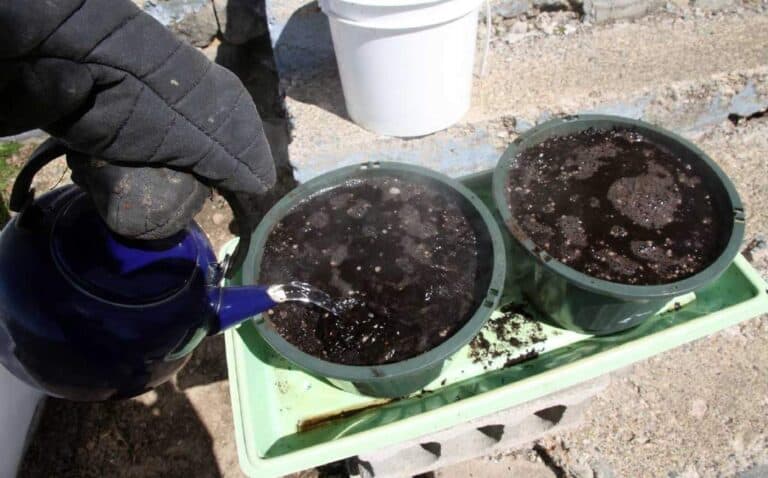
4. Steam Sterilization Of Soil
Sterilizing potting soil with steam can destroy pests, germs, and infections without chemicals.
You can sterilize your potting soil with steam using various tools in your kitchens, such as a steamer, airtight cooker, or stove pot. Just like soil sterilization in an oven, sterilizing soil with steam is also time-consuming and cannot manage a large batch at a time.
Pressure Cooker Methods
You will require a pressure cooker accompanied by a rack, water, soil, aluminum foil, and heatproof containers.
Here is how to sterilize potting soil with steam by using a pressure cooker:
- Add 2-3 cups of water to the rack.
- Fill containers with soil. Make sure the soil’s not more than 4-inches deep.
- Cover all of the containers with aluminum foil.
- Place containers in the pressure cooker.
- Close the lid of the pressure cooker and let the steam build.
- The sterilization process requires the soil to be under 10 pounds of pressure for 15-30 minutes.
- Once done, allow the steam to be released.
- Use soil when it hits room temperature.
Non-Pressurized Steam Method
You will require a large pot (that comes with a lid), a sturdy wire rack, soil, water, aluminum foil, and heat-safe containers. You can also opt for a large water bath.
- Fill the pot with water (1-2 inches) and place the rack in it.
- Fill the containers. Make sure the soil’s not more than 4 inches deep.
- Cover the containers with aluminum foil.
- Place the containers on the rack. Make sure not to stack the containers.
- Close the pot with the lid.
- Turn on the heat to let the water boil.
- Allow steam to start building.
- Let the water boil gently for at least 30 minutes.
- Once done, turn off the heat and let the steam dissipate.
- You can use the soil once it lowers to room temperature.
Steaming is quite an effective method of sterilizing potting soil. However, pressure and hot steam can also be risky. Follow proper guidelines and always let things cool before using anything to avoid accidents.
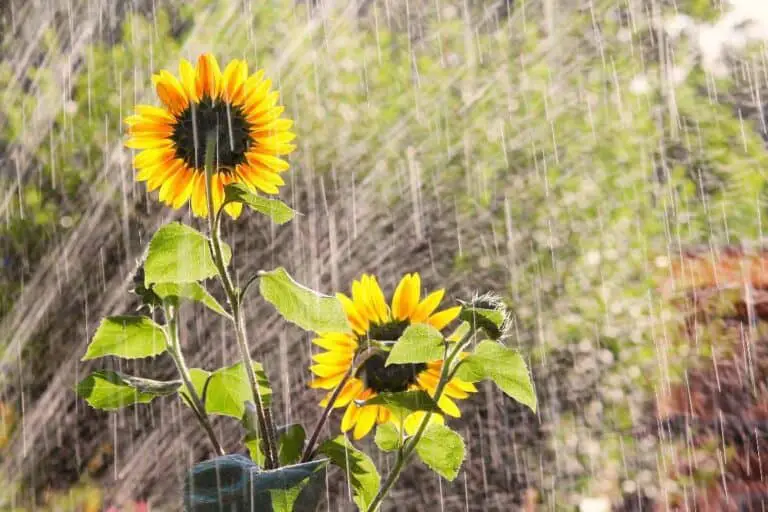
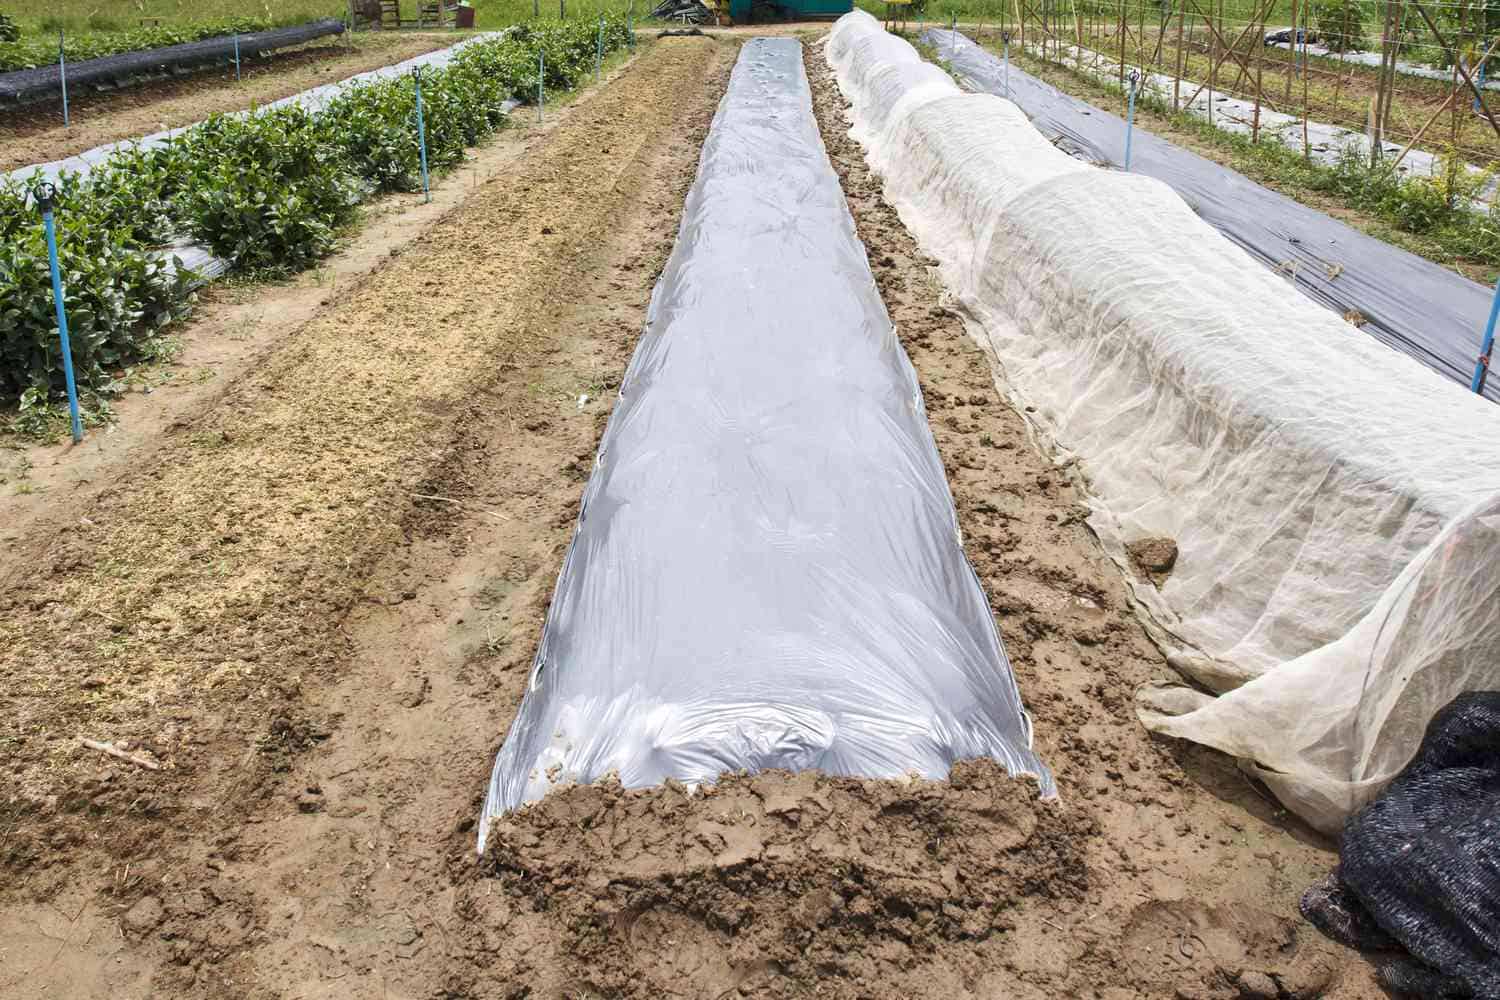
5. How To Sterilize Soil In The Sun
The methods of soil sterilization mentioned above are not ideal for sterilizing soil in large amounts. So, exposure to the sun is another heating method you can use to sterilize your soil.
Soil solarization uses solar energy to create steam that sterilizes your soil. This method typically takes 2 to 6 weeks to achieve proper sterilization of soil. Solarization can be used for small pots and bags of soil to whole gardens.
It is recommended that the plastic you use for such a process is clear or transparent. Such type of plastic tends to heat up quickly and ensures the sun’s radiation is able to penetrate the soil. Using thin plastic increases the risk of damage even if it heats up quickly.
You should opt for a high-quality plastic sheet of medium thickness for solar soil sterilization. Using said sheet will allow you to reuse it later.
Here is how to sterilize potting soil with solar energy!
Step By Step
- Ensure that the garden area you want to sterilize gets 8 hours of sunlight every day.
- Remove large rocks or plant matter that can damage the sheet.
- Break large clumps of soil.
- Put a large transparent plastic sheet on your selected area.
- For a small amount of soil, spread out your soil evenly on the sheet. You do not need this step if you are sterilizing your whole garden.
- Moisten the soil (preferably loam soil or clay) and cover it with a plastic sheet.
- Make sure the sheet is flat.
- You can hold the plastic in place by using rocks.
- You should consider burying the edges of the plastic sheet into the soil to help seal the heat build-up.
- It can take a few weeks (4-6 weeks) for the process of solarization to sterilize the soil.
Instead of treating the entire garden, you can also place small amounts of potting soil in bags and put them in the sun for sterilization. It all depends on your needs.
FAQ – How To Sterilize Potting Soil
Should I sterilize potting soil?
Sterilization of potting soil is essential when sowing seedlings, cuttings, and seeds. There are dangerous bacteria, fungi, and pathogens naturally included in the soil to harm sensitive plants. Sterilizing potting soil is straightforward and very helpful to your plants.
How do you sterilize large amounts of soil?
There are different methods of large amounts of soil sterilization. Some of these are more expensive and effective than others. Moreover, some sterilization methods cause pollution, and some are environment-friendly. Soil sterilization methods :
– mechanical
– biological
– chemical
– tilling
How do you sterilize potting soil for indoor plants?
There are a bunch of ways to sterilize potting soil for houseplants:
– Steam soil sterilization.
– Sterilize potting soil in an oven.
– Sterilize potting soil in a microwave for indoor plants. You do not even need a kitchen for this method.
– Use sunlight to sterilize the potting soil.
Can old potting soil be reused?
You can reuse old potting soil with considerate handling to deal with your gardening issues if whatever plant you grew in it was healthy. Make sure that your old potting soil is not too dry, nor is it too moist.